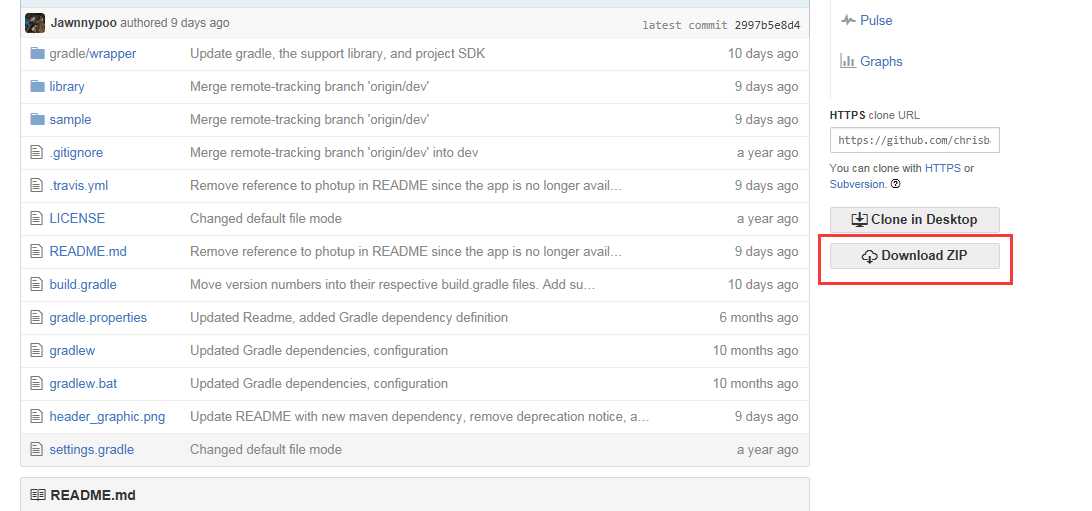
一、下载地址:https://github.com/chrisbanes/PhotoView
点击DownLoad ZIP,进行下载。
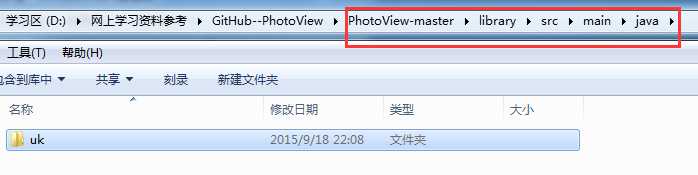
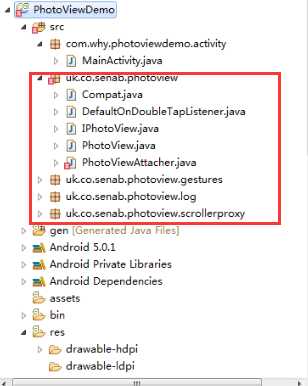
二、解压,然后复制PhotoView-master\library\src\main\java目录下的uk文件夹,用于复制到新建的项目中
参考:http://www.th7.cn/Program/Android/201410/304371.shtml
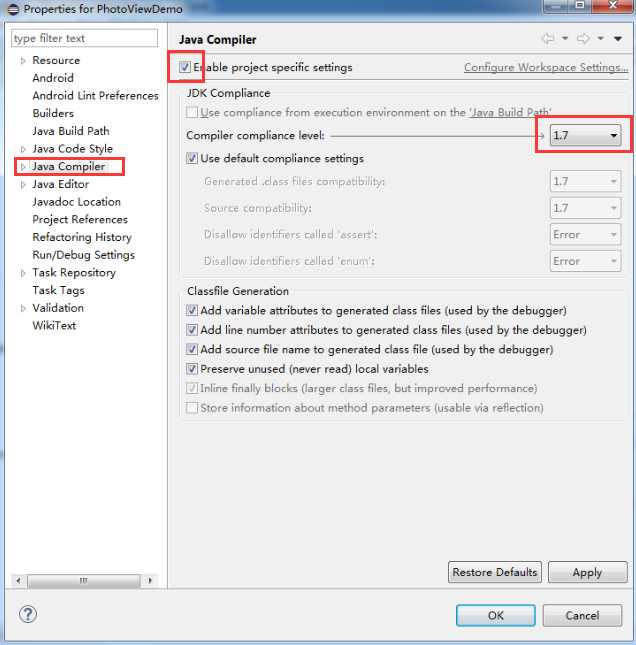
三、解决“‘<>‘ operator is not allowed for source level below 1.7”的问题
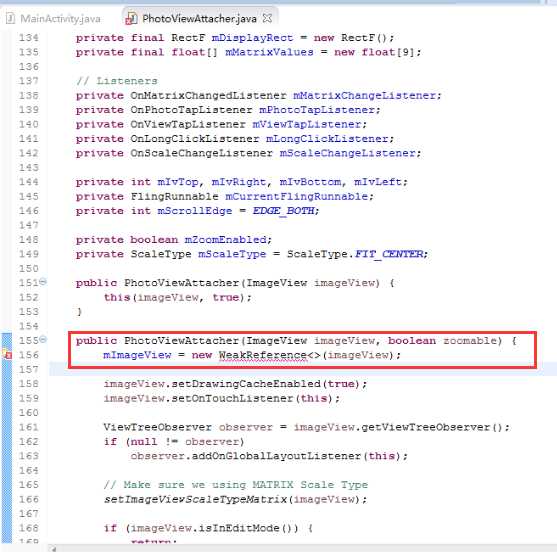
参考:http://blog.csdn.net/sam_jet/article/details/45744251
解决方法:
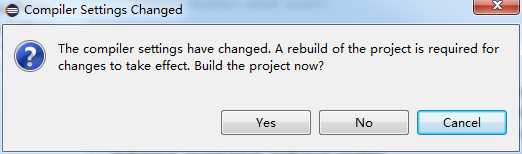
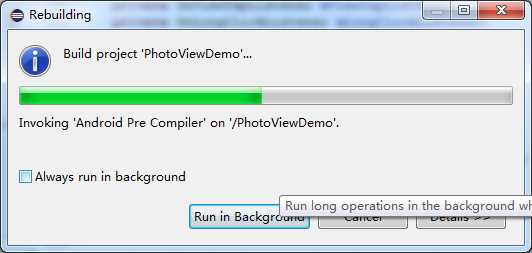
右键项目--属性--JAVA Compiler--勾选Enable project specific settings--Compiler compliance level--选择1.7--OK.
四、简单使用
1、在布局文件中含有一个imageview控件。

<?xml version="1.0" encoding="utf-8"?>
<LinearLayout xmlns:android="http://schemas.android.com/apk/res/android"
    android:layout_width="match_parent"
    android:layout_height="match_parent"
    android:gravity="center"
    android:orientation="vertical" >

    <ImageView
        android:id="@+id/mImageView"
        android:layout_width="match_parent"
        android:layout_height="match_parent"
        android:src="@drawable/wallpaper"
        android:contentDescription="@string/app_name" />

</LinearLayout>
需要注意的是必须使用android:src,不可以使用Android:background
图片资源在上面下载的压缩包中查找。也可以随意使用自己的。
2、代码中写法。
private ImageView mImageView;
private PhotoViewAttacher mAttacher;

@Override
    protected void onCreate(Bundle savedInstanceState) {
        // TODO Auto-generated method stub
        super.onCreate(savedInstanceState);
        setContentView(R.layout.activity_maindemo);

        //初始化View
        initView();
    }

    //初始化View
    private void initView(){

        mImageView = (ImageView) findViewById(R.id.mImageView);

        mAttacher = new PhotoViewAttacher(mImageView);
    }
更换图片的时候的写法:
@Override
    public boolean onCreateOptionsMenu(Menu menu) {
        getMenuInflater().inflate(R.menu.main, menu);
        return true;
    }

    @Override
    public boolean onOptionsItemSelected(MenuItem item) {
        int id = item.getItemId();
        if (id == R.id.changeImgBtn) {

            Drawable bitmap = getResources().getDrawable(R.drawable.header_graphic);
            mImageView.setImageDrawable(bitmap);

            mAttacher.update();//如果不调用的话,替换的图片会出现保持上一张图片的方法状态
        }
        return super.onOptionsItemSelected(item);
    }
<?xml version="1.0" encoding="utf-8"?>
<menu xmlns:android="http://schemas.android.com/apk/res/android" >

    <item
        android:id="@+id/changeImgBtn"
        android:title="更换图片"/>
</menu>
最后需要注销:
@Override
    public void onDestroy() {
        super.onDestroy();

        // Need to call clean-up
        mAttacher.cleanup();
    }
效果图:


原文:http://www.cnblogs.com/whycxb/p/4842335.html
