结合上面两篇,做一个镂空的图层--》可用于app内的新手指引-----直接上代码:
在markView.m里面的代码如下:
UIBezierPath *path = [UIBezierPath bezierPathWithRoundedRect:CGRectMake(0,0,self.bounds.size.width, self.bounds.size.height)cornerRadius:0];
UIBezierPath *circlePath = [UIBezierPath bezierPathWithRoundedRect:CGRectMake(rect.origin.x,rect.origin.y,rect.size.width,rect.size.height)cornerRadius:radius];
[path appendPath:circlePath];
[path setUsesEvenOddFillRule:YES];
fillLayer = [CAShapeLayer layer];
fillLayer.path = path.CGPath;
fillLayer.fillRule =kCAFillRuleEvenOdd;
fillLayer.fillColor = [UIColor blackColor].CGColor;
fillLayer.opacity =0.8;
[self.layer addSublayer:fillLayer];
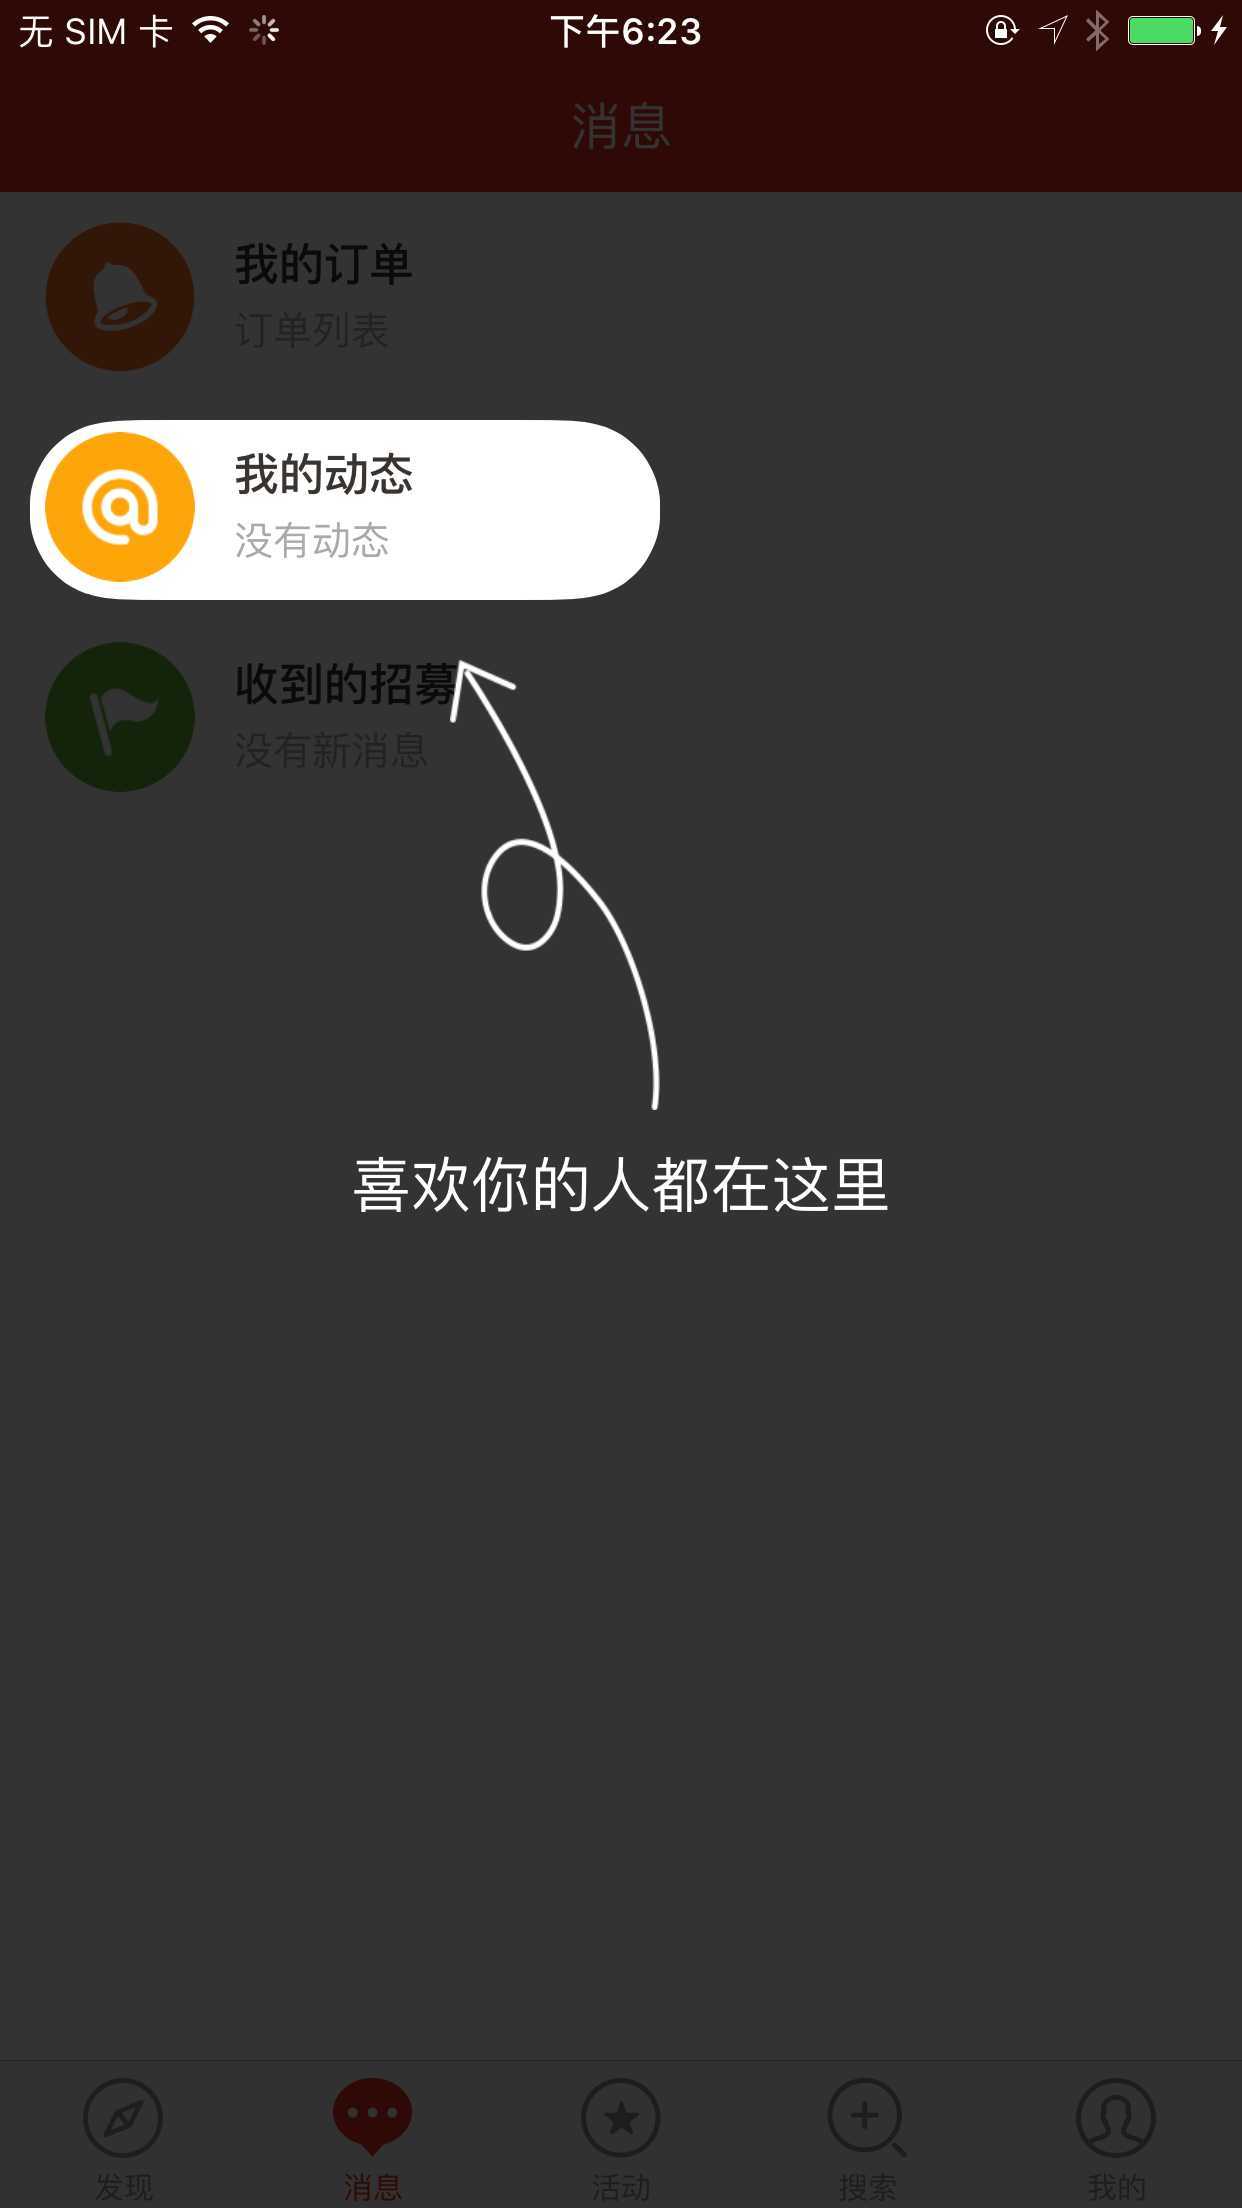
效果图:
原文:http://www.cnblogs.com/envyhappy/p/5030008.html