Illustrator打造苹果风格图标的第一部分,也就是形状的建立(《AI打造清新苹果风格图标一:形状的建立》),今天我们来介绍第二步,看看用什么方法能将图标做成立体的效果。
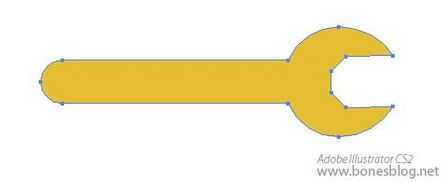
将扳手的形状选中,执行Illustrator的“对象>路径>偏移路径”命令,弹出“偏移路径”对话框,输入数值-0.4。(注:-0.4的数值只是根据形状大小而来,偏移路径命令只能计算绝对数值,而不能计算相对数值,希望能在CS3的版本中能够有所更新,所以大家在使用该命令的时候,要尝试大小合适才行。)
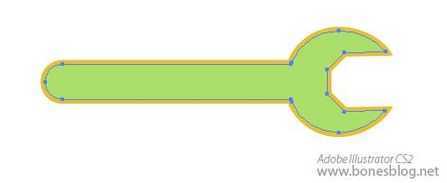
单击“好”按钮,得到一个与外轮廓相似的形状。
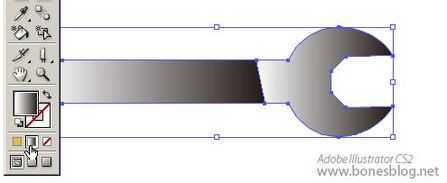
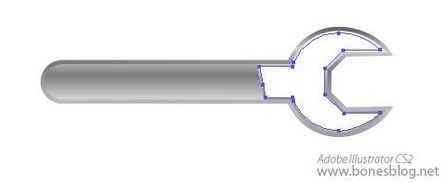
将两个形状选中,使用Illustrator美工刀工具将图形在图形的扳手头尾部割下一条轨迹,注意不要割到扳手头。
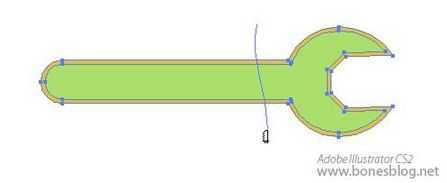
此形状将分为两截。可在Illustrator图层调板中暂时将上面较小的形状关闭显示。
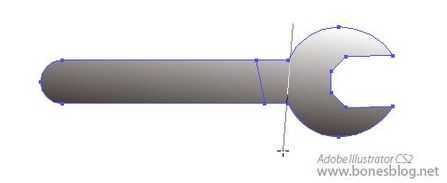
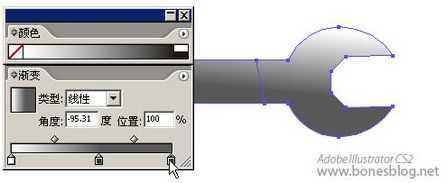
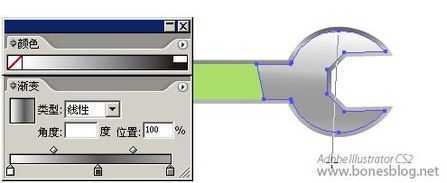
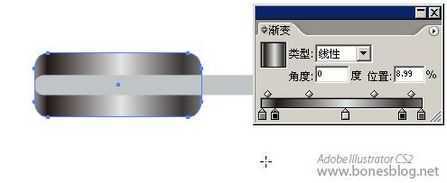
将两个外轮廓同时选中,单击工具箱底部的渐变按钮。
使用渐变工具从上往下拖曳,在拖曳的同时注意渐变的变化。
在渐变调板中,将左端的滑块相中心位置移动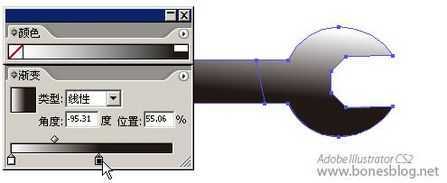
并在颜色调板中取一个深灰色
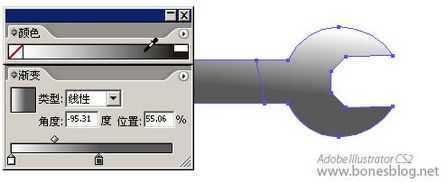
单击渐变调板最左端的空白处,会自动添加一个渐变滑块。
并改变该滑块的颜色为浅灰色。
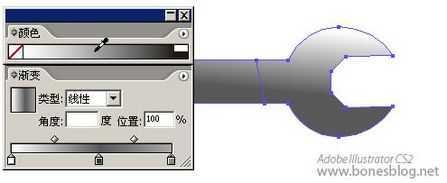
此时可以再使用渐变工具更改渐变的方向和位置。
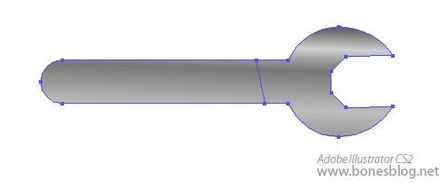
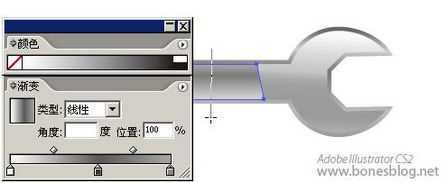
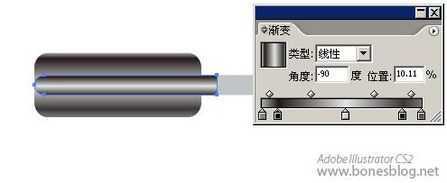
在图层调板中将隐藏的形状再次显示,并选中扳手头部分
应用刚才创建的渐变,只是做渐变方向的改变而已
同样,手柄部分也是渐变的方向改变
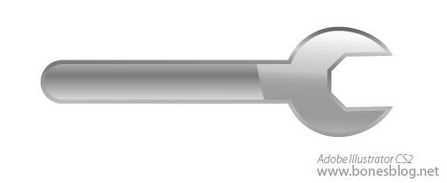
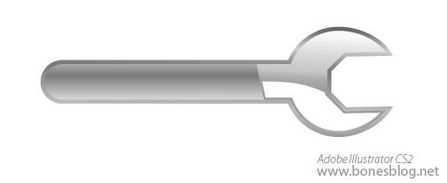
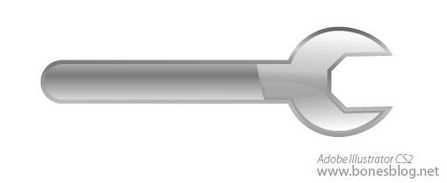
看看整体效果
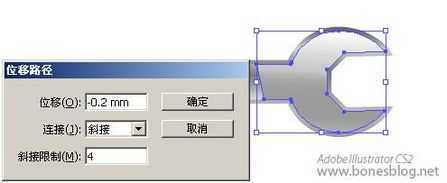
选中扳手头内部的形状,执行“对象>路径>偏移路径”命令,同样位移的数值适合即可。
将得到形状填充为白色。
用美工刀工具进行切割,注意切割的起点和终点,还必须保持一定的平滑度。
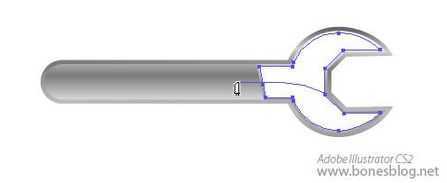
切割后的结果,如不满意,可以按下Ctrl Z返回上一步骤,重新切割。

使用直接选择工具,选择上半部分,并按DEL键删除
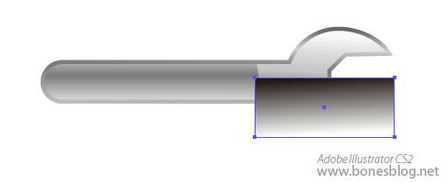
使用矩形工具绘制一个矩形。
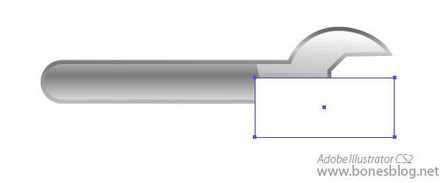
填充由上至下的渐变,此渐变为黑色到白色。
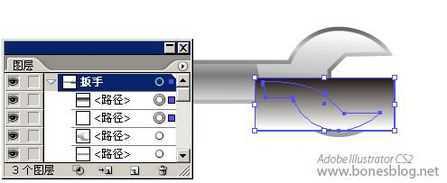
可以利用图层调板,按住Shift键将图中所示的两个形状选中。
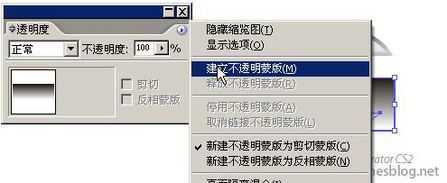
在透明度调板中执行“建立不透明蒙版”命令
得到半透明的渐隐效果。
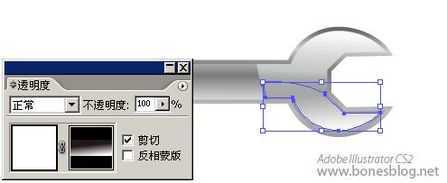
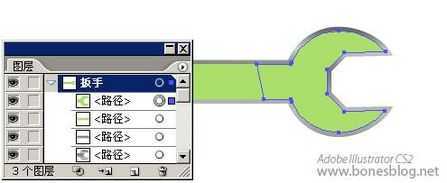
至此,扳手的部分立体化就完成了,我们可以将其全选,并执行Ctrl G命令。
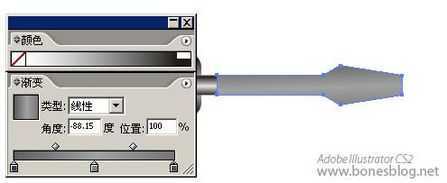
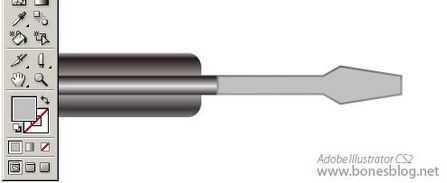
将螺丝刀图形的手柄部分填充渐变如下所示,上面的讲解中已经详细讲解了渐变的创建,这里就不再累述。
使用渐变工具来改变渐变的方向。

选中刀杆的图形,使用Illustrator美工刀工具一分为二。

左半部分填充渐变如图所示。
右半部分填充渐变如图所示。
并执行“对象>路径>偏移路径”命令,得到的新形状填充为灰色。
再次执行“对象>路径>偏移路径”命令,得到的新形状填充如图所示渐变。
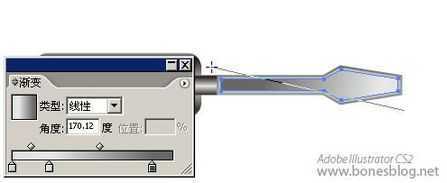
选中这两个路径偏移得到的形状,按住Alt键,并移动它。
复制得到相同的两个形状。
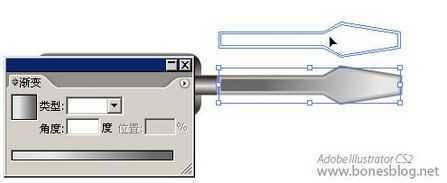
执行路径查找器中的“从形状区域中减去”按钮,并按下“扩展”按钮
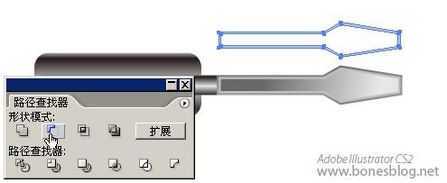
使用Illustrator美工刀进行切割。
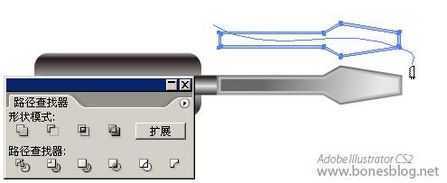
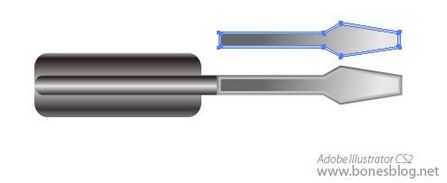
将下半部分删除,上半部分改填色为白色,并使用选择工具将其位移到如图所示位置。
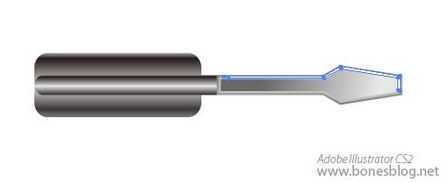
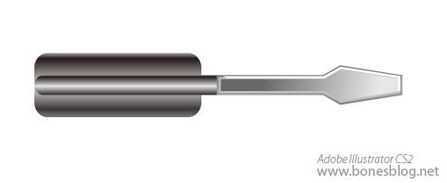
至此,螺丝刀的部分立体化就完成了,我们可以将其全选,并执行Ctrl G命令。
打开图标的部分。

创建两个绿色的辨别,注意这两个绿色尽量颜色相近。

选择圆形,并创建渐变如图所示。
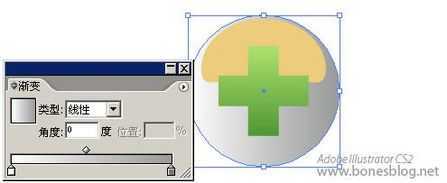
更改渐变的类型。

将上方菱形的渐变滑块进行向右移动。

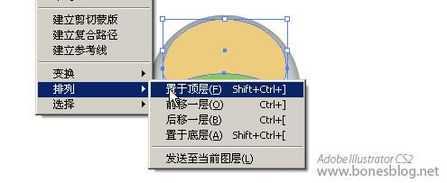
使用选择工具选择图中豌豆的形状,单击右键,在弹出的关联菜单中选择“排列>置于顶层”。
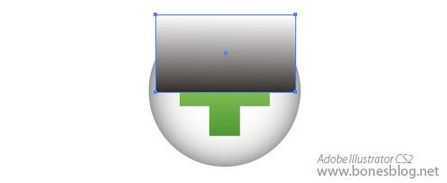
将其填充成白色。

绘制矩形,大于豌豆的形状,并应用渐变如图所示。
选择矩形渐变和豌豆的形状,执行透明度调板中的“建立不透明蒙版”命令。

得到结果如图所示。

至此,螺丝刀的部分立体化就完成了,我们可以将其全选,并执行Ctrl G命令。

我们可以再次存储文件,下一节我们将为您带来本教程的第三部分——组合的技巧,讲解形状的组合以及形状的管理部分。敬请关注。
Illustrator打造苹果风格图标:立体化
原文:http://www.jb51.net/Illustrator/2825.html