QBoxLayout:可以在水平方向或垂直方向上排列控件,由QHBoxLayout、QVBoxLayout所继承。
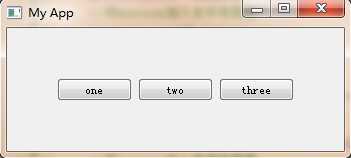
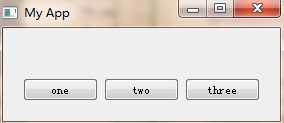
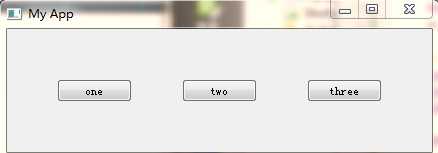
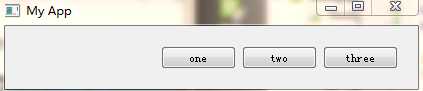
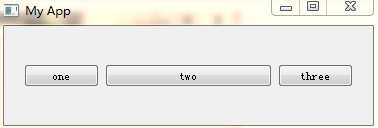
QHBoxLayout:水平布局,在水平方向上排列控件。
QVBoxLayout:垂直布局,在垂直方向上排列控件。
同时我们注意到水平布局、垂直布局除了构造时的方向(LeftToRight、TopToBottom)不同外,其它均相同。
 1 #include "widget.h"
 2 #include <QApplication>
 3 #include <QPushButton>
 4 #include <QHBoxLayout>
 5 #include <QVBoxLayout>
 6
 7 int main(int argc, char *argv[])
 8 {
 9     QApplication a(argc, argv);
10     Widget w;
11     w.setWindowTitle("My App");//设置窗口标题
12
13     //创建3个Button
14     QPushButton *button1 = new QPushButton("one");
15     QPushButton *button2 = new QPushButton("two");
16     QPushButton *button3 = new QPushButton("three");
17
18     QHBoxLayout *hlayout = new QHBoxLayout;//创建一个水平布局管理器
19     //将button加入水平布局器
20     hlayout->addWidget(button1);
21     hlayout->addWidget(button2);
22     hlayout->addWidget(button3);
23
24     QVBoxLayout *vlayout = new QVBoxLayout;//创建垂直布局器
25     //将button加入垂直布局器
26     vlayout->addWidget(button1);
27     vlayout->addWidget(button2);
28     vlayout->addWidget(button3);
29
30     w.setLayout(hlayout);//将水平布局器加入主窗口
31     //w.setLayout(vlayout);//将垂直布局器加入主窗口
32
33     w.show();
34
35     return a.exec();
36 }
Qt垂直/水平布局管理器(QBoxLayout,QHBoxLayout, QVBoxLayout)
原文:http://www.cnblogs.com/ikangkang/p/5962637.html