1.安装服务器端包
1 2 3 4 | #rpm -ivh http://repo.zabbix.com/zabbix/3.0/rhel/7/x86_64/zabbix-release-3.0-1.el7.noarch.rpm#yum clean all#yum install zabbix-server-mysql zabbix-web-mysql#yum -y install mariadb-server |
2.启动mariadb
1 2 | #systemctl start mariadb-server#systemctl enable mariadb-server |
3.创建zabbix数据库
1 2 3 4 5 6 7 | #cd /usr/share/doc/zabbix-server-mysql-3.0.3/#gunzip create.sql.gz#mysql -uroot -pmysql> create database zabbix character set utf8 collate utf8_bin;mysql> grant all privileges on zabbix.* to zabbix@localhost identified by ‘zabbixpwd‘;mysql> quit;#mysql -uzabbix -pzabbixpwd zabbix < create.sql |
4.修改zabbix配置文件
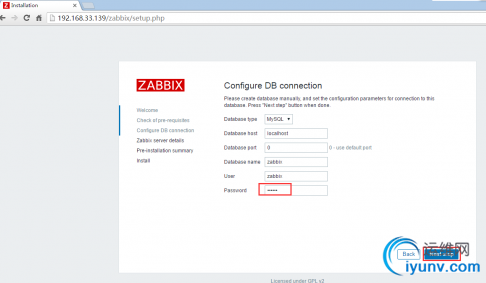
1 2 3 4 5 6 7 | #vim /etc/zabbix/zabbix_server.confDBHost=localhostDBName=zabbixDBUser=zabbixDBPassword=zabbixpwd#systemctl start zabbix-server#systemctl enable zabbix-server |
5.关闭Selinux和火墙,当然你配通也可以
1 2 | #setenforce 0#systemctl stop firewalld |
6.修改http配置文件
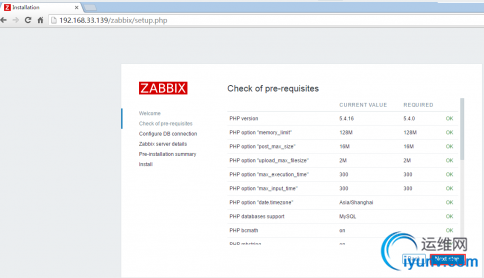
1 2 3 4 5 6 7 8 9 10 | #vim /etc/httpd/conf.d/zabbix.confphp_value max_execution_time 300php_value memory_limit 128Mphp_value post_max_size 16Mphp_value upload_max_filesize 2Mphp_value max_input_time 300php_value always_populate_raw_post_data -1php_value date.timezone Asia/Shanghai#systemctl enable httpd#systemctl start httpd |
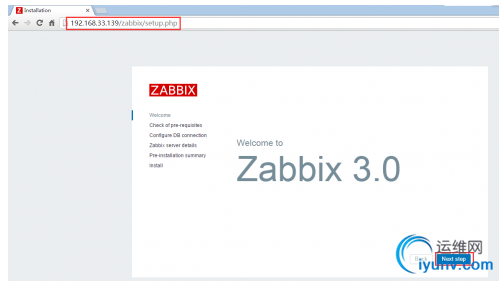
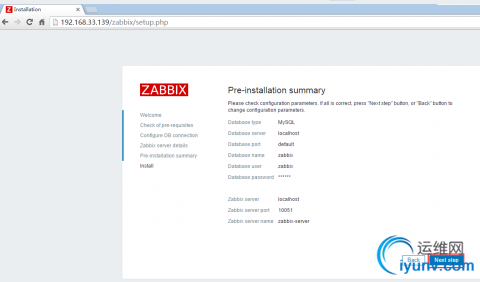
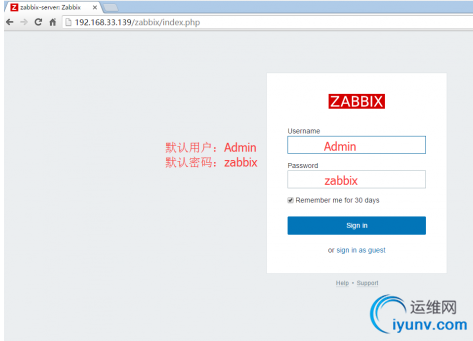
7.Zabbix frontend is available at http://zabbix-frontend-hostname/zabbix in the browser. (Default username/password is Admin/zabbix).
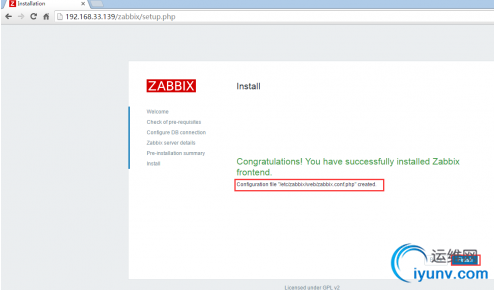
前端页面php配置位置:/etc/zabbix/web/zabbix.conf.php
安装过程中遇见的问题
[root@zabbix-server ~]# systemctl start zabbix-server
Job for zabbix-server.service failed. See ‘systemctl status zabbix-server.service‘ and ‘journalctl -xn‘ for details.
先检查selinux是否关闭,关闭后,并安装以下两个软件。再次启动zabbix-server服务便可以启动成功。
[root@zabbix-server ~]# yum install trousers gnutls -y
8.安装和配置客户端
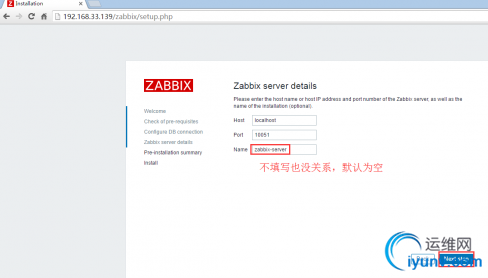
1 2 3 4 5 6 | #rpm -ivh http://repo.zabbix.com/zabbix/3.0/rhel/7/x86_64/zabbix-release-3.0-1.el7.noarch.rpm#yum -y install zabbix-agent#vim /etc/zabbix/zabbix_agentd.confServer=zabbix-server-ip#systemctl enable zabbix-agent#systemctl start zabbix-agent |
原文:http://cstsncv.blog.51cto.com/4047083/1907858