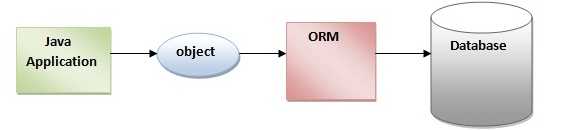
Hibernate 是一个开源、轻量级的ORM(对象关系映射)工具,该工具简化了数据创建、数据处理和数据访问,它是一种将对象映射到数据库中表的编程技术。ORM工具内部使用JDBC API与数据库进行交互。
Hibernate 的优点有:开源、轻量级、快速性能、数据库独立查询、自动创建表、简化复杂查询、提供查询统计和数据库状态。
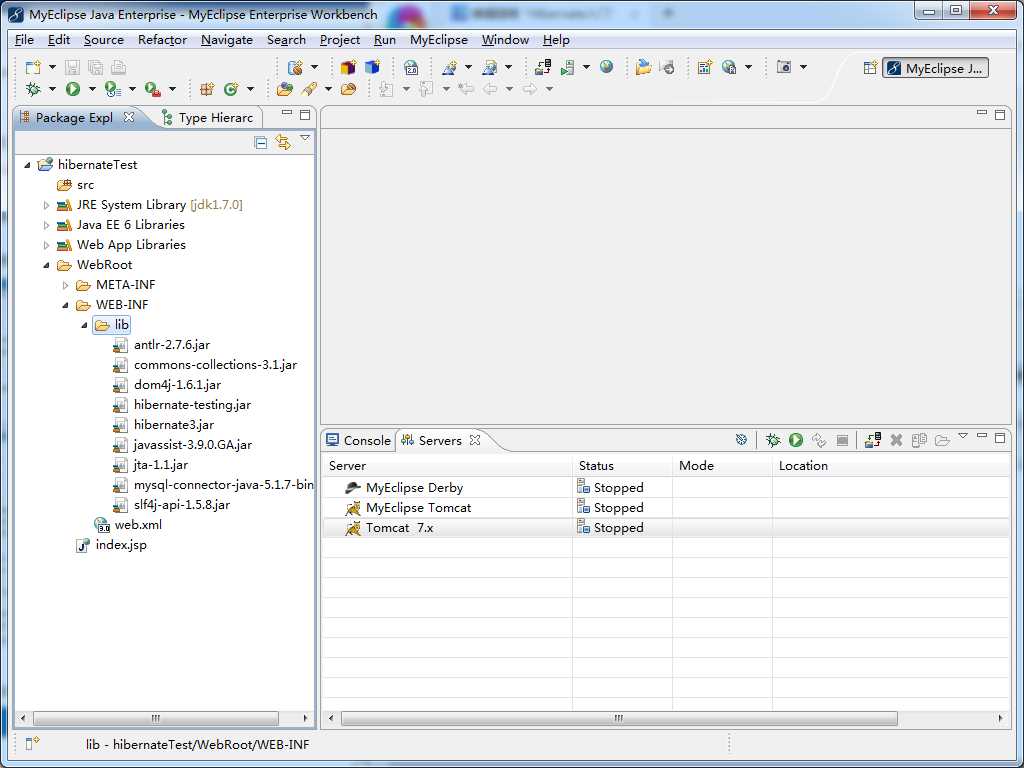
hibernate包和mysql驱动连接包:

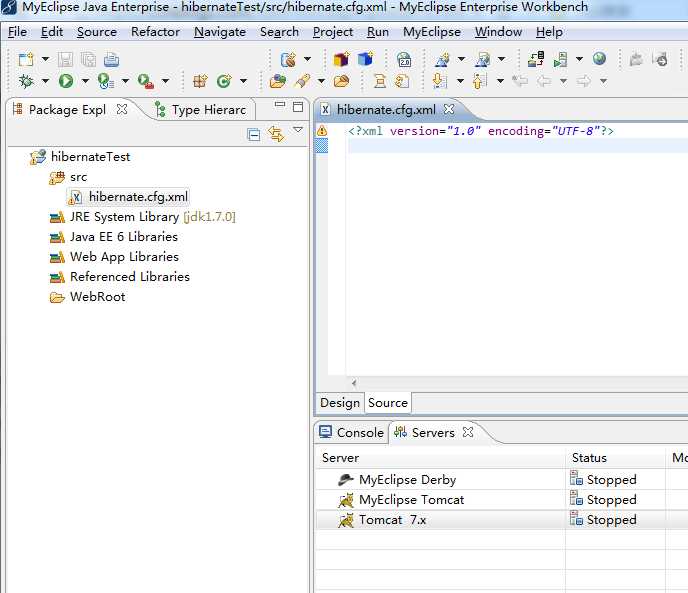
3.在src路径下新建hibernate.cfg.xml配置文件
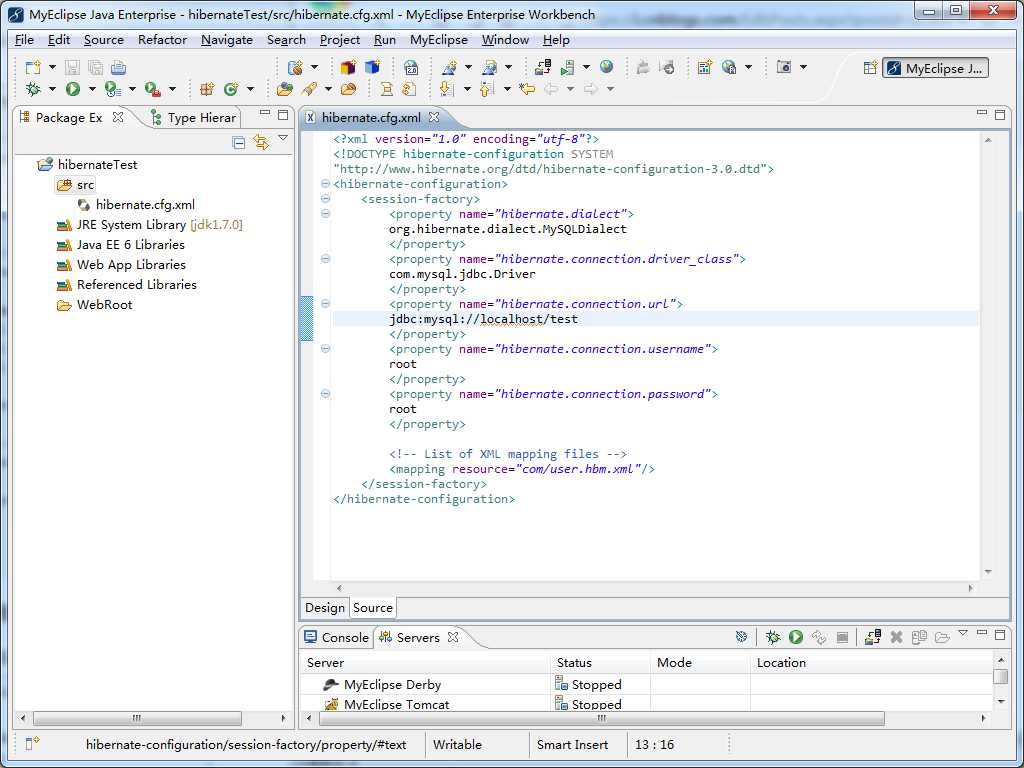
hibernate.cfg.xml配置文件包含了数据库连接配置等全局属性。
<?xml version="1.0" encoding="utf-8"?>
<!DOCTYPE hibernate-configuration SYSTEM
"http://www.hibernate.org/dtd/hibernate-configuration-3.0.dtd">
<hibernate-configuration>
	<session-factory>
		<property name="hibernate.dialect">
		org.hibernate.dialect.MySQLDialect
		</property>
		<property name="hibernate.connection.driver_class">
		com.mysql.jdbc.Driver
		</property>
		<property name="hibernate.connection.url">
		jdbc:mysql://localhost/test
		</property>
		<property name="hibernate.connection.username">
		root
		</property>
		<property name="hibernate.connection.password">
		root
		</property>

	 	<!-- List of XML mapping files -->
   		<mapping resource="com/user.hbm.xml"/>
	</session-factory>
</hibernate-configuration>
4.创建持久化类User
package com;

public class User {

	private int id;

	private String name;

	public int getId() {
		return id;
	}

	public void setId(int id) {
		this.id = id;
	}

	public String getName() {
		return name;
	}

	public void setName(String name) {
		this.name = name;
	}


}
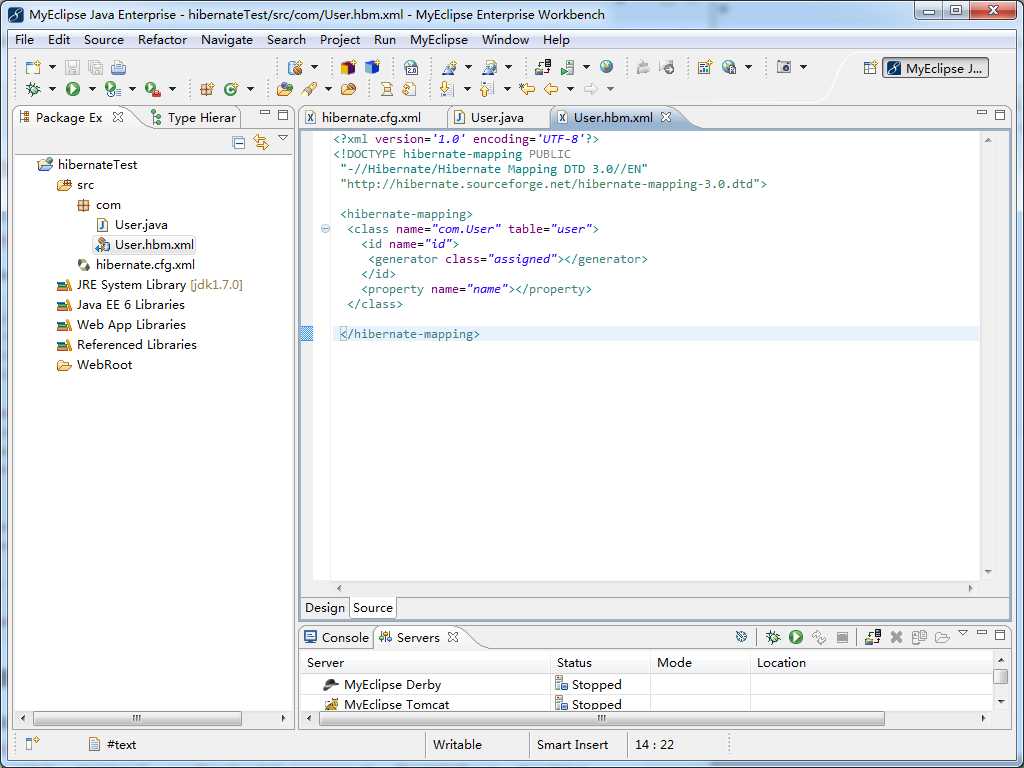
5.创建持久化类的映射文件
在User类的同路径下,创建持久化类的映射文件User.hbm.xml
<?xml version=‘1.0‘ encoding=‘UTF-8‘?>
<!DOCTYPE hibernate-mapping PUBLIC
 "-//Hibernate/Hibernate Mapping DTD 3.0//EN"
 "http://hibernate.sourceforge.net/hibernate-mapping-3.0.dtd">

 <hibernate-mapping>
  <class name="com.User" table="user">
    <id name="id">
     <generator class="assigned"></generator>
    </id>
    <property name="name"></property>
  </class>

 </hibernate-mapping>
6.在hibernate.cfg.xml文件中加入配置
 <!-- List of XML mapping files -->
   <mapping resource="com/user.hbm.xml"/>
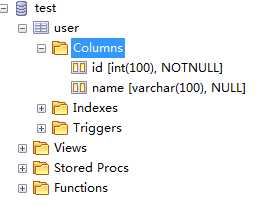
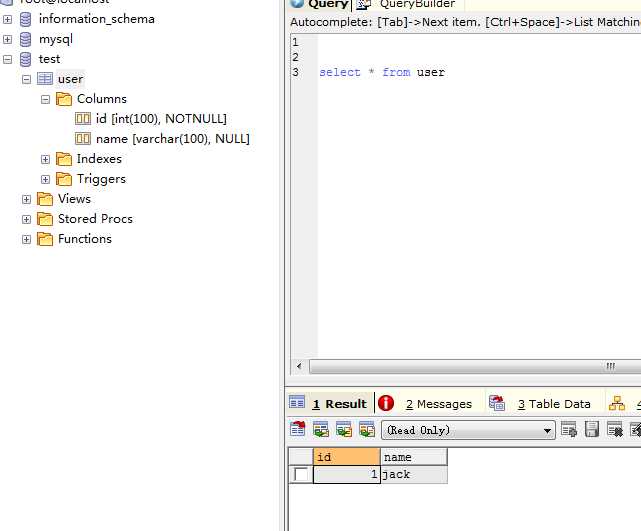
7.在数据库中创建user表
8.在类中调用,将类持久化
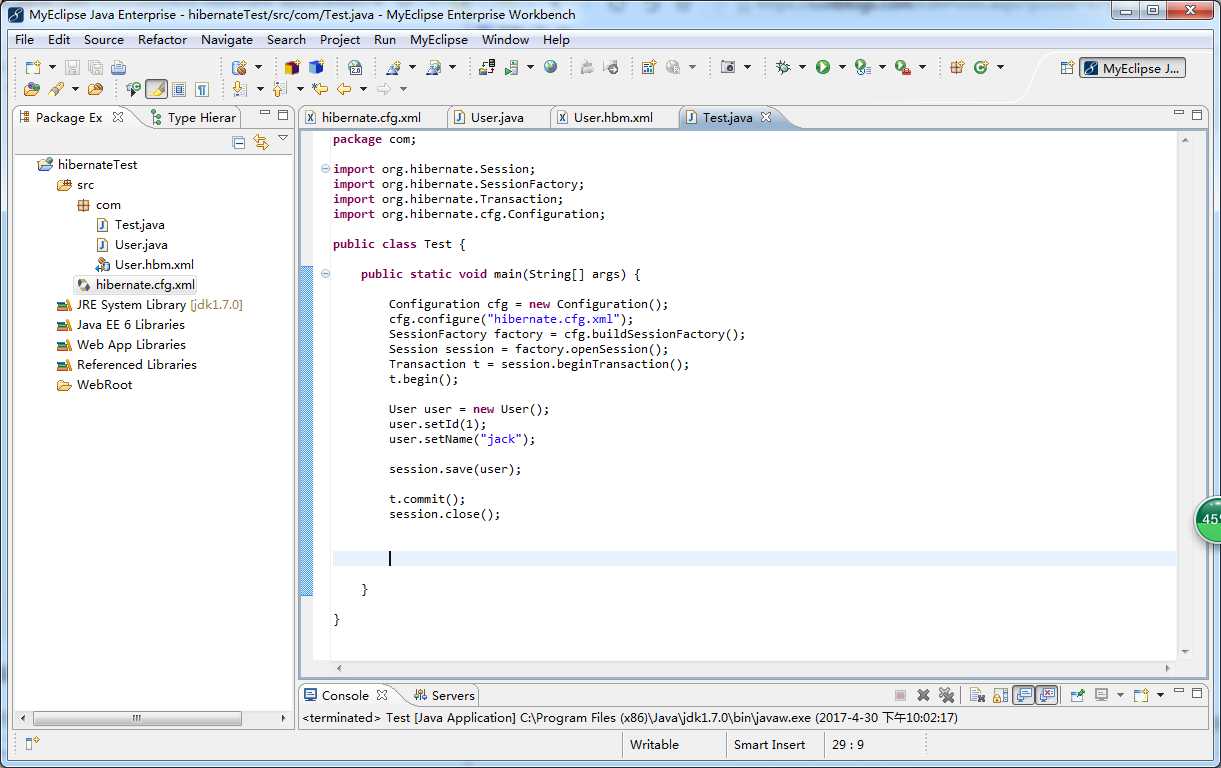
package com;

import org.hibernate.Session;
import org.hibernate.SessionFactory;
import org.hibernate.Transaction;
import org.hibernate.cfg.Configuration;

public class Test {

	public static void main(String[] args) {

		Configuration cfg = new Configuration();
		cfg.configure("hibernate.cfg.xml");
		SessionFactory factory = cfg.buildSessionFactory();
		Session session = factory.openSession();
		Transaction t = session.beginTransaction();
		t.begin();

		User user = new User();
		user.setId(1);
		user.setName("jack");

		session.save(user);

		t.commit();
		session.close();


	}

}
执行完毕后,数据保存成功。
原文:http://www.cnblogs.com/pebbles/p/6789951.html