第一步:
安装环境:
1. npm install webpack -g
2. npm install vue-cli -g
3. vue init webpack-simple
出现

4. npm install
5. npm install vue-router vue-resource --save
6. npm run dev
出现下图 说明成功

写代码正式开始:
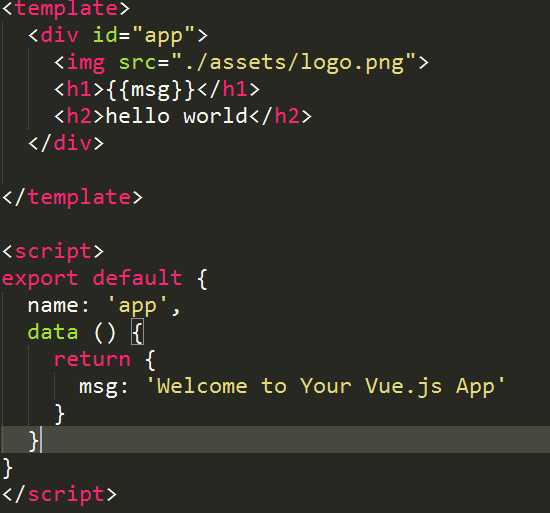
最简单的写法:
直接在App-vue写如你的代码 如:
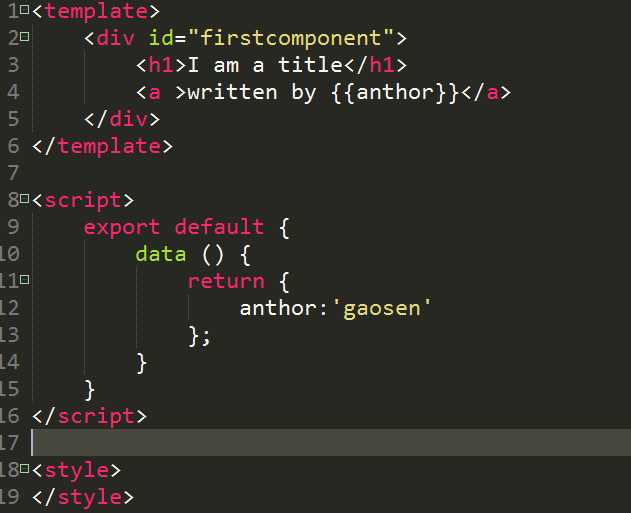
2.使用组件写代码:component
a. 在src目录下先建一个component目录 在目录里面创建一个firstcomponent.js文件 如图
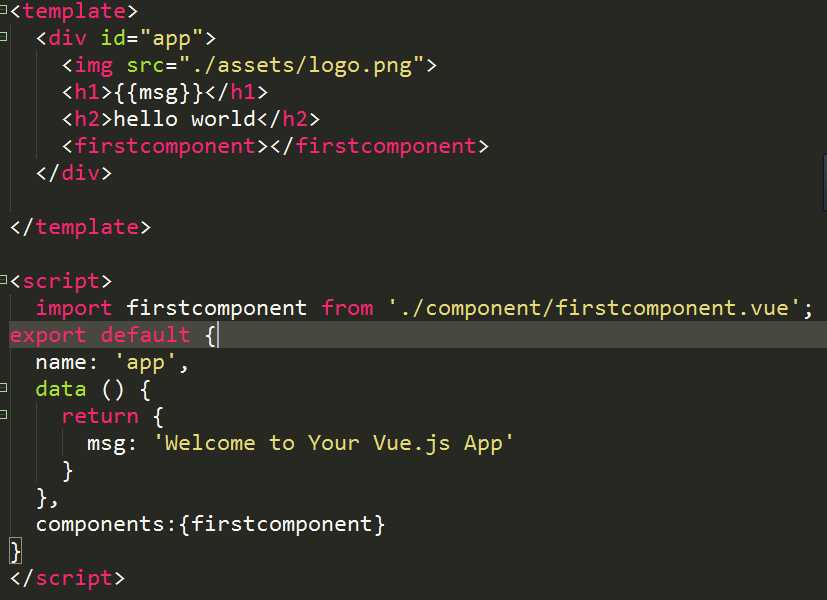
第一步,引入。在<script></script>标签内的第一行写
import firstcomponent from ‘./component/firstcomponent.vue‘
第二步,注册。在<script></script>标签内的 data 代码块后面加上 components: { firstcomponent }。记得中间加英文逗号!!!
export default {
  data () {
    return {
      msg: ‘Hello Vue!‘
    }
  },
  components: { firstcomponent }
}
第三步,使用。
在<template></template>内加上<firstcomponent></firstcomponent>
完整代码:
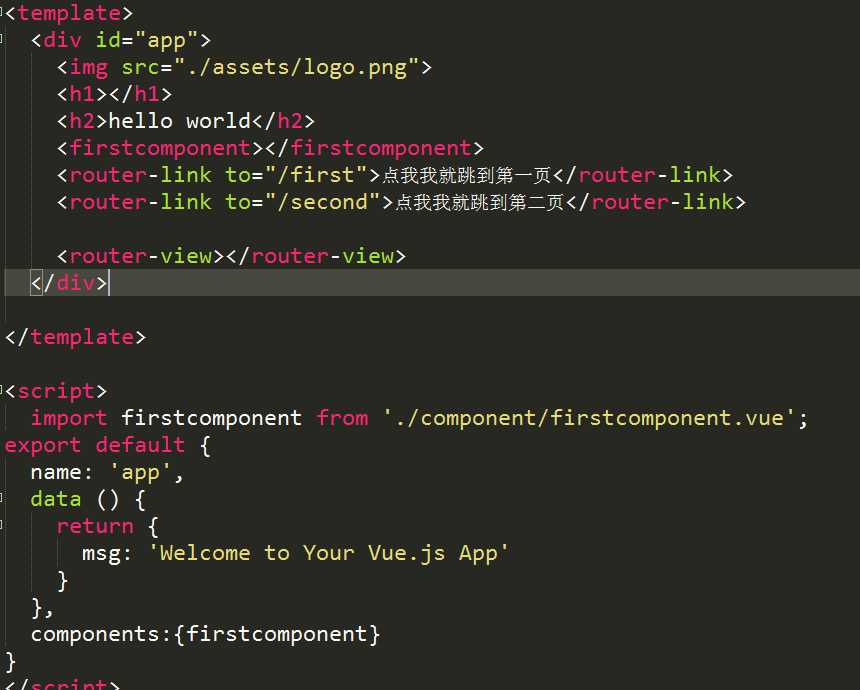
路由:
第一种: 在 main.js中路由 不推荐
在component目录中创建secondconponent 文件
在App.vue中写如 如图;
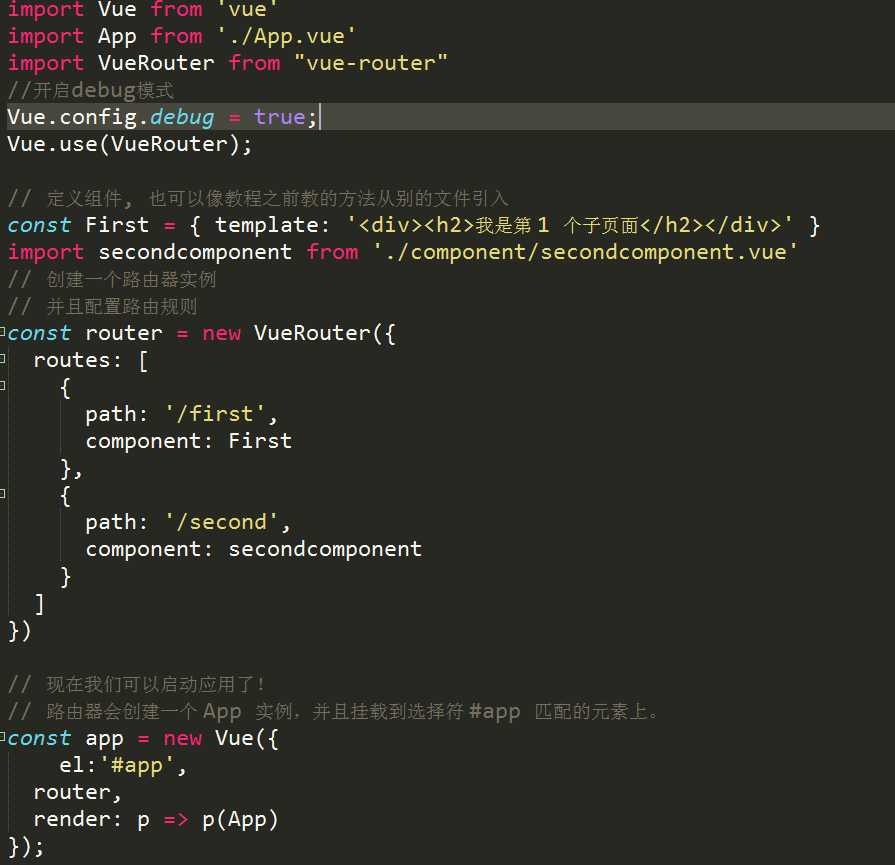
在main.js中的代码:
原文:http://www.cnblogs.com/gaosen/p/6798563.html