In this tutorial, we show you how to create a simple “hello world” Android project in Eclipse IDE + ADT plugin, and run it with Android Virtual Device (AVD). The Eclipse ADT plugin provided easy Android project creation and management, components drag and drop, auto-complete and many useful features to speed up your Android development cycles.
Summary steps to develop an Android application :
Tools used in this tutorial :
Visit this Android SDK page, choose which platform and install it.
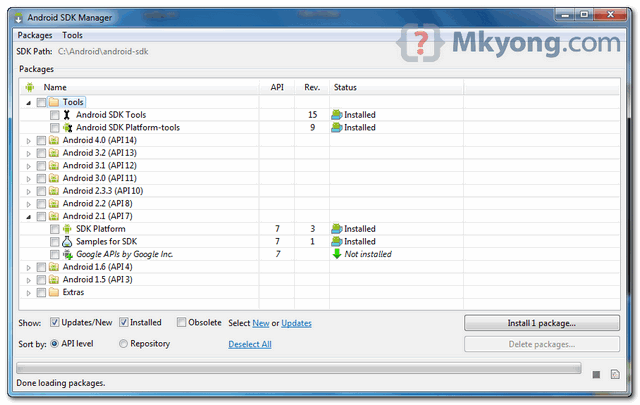
In Android SDK installed folder, run “Android SDK manager”, choose what Android version you want to develop.
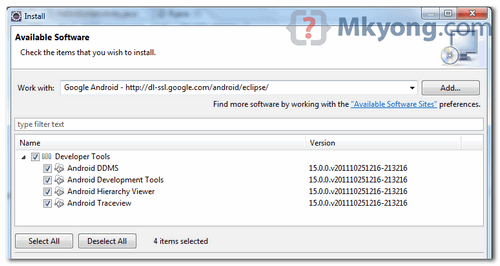
To integrate Android SDK with Eclipse IDE, you need to install Eclipse ADT plugin. Refer to this official guide – “Installing the ADT Plugin“.
In Eclipse IDE, select “Help” -> Install New Software…”, and put below URL :
https://dl-ssl.google.com/android/eclipse/
In Eclipse, you can access the “Android Virtual Device (AVD)” in Eclipse toolbar. Click “new” to create a AVD.
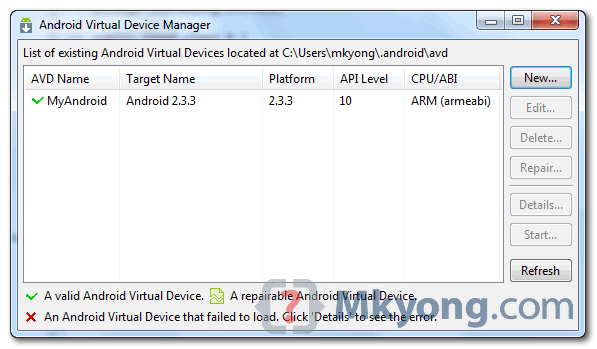
Later, Eclipse will deploy the application into this AVD.
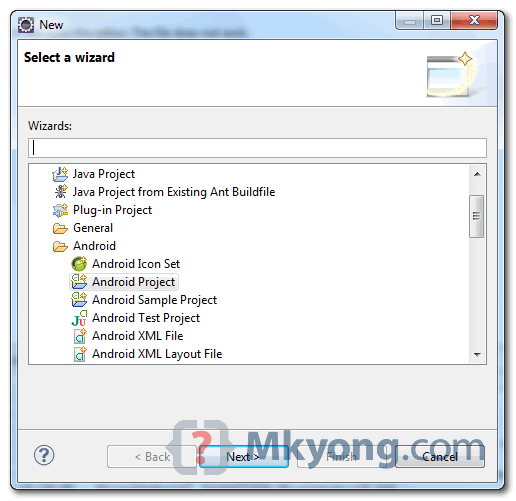
In Eclipse, select “File -> New -> Project….”, “Android Project”, and input your application detail. Eclipse will create all the necessary Android project files and configuration.
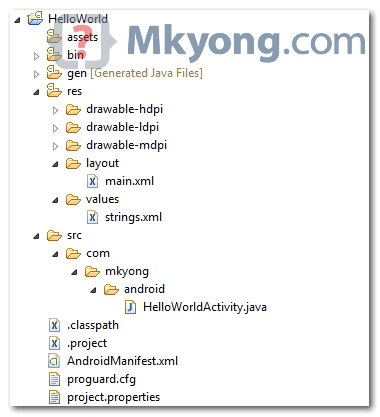
Locate the generated activity file, and modify a bit to output a string “Hello World”.
File : HelloWorldActivity.java
package com.mkyong.android;

import android.app.Activity;
import android.os.Bundle;
import android.widget.TextView;

public class HelloWorldActivity extends Activity {
    /** Called when the activity is first created. */
    @Override
    public void onCreate(Bundle savedInstanceState) {
        super.onCreate(savedInstanceState);

        TextView text = new TextView(this);
        text.setText("Hello World, Android - mkyong.com");
        setContentView(text);
    }
}
Run it as “Android Application“, see output.
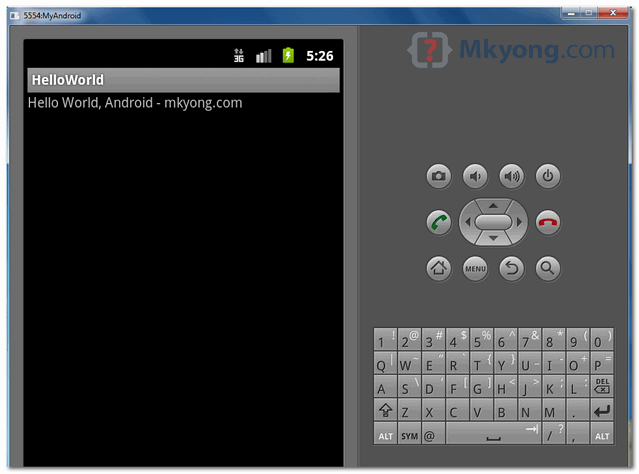
Press “Home” button (on right hand side), and you will noticed that “HelloWorld” application is deployed successfully on the Android virtual device.
[Android]Android Hello World Example,布布扣,bubuko.com
[Android]Android Hello World Example
原文:http://www.cnblogs.com/webapplee/p/3774057.html