ClickHouse目前仅支持在ubuntu下面部署,而且国内中国文档也比较少
>vi /etc/apt/sources.list
#在最后一行追加
#ubuntu16.04 使用Xenial:
deb http://repo.yandex.ru/clickhouse/xenial stable main
#ubuntu14.04 使用Trusty:
deb http://repo.yandex.ru/clickhouse/Trusty stable main
#ubuntu12.04 使用Precise:
deb http://repo.yandex.ru/clickhouse/Precise stable main
保存退出
>apt-key adv --keyserver keyserver.ubuntu.com --recv E0C56BD4 //追加key
>apt-get update
>apt-get install clickhouse-server-common clickhouse-client -y
>service clickhouse-server start
此时如果clickhouse-server启动不了
>tail -10 /var/log/clickhouse-server/clickhouse-server.log //查看错误日志是什么回事,发现9000端口已被占用
解决:
>vi /etc/clickhouse-server/config.xml
#找到<tcp_port>9000</tcp_port> 把9000改为其他端口如:9001
#还有一个问题就是ipv4和ipv6的问题,如果服务器不支持ipv6,那么把listen_host冒号去掉改为自己的IP地址,或0.0.0.0表示所有ip都能接入
#再次启动clickhouse
>service clickhouse-server restart
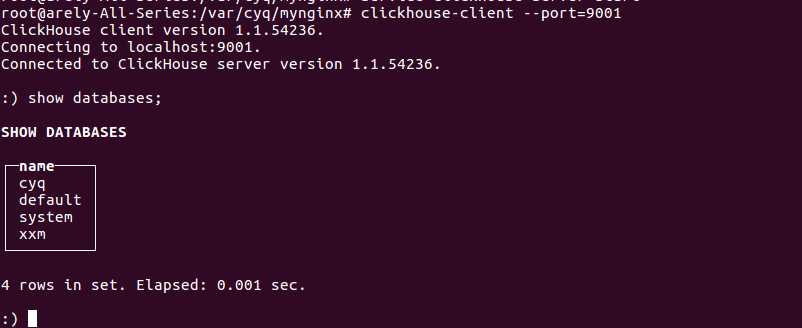
>clickhouse-client --port=9001 #指定连接的端口进入
clickhouse的SQL命令与Mysql是大同小异的,具体可以参照官方文档 https://clickhouse.yandex/docs/en/single/index.html#create-table
原文:http://www.cnblogs.com/cyq632694540/p/7123133.html