Basic File SharingThis is the basic File Sharing settings.
For example, Set Shared folder for [C:\Share] as everyone can read and write.
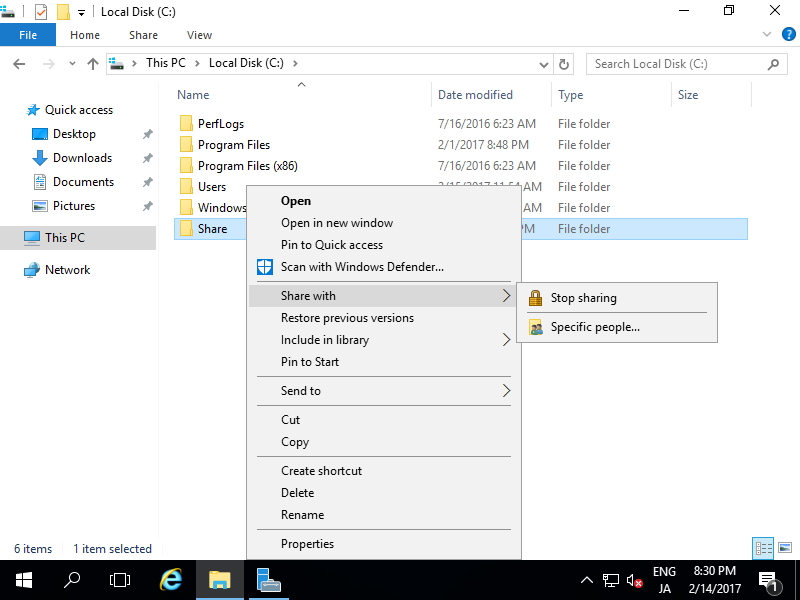
| [1] | Right-Click target folder and select [Share with] - [Specific People]. |
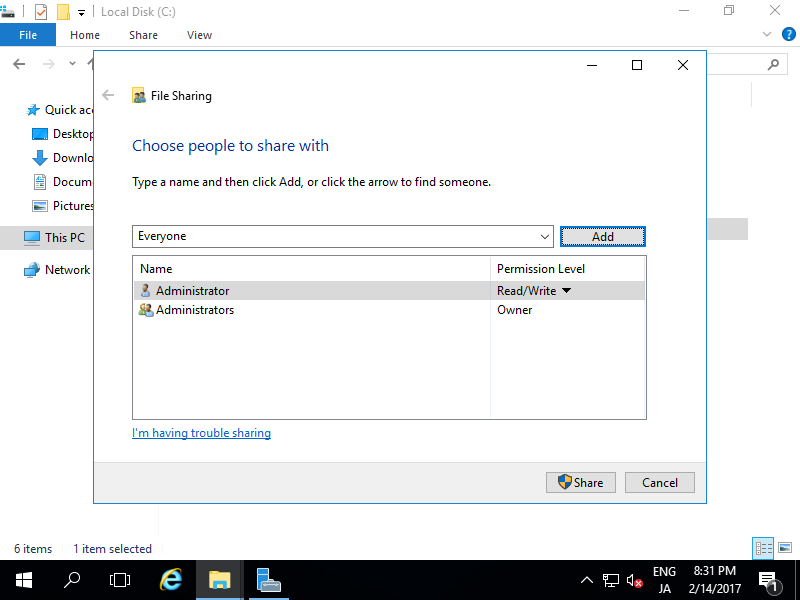
| [2] | Select a user (everyone on this example) and click [Add] button. |
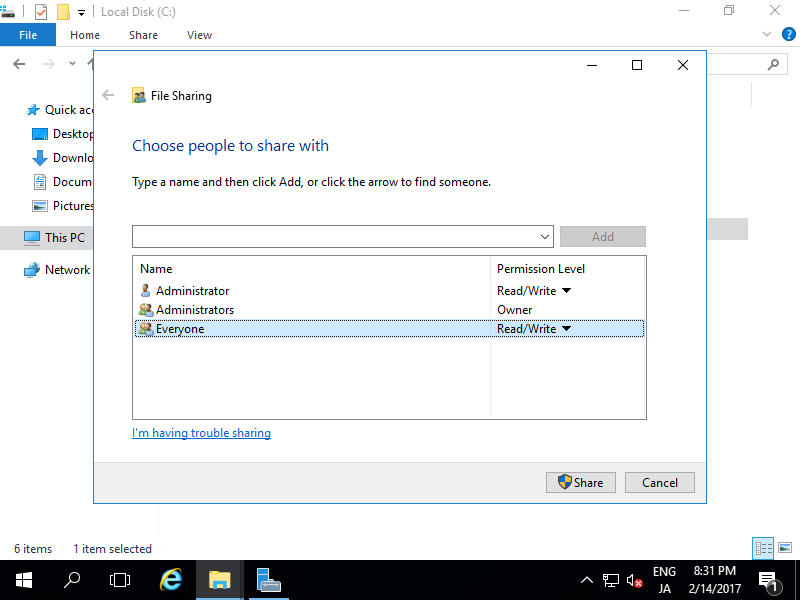
| [3] | Select Permission level for the user you just added (Read/Write on this example) and then click [Share] button. |
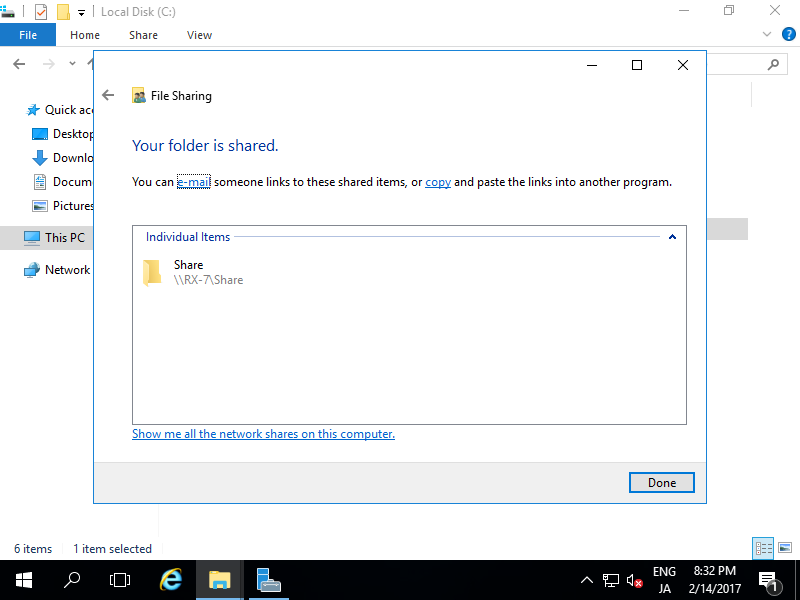
| [4] | Click [Done] button to finish configuration. |
Access to Shared Folder
Access to Shared Folder from Clients. This example is on Windows 10 Pro.
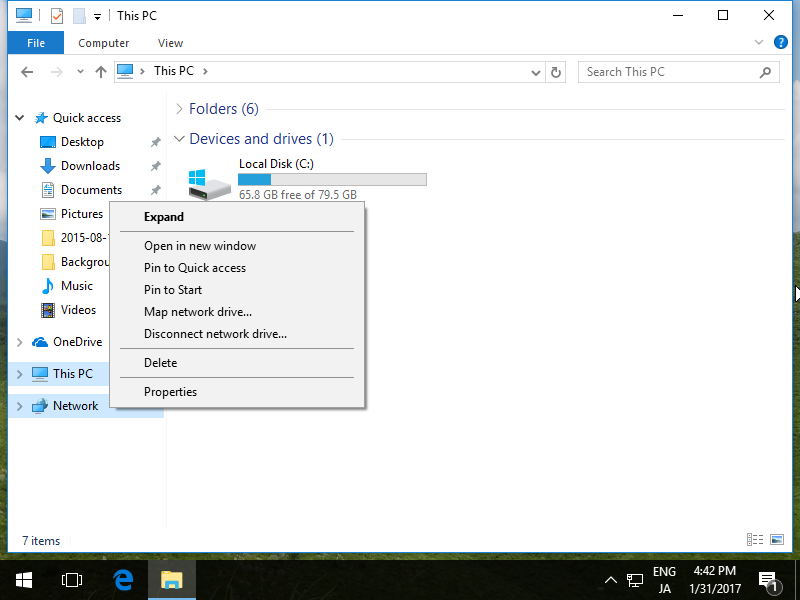
| [1] | Run Explorer and right-click [Network] which is on left side and select [Map network drive]. |
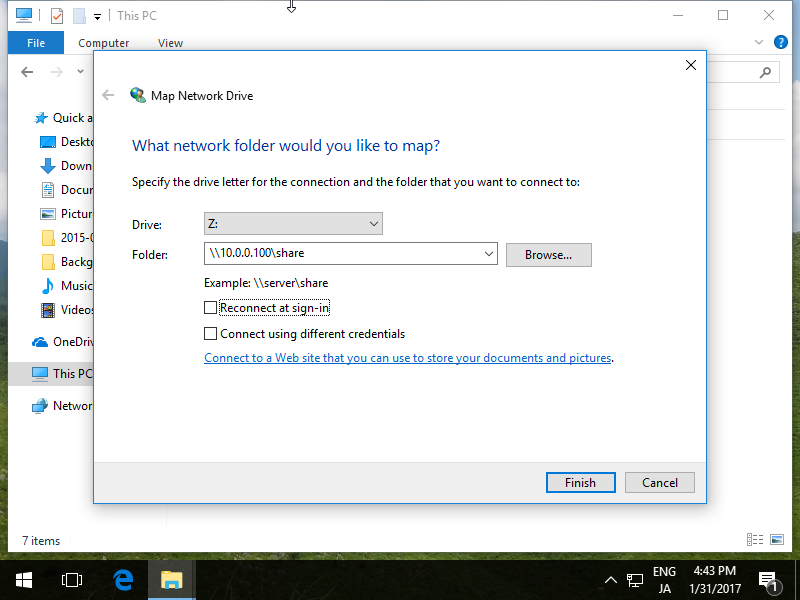
| [2] | Select a Drive for [Drive] section to map netowrk drive and input share name for [Folder] section. |
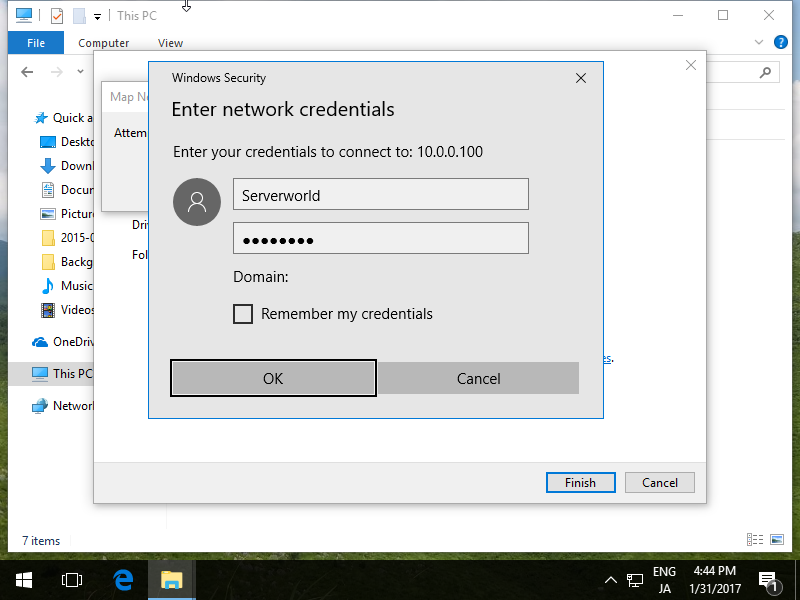
| [3] | For this case of example, the Server and Client are not in the same Domain, so authentication is required like follows. |
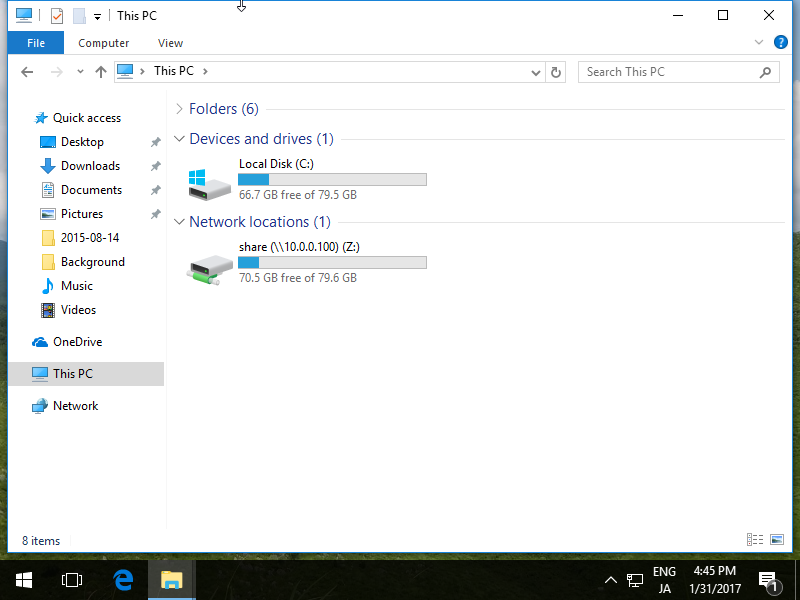
| [5] | Shared Folder is maped to Z:\ drive. |
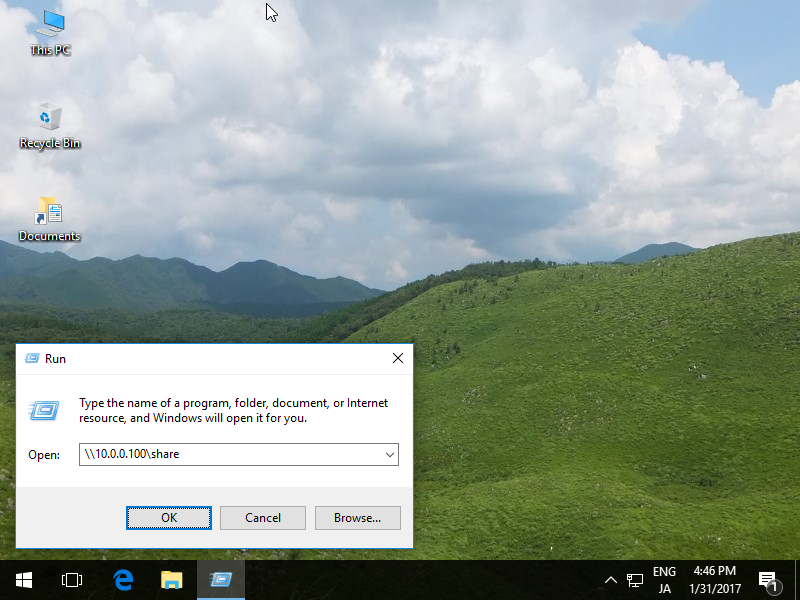
| [6] | If you'd like to access without mapping drive letter, run directly like follows. |
File Server : Install
Install File Server Role to configure network sharing.
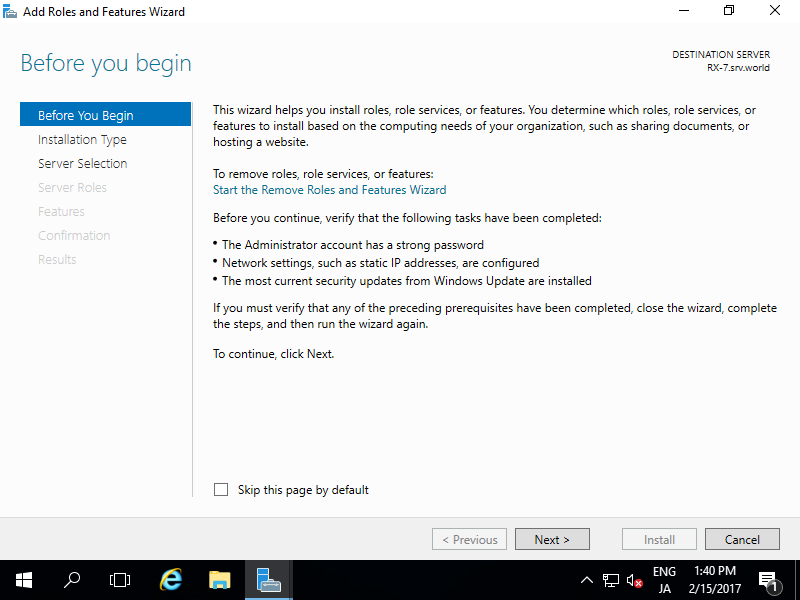
| [1] | Run Server Manager and Click [Add roles and features]. |
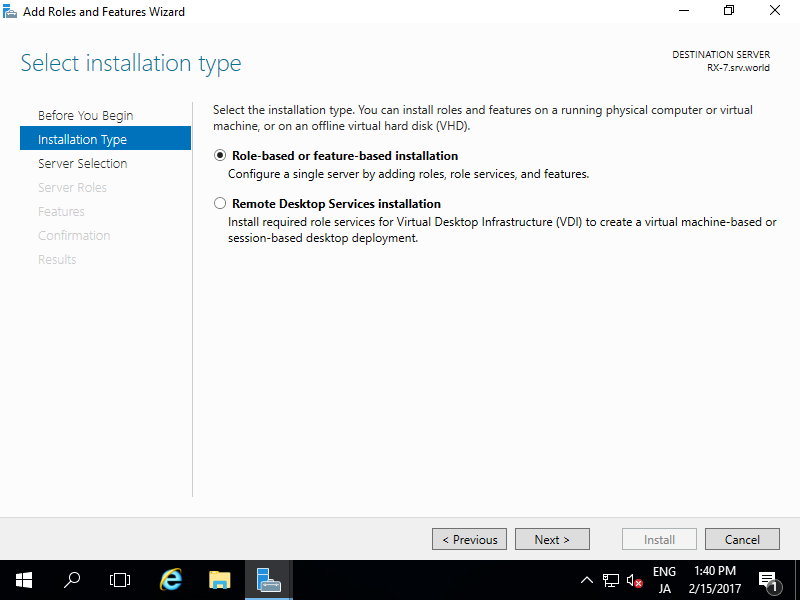
| [3] | Select [Role-based or feature-based installation]. |
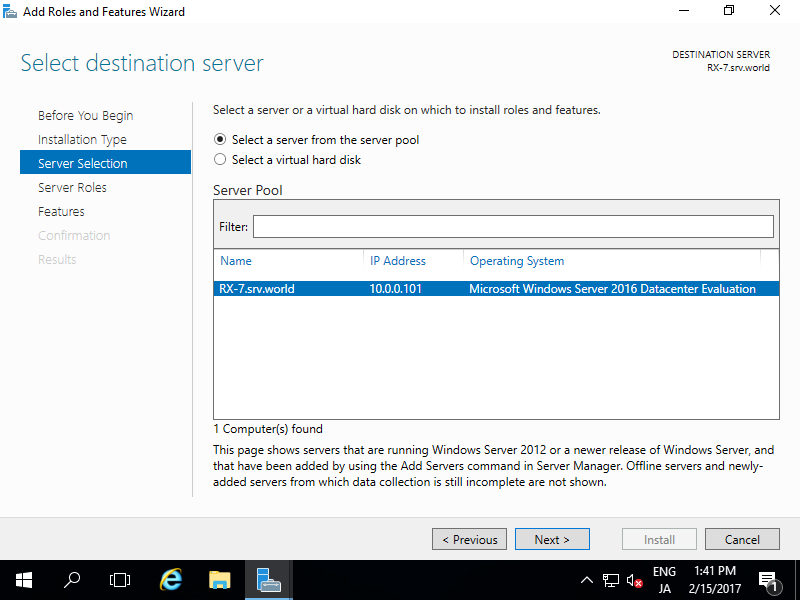
| [4] | Select a Host which you'd like to add services. |
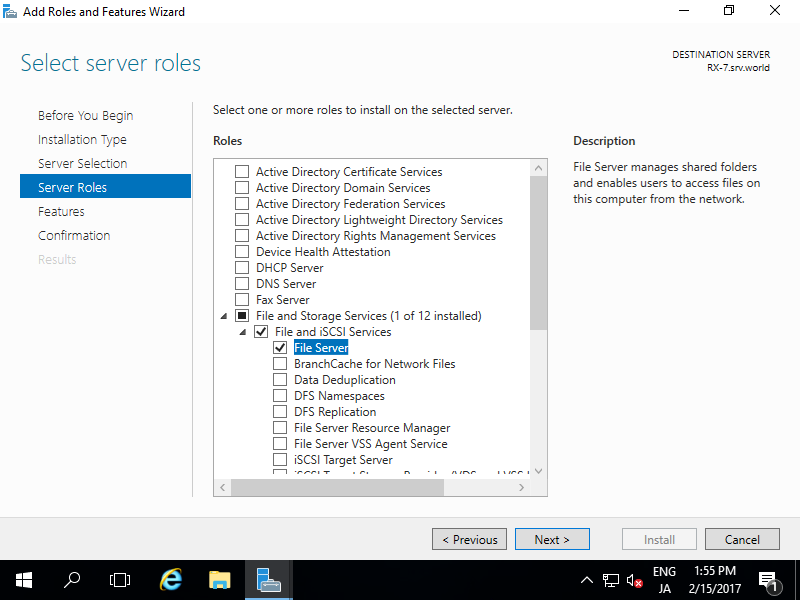
| [5] | Check a box [File Server]. |
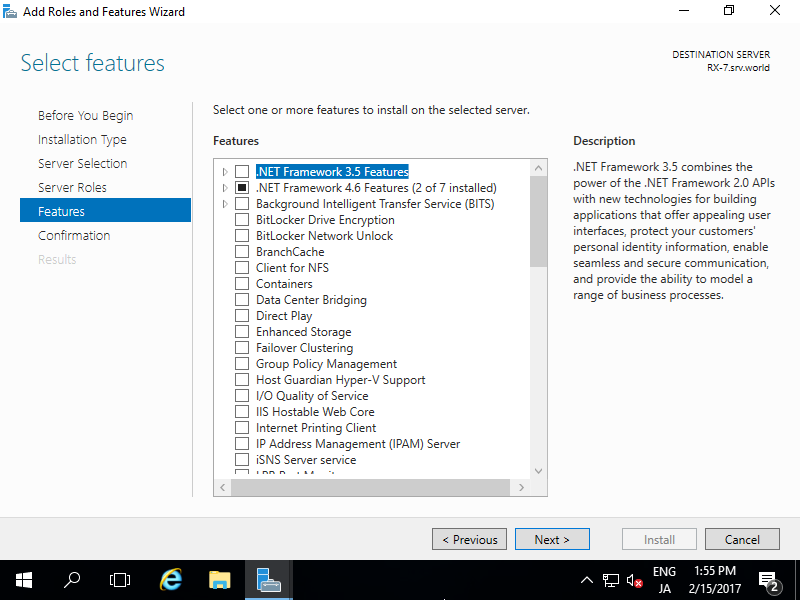
| [6] | Click [Next] button to keep default. |
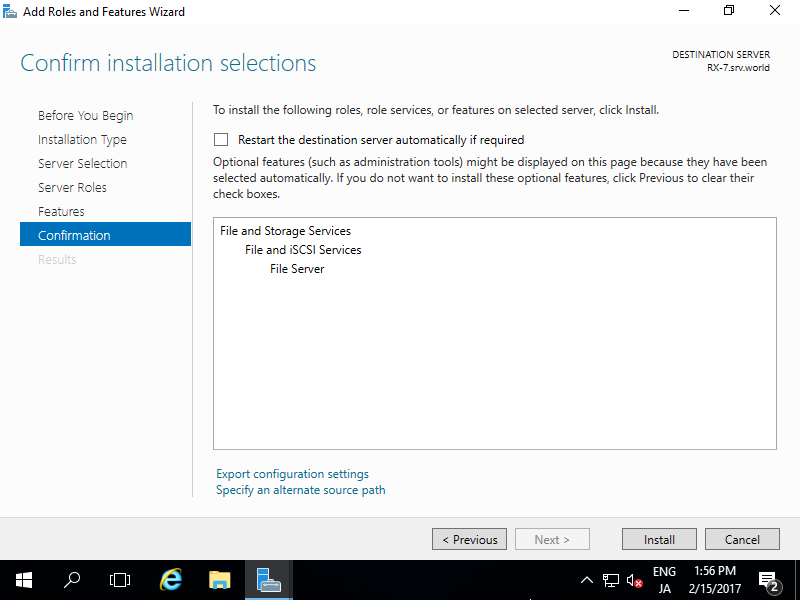
| [7] | Click [Install] button. |
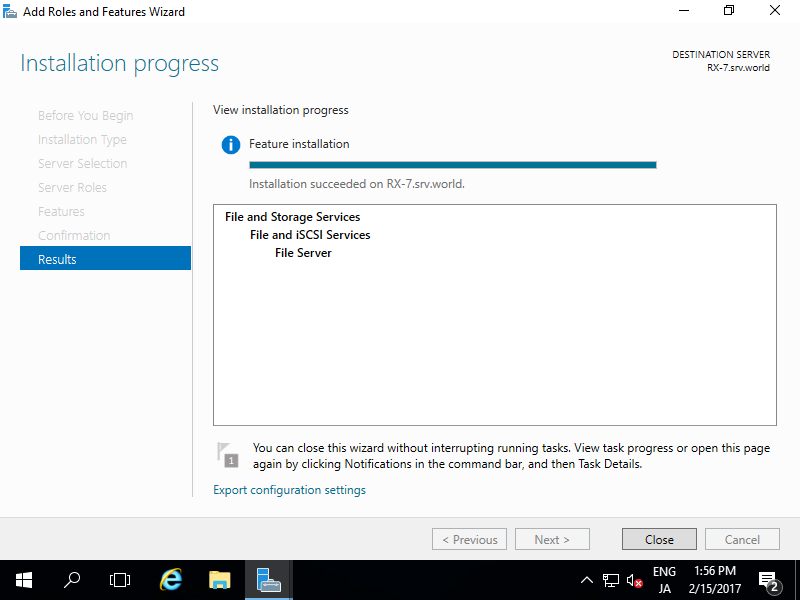
| [8] | After finishing Installation, click [Close] button. |
File Server : Configure Shared folder
Configure a Shared folder as an example.
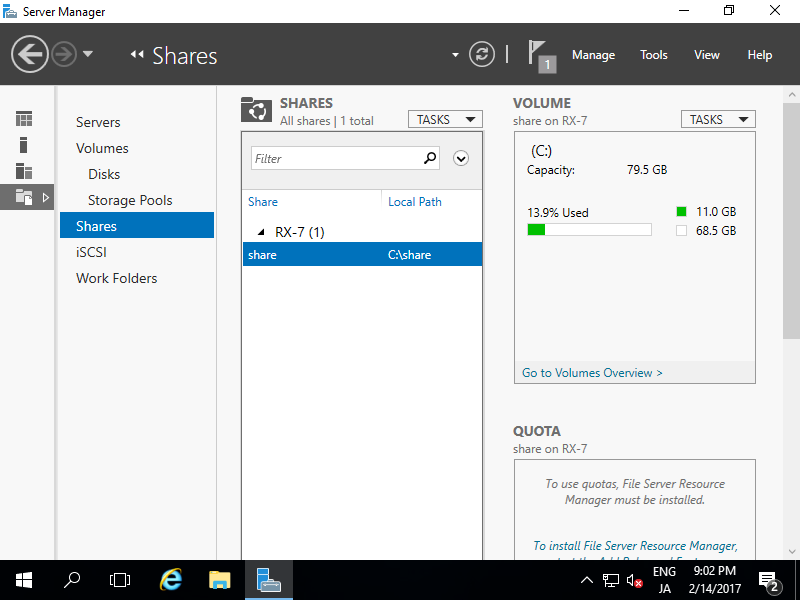
| [1] | Run Server Manager and Click [File and Storage Services]. |
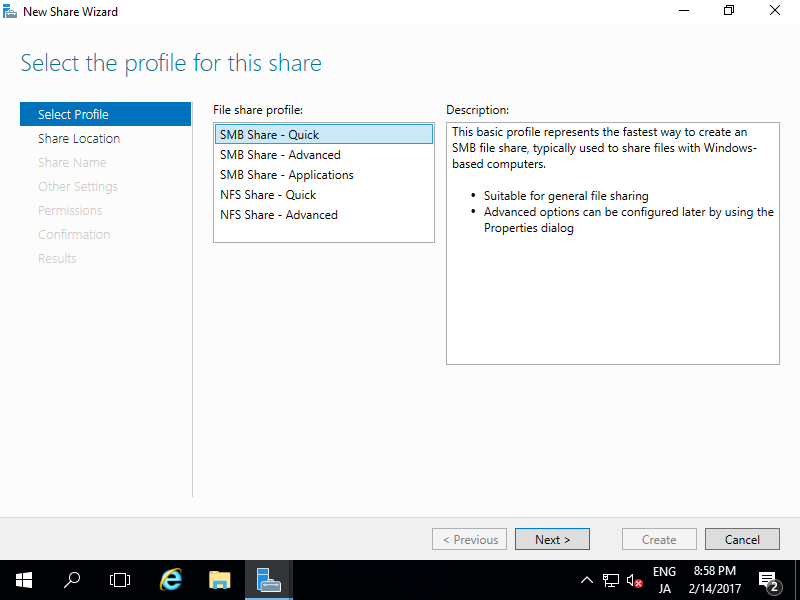
| [2] | Select [Shares] on the left pane and click [TASKS] - [New Share...]. |
| [3] | For example, select [SMB Share - Quick] on here. |
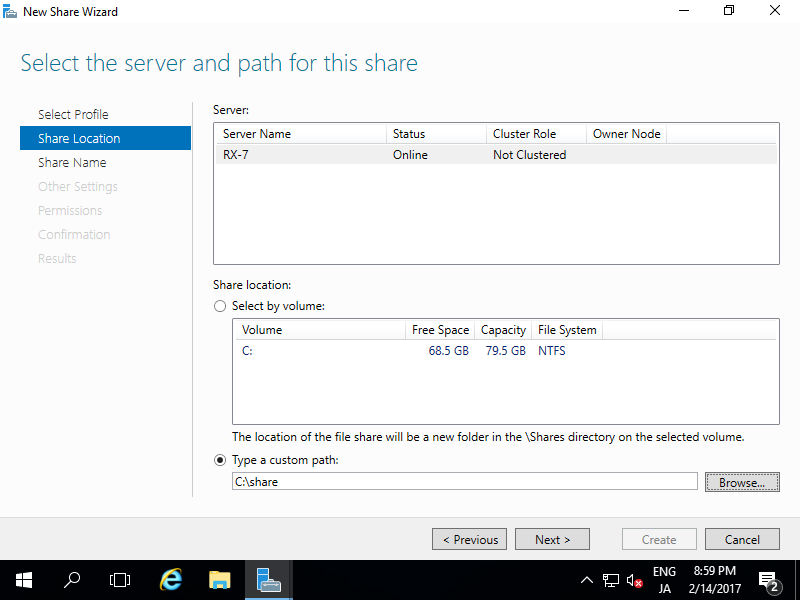
| [4] | For example, configure a specific folder as shared one, so check a box [Type a custom path] and input the path for specific folder you'd like to set as shared folder. (set as "Share" on this exmaple) |
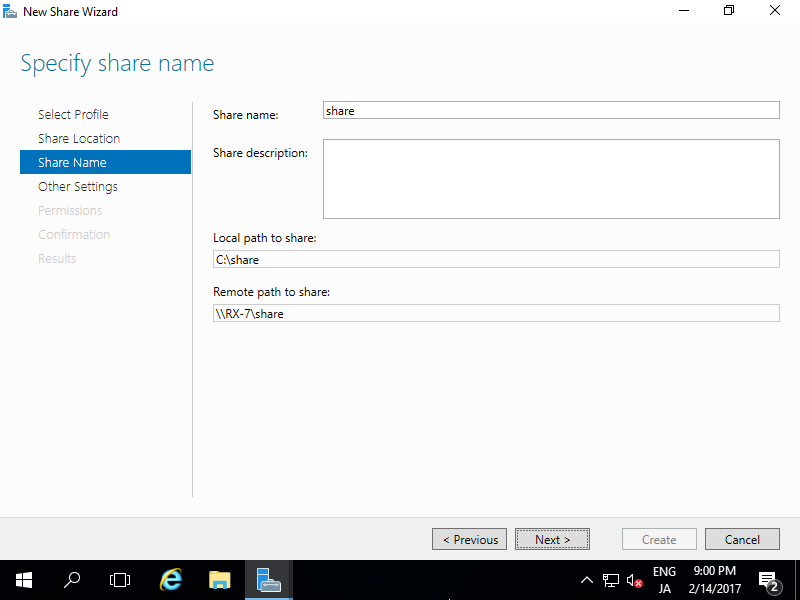
| [5] | Input local and remote share path. |
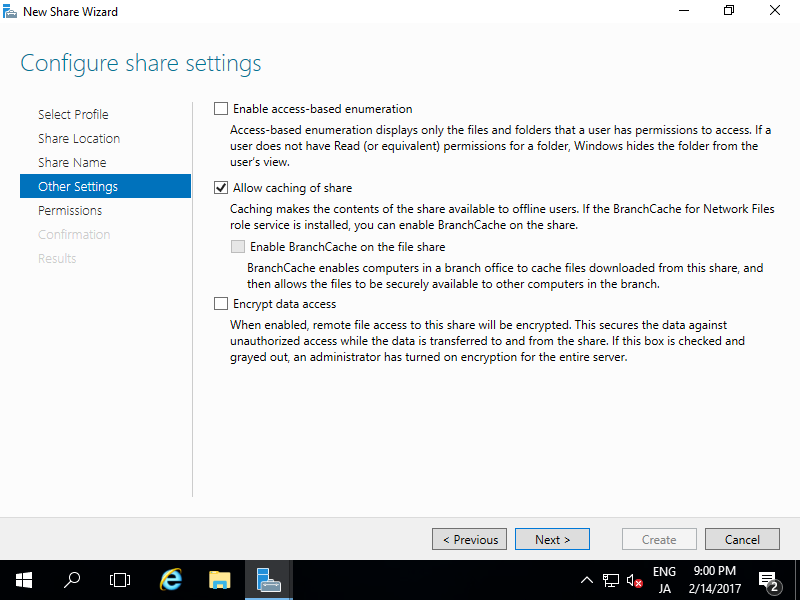
| [6] | Configure Share settings. This example shows to keep default. |
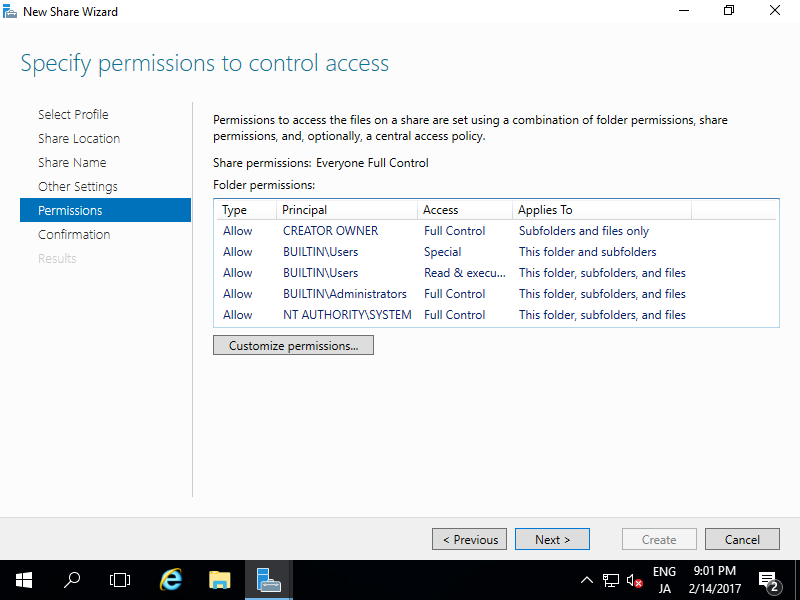
| [7] | Set the share permissions. Configure it for your requirements. |
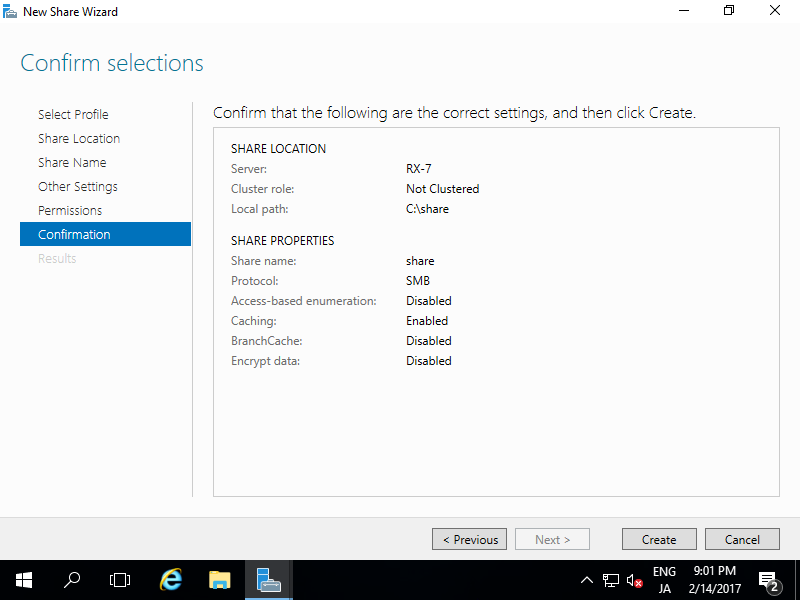
| [8] | Confirm selections and click [Create] button if all OK. |
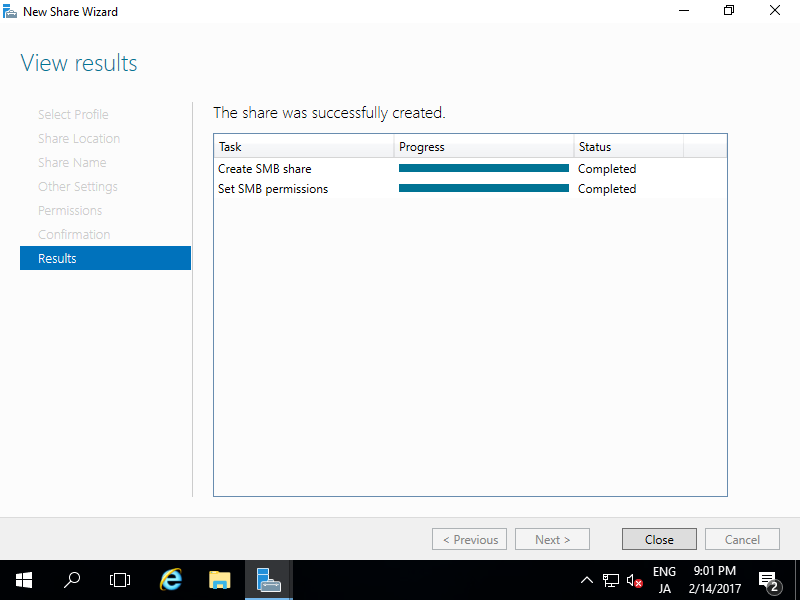
| [9] | After finishing, Click [Close] button. |
| [10] | New share has been listed like follows and it's possible to access from Clients. |
File Server : Access Permission
Modify Access Permission for a shared folder.
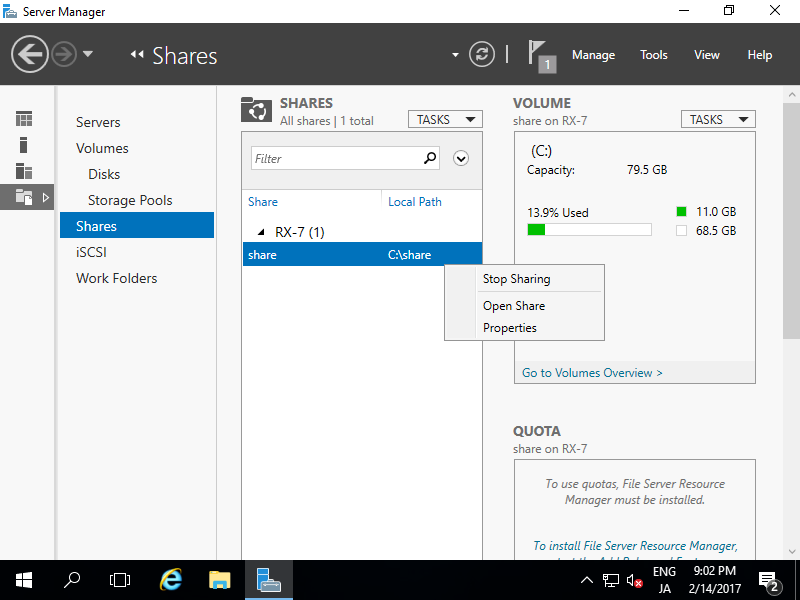
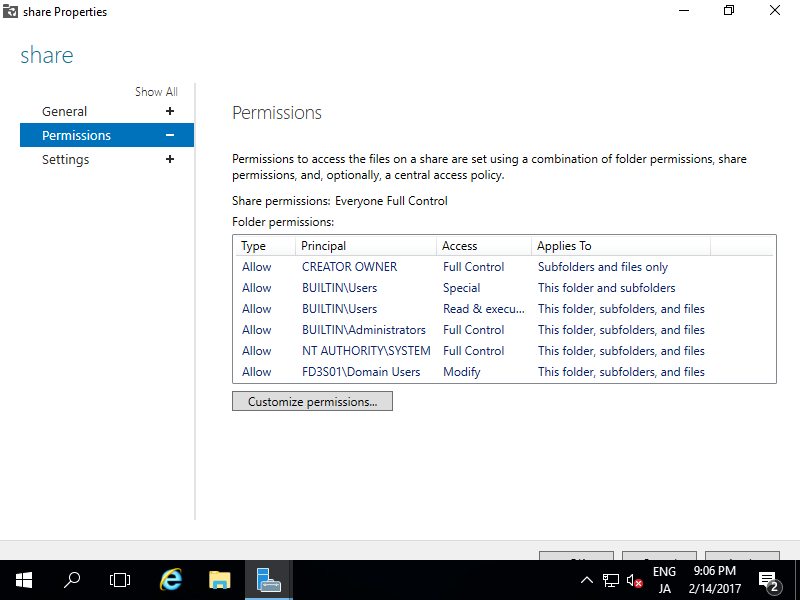
| [1] | Run Server Manager and Click [File and Storage Services], and next, right-click a Share you'd like to modify and select [Properties]. |
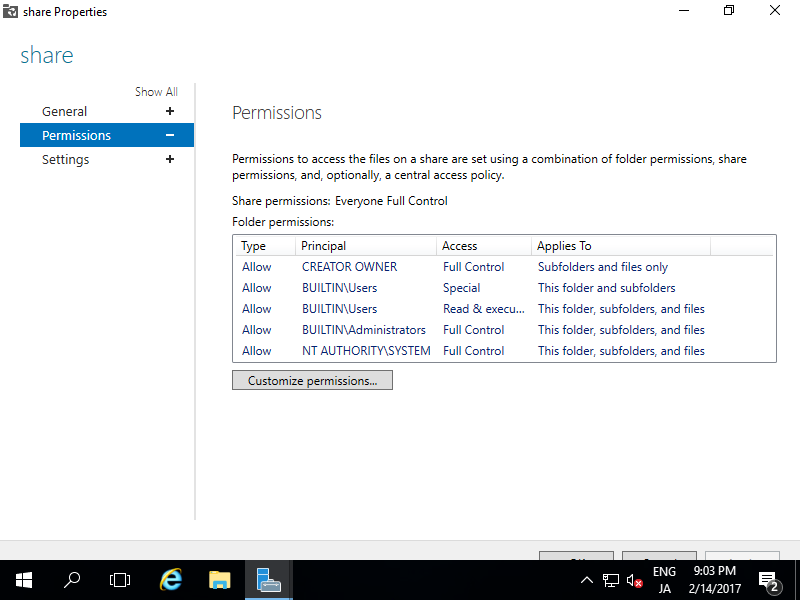
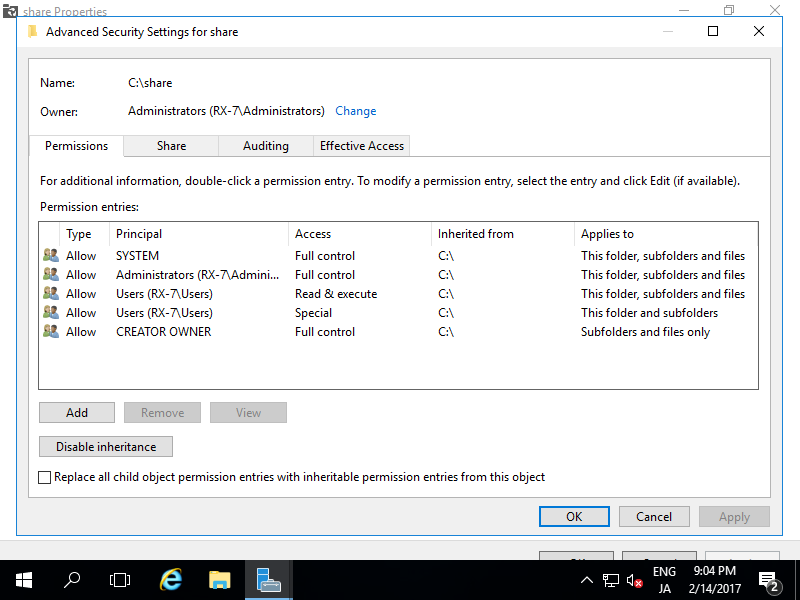
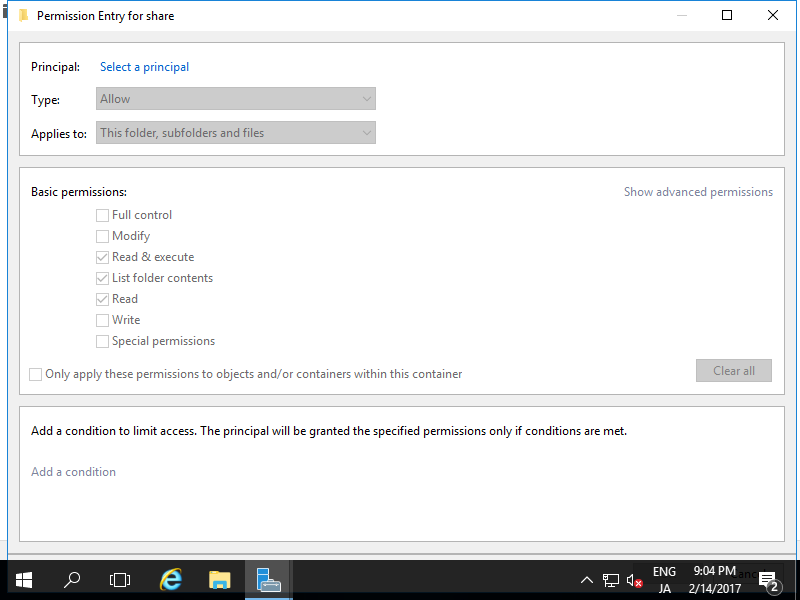
| [2] | Select [Permissions] on the left pane and click [Customize permissions] on the left pane. |
| [4] | Click [Select a principal] link. |
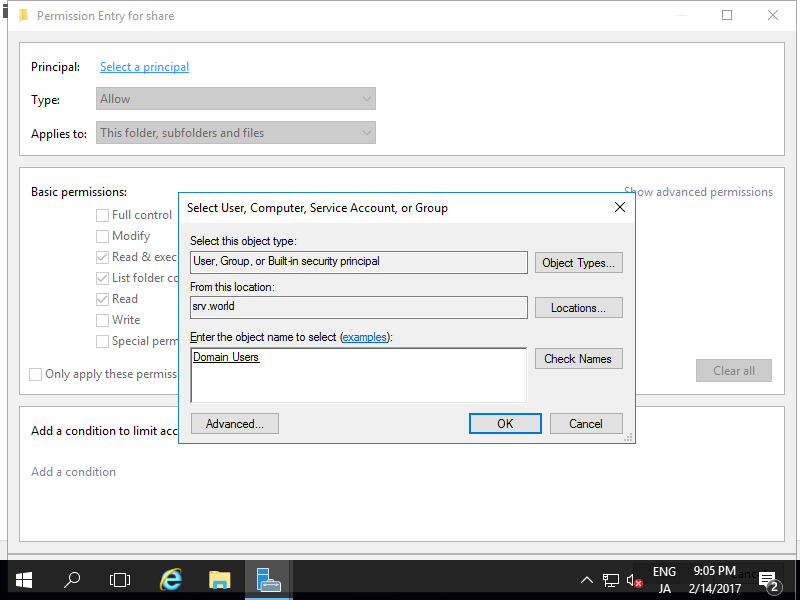
| [5] | Input username or group name you'd like to add access permission and click [OK] button.
On this example shows to add "Domain Users" group. |
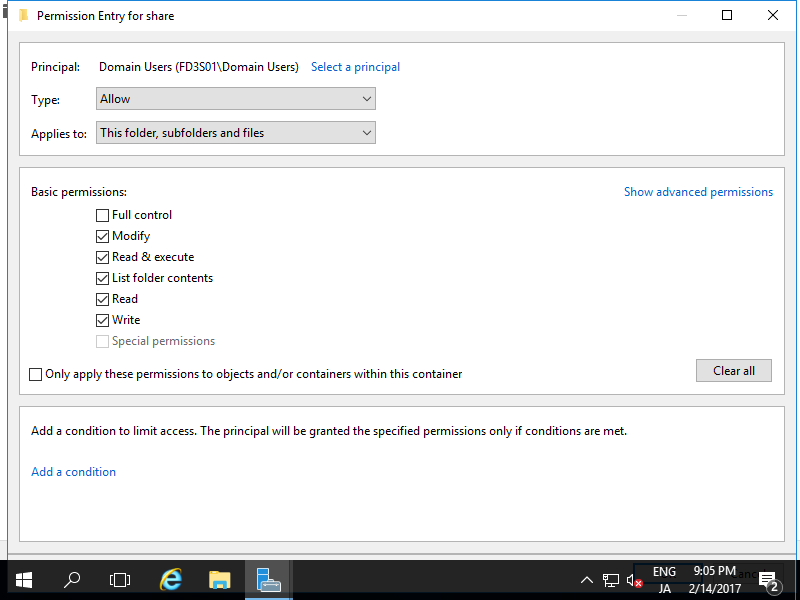
| [6] | Check boxes you'd like to add permissions and click [OK] button. |
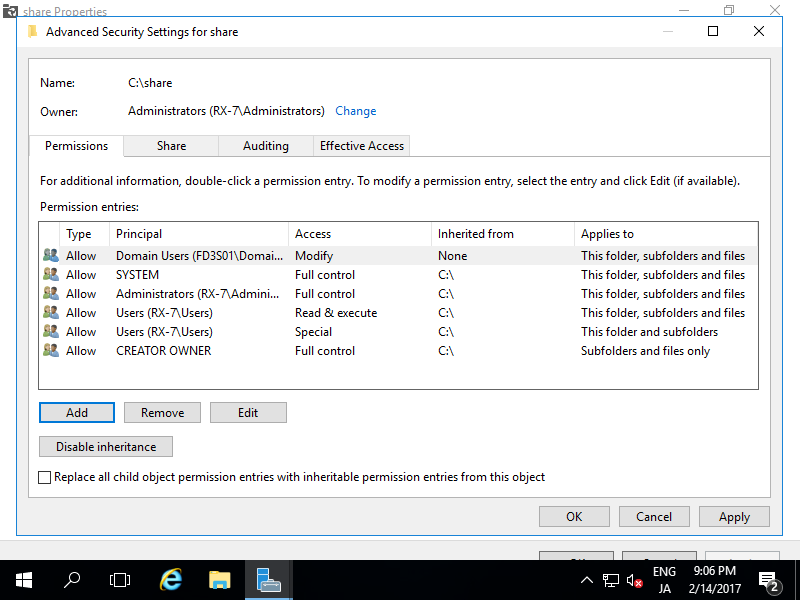
| [7] | Confirm settings and click [OK] button if all OK. |
| [8] | New access permission has been just added. |
File Server : Object Access Audit
Configure Object Access Audit.
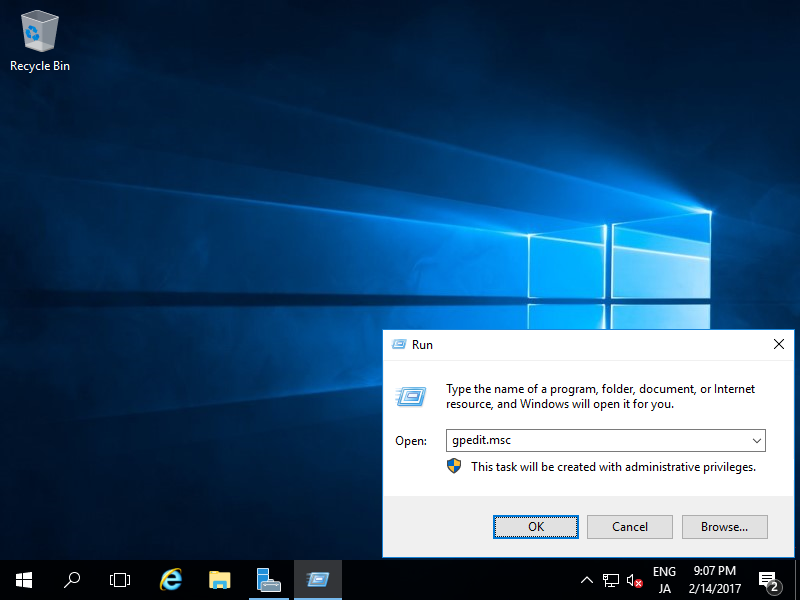
| [1] | Enable Object Access Audit setting first. Run [gpedit.msc] like follows. |
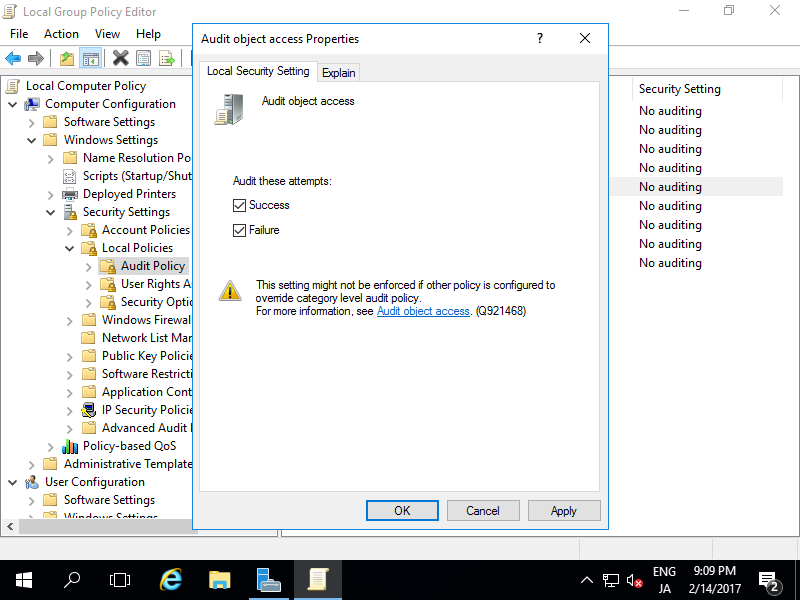
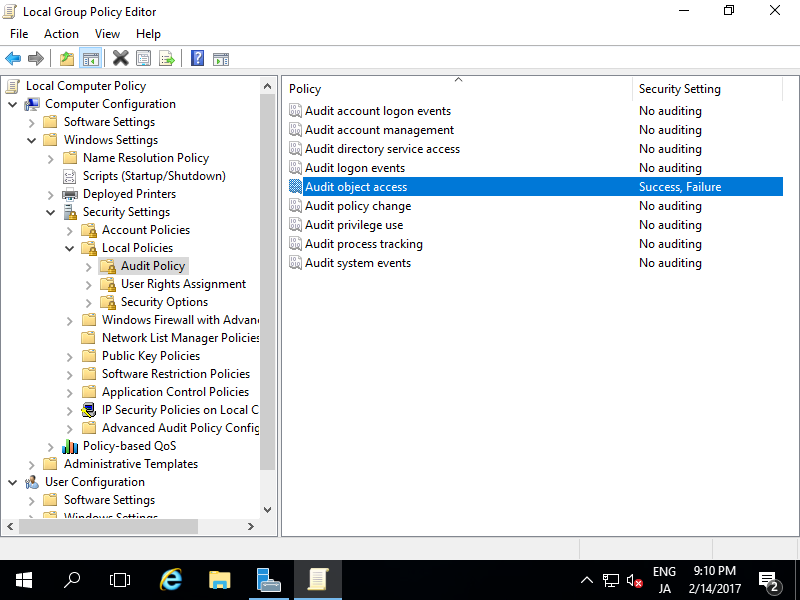
| [2] | Select [Audit Policy] on the left pane like follows, click to open [Audit Object Access] on the right pane. |
| [3] | Check boxes of attempts you'd like to audit. |
| [4] | Confirm settings and close Group Policy Editor. |
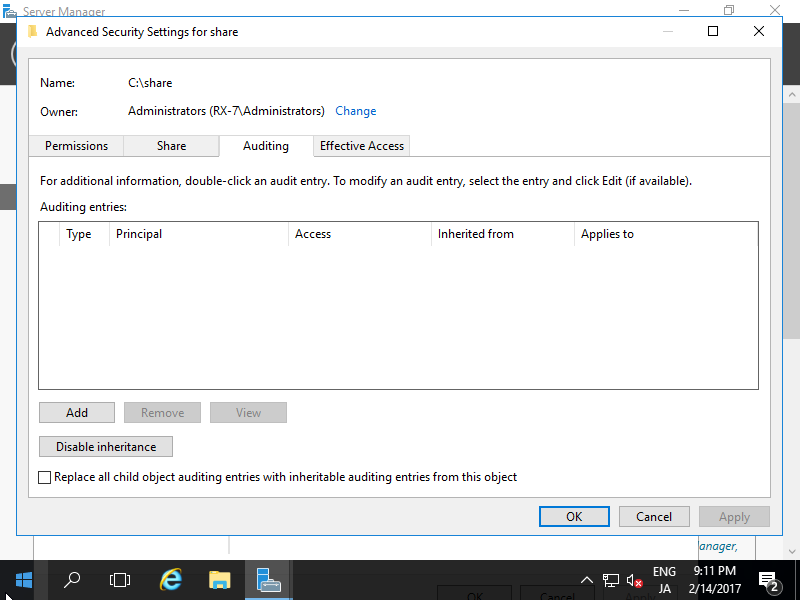
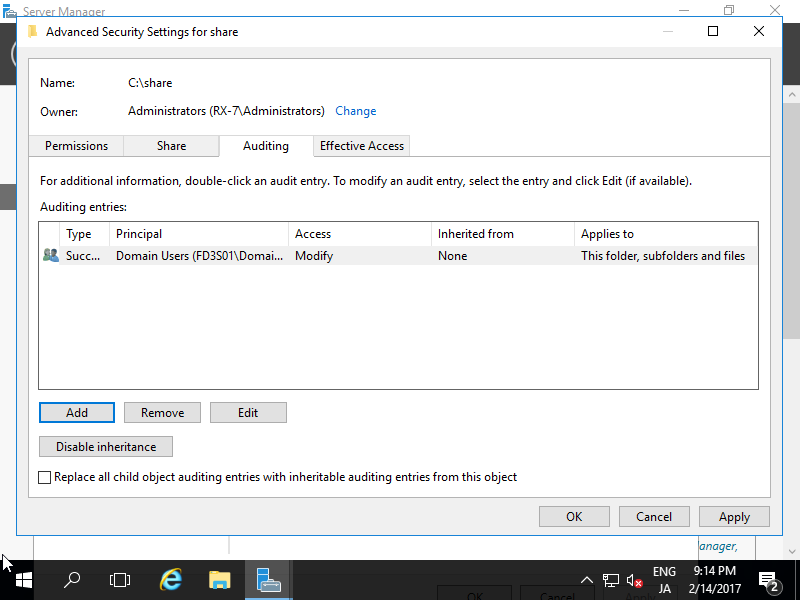
| [5] | Open the property of a Share you'd like to audit and move to [Auditing] tab and click [Add] button. |
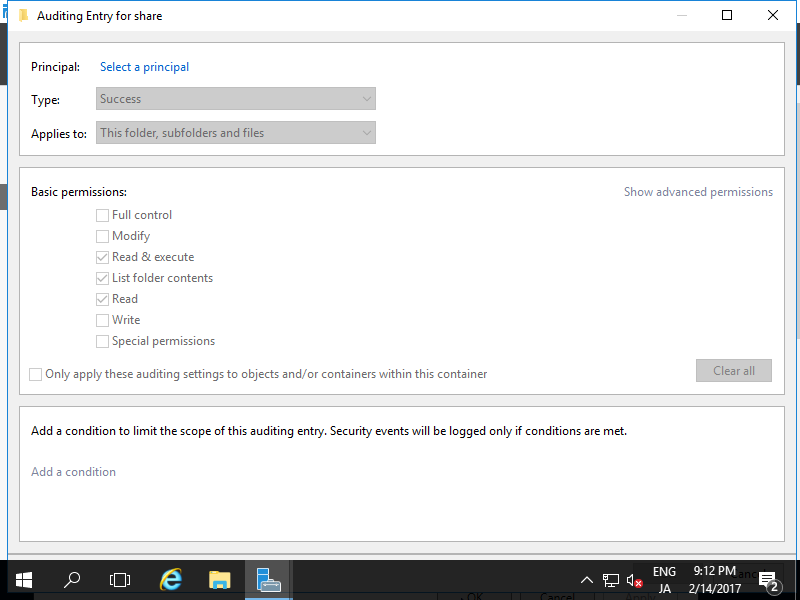
| [6] | Click [Select a principal] link. |
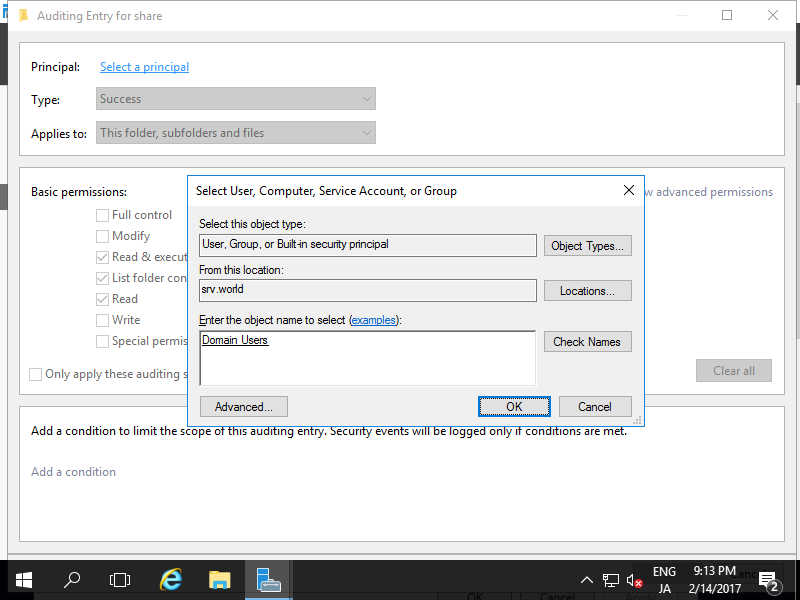
| [7] | Input username or group name you'd like to add auditing and click [OK] button.
On this example shows to add "Domain Users" group. |
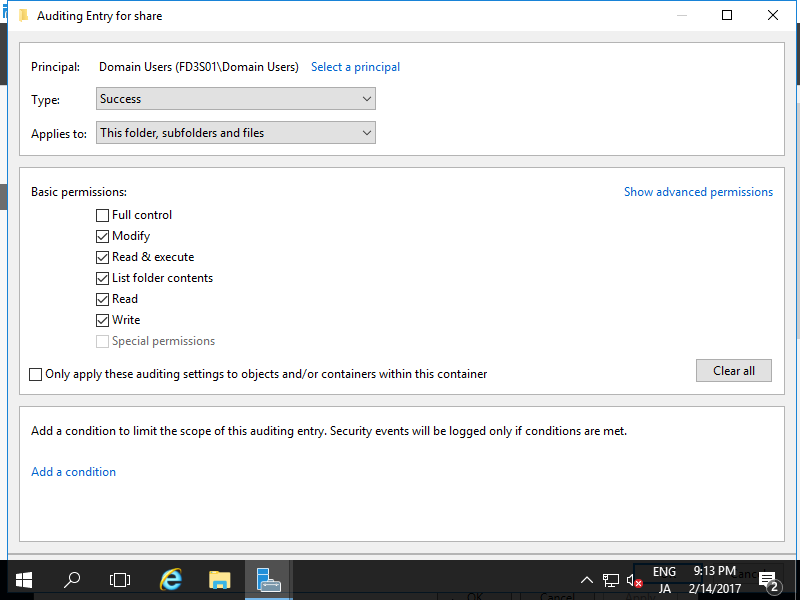
| [8] | Check boxes you'd like to add auditing and click [OK] button. |
| [9] | Confirm settings and click [OK] button if all OK. |
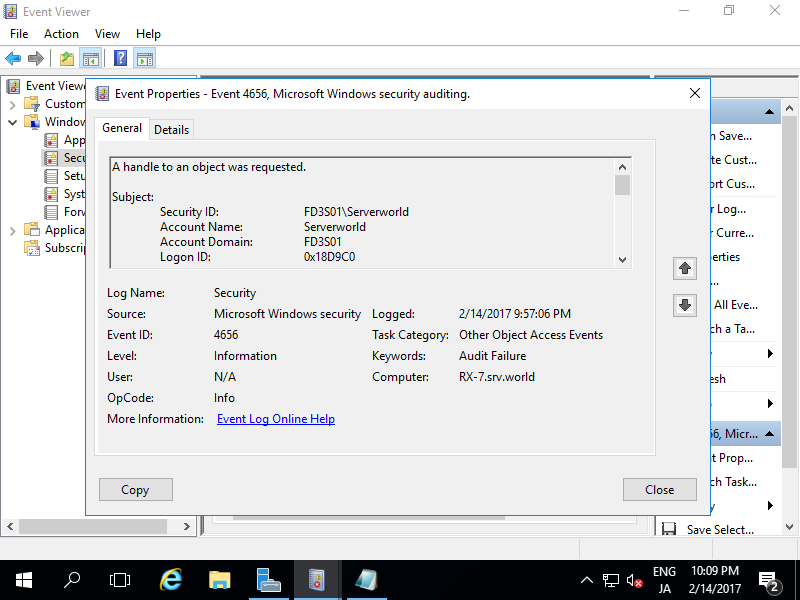
| [10] | When audit target users or groups access to the Share, the action will be loged like follows. |
File Server
原文:http://blog.51cto.com/2833481/2092488