iSCSI : Install iSCSI TargetConfigure Storage Server with iSCSI.
A storage on a network is called iSCSI Target, a Client which connects to iSCSI Target is called iSCSI Initiator.
This example is based on the environment below.
FD3S.srv.world [10.0.0.100] - iSCSI Target
RX-7.srv.world [10.0.0.101] - iSCSI initiator
Install iSCSI Target Service first.
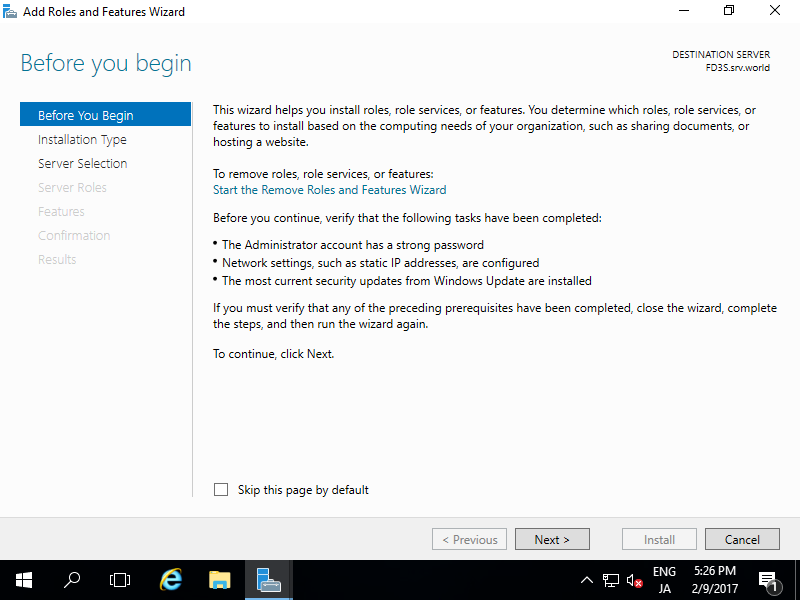
| [1] | Run Server Manager and Click [Add roles and features]. |
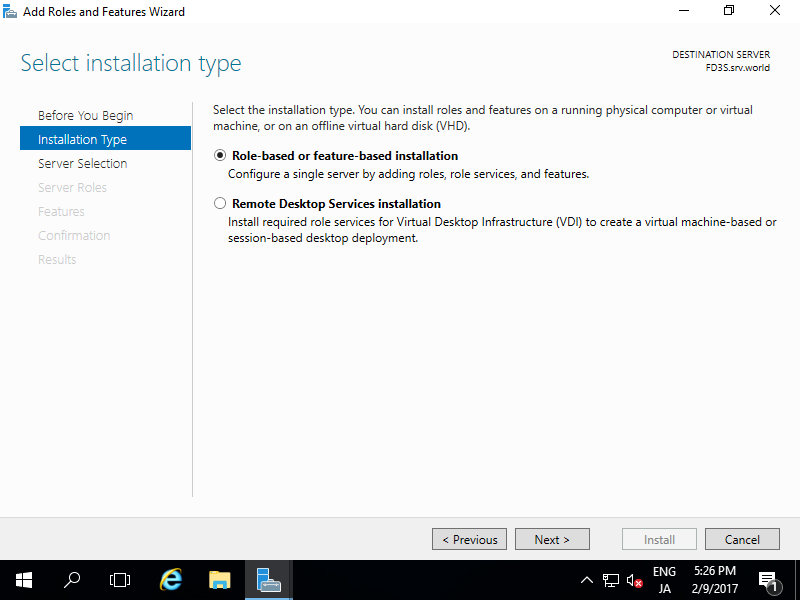
| [3] | Select [Role-based or feature-based installation]. |
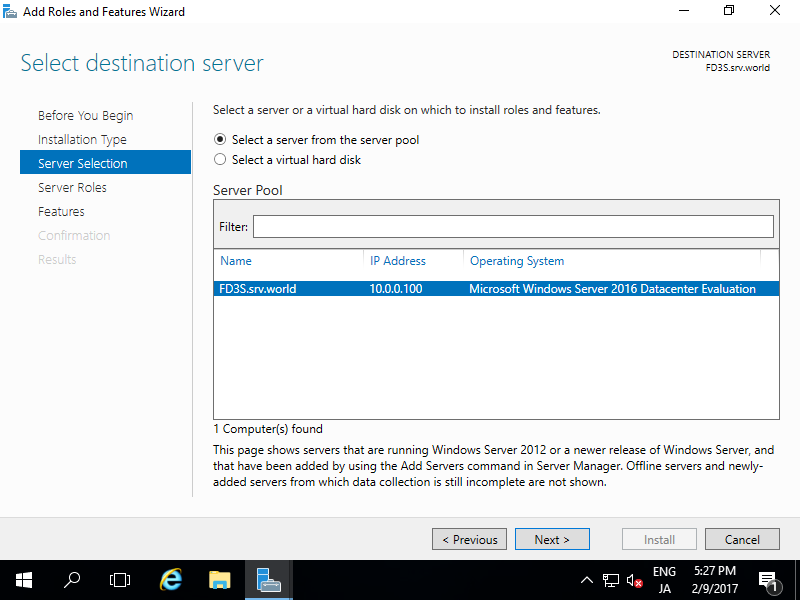
| [4] | Select a Host which you'd like to add services. |
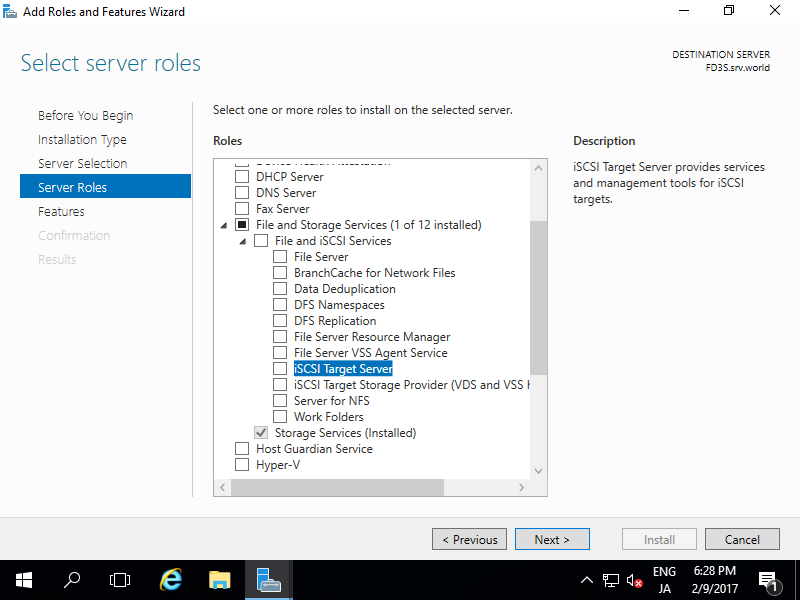
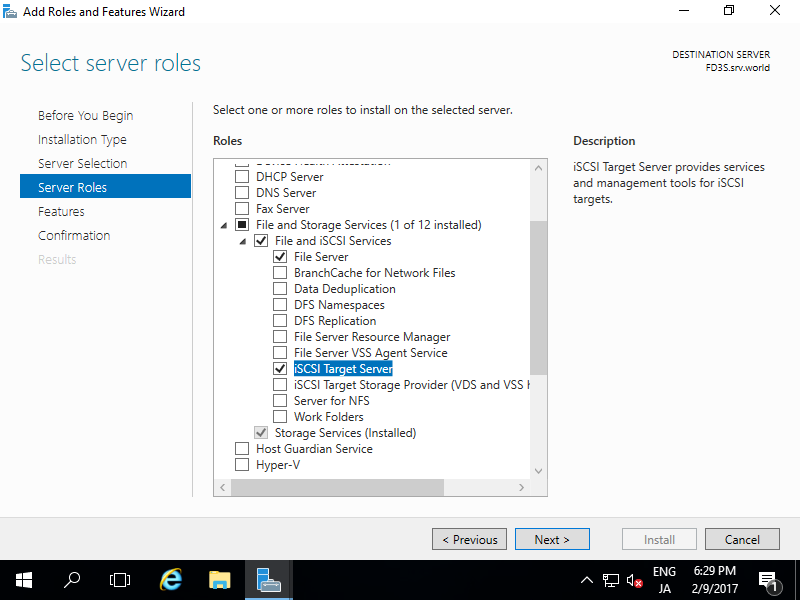
| [5] | Check a box [iSCSI Target Server]. |
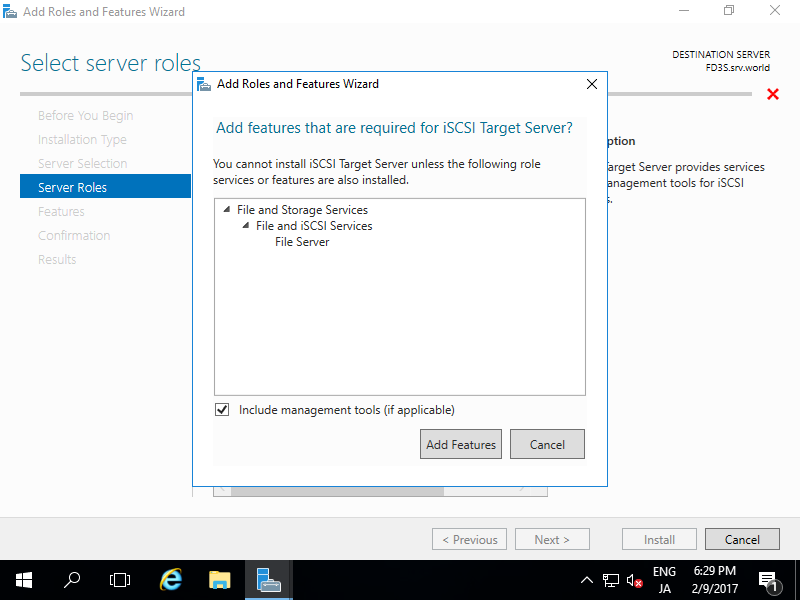
| [6] | Addtional features are required to add iSCSI Target. Click [Add Features] button. |
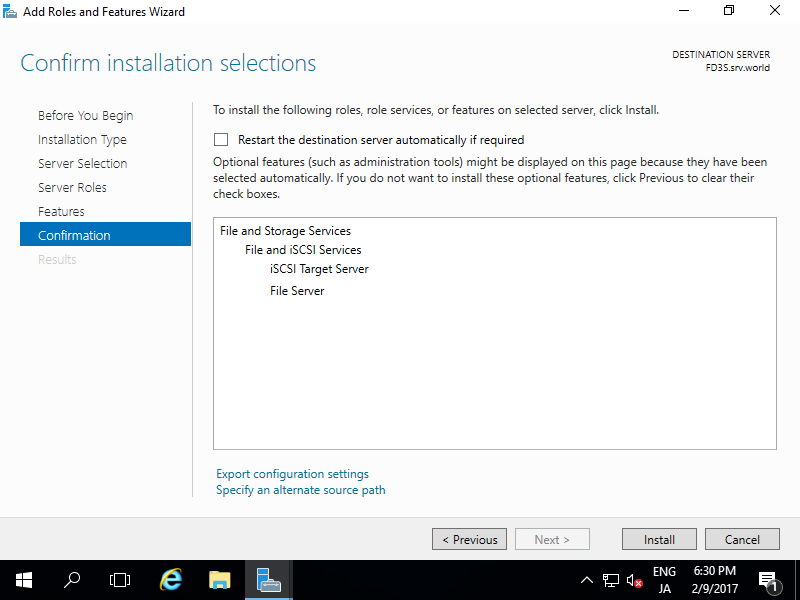
| [9] | Click [Install] button. |
| [10] | After finishing installation, click [Close] button. |
iSCSI : Configure iSCSI TargetConfigure Storage Server with iSCSI.
A storage on a network is called iSCSI Target, a Client which connects to iSCSI Target is called iSCSI Initiator.
This example is based on the environment below.
FD3S.srv.world [10.0.0.100] - iSCSI Target
RX-7.srv.world [10.0.0.101] - iSCSI initiator
Configure installed iSCSI Target to provide network storage.
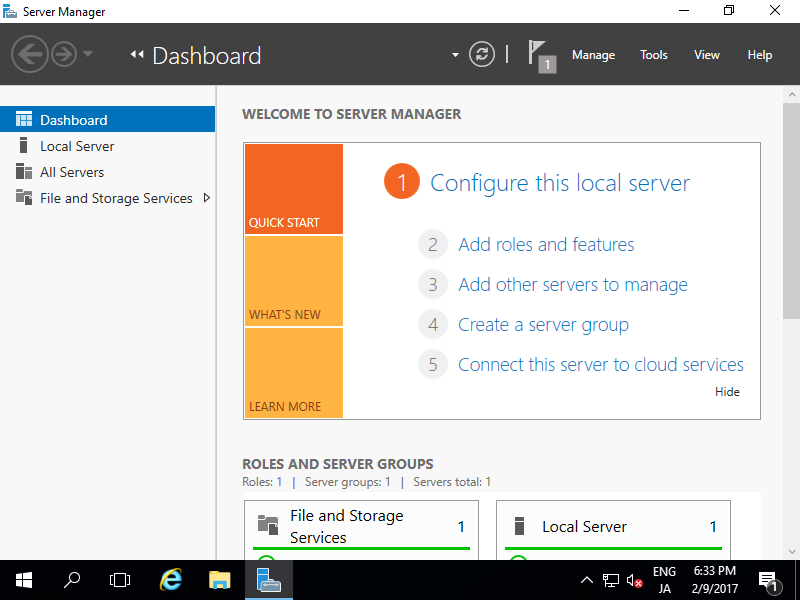
| [1] | Run Server Manager and Click [File and Storage Services]. |
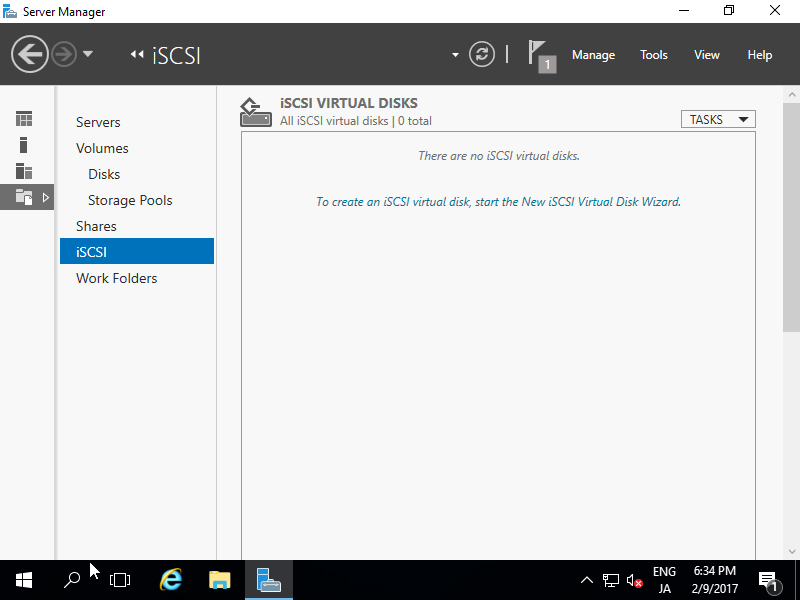
| [2] | Select [iSCSI] on the left pane and click [To create an iSCSI.....] link on the right pane. |
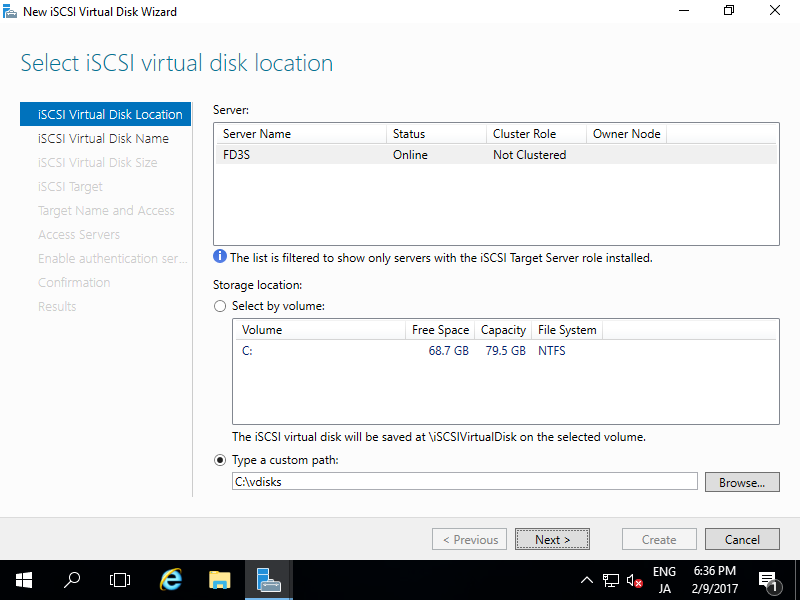
| [3] | Specify the server and volume for setting iSCSI disk. This example shows to configure a disk on a custom path (C:\vdisks\). |
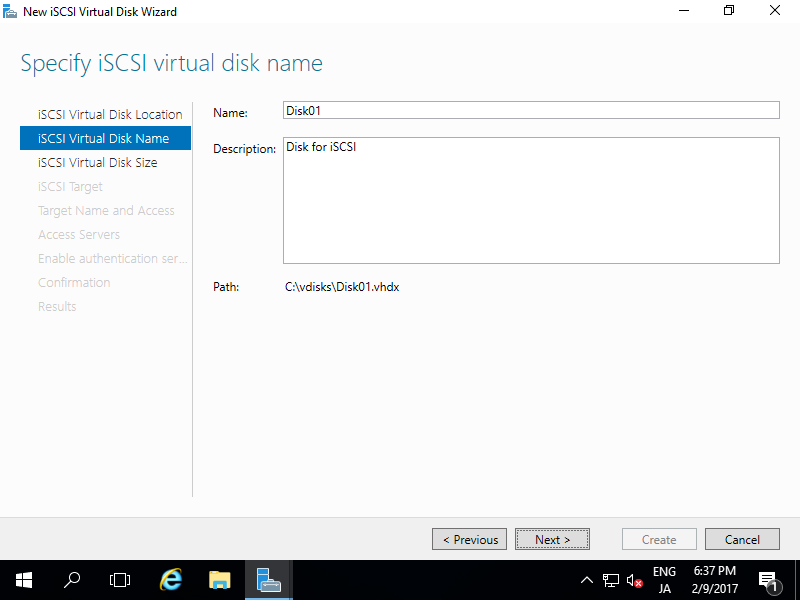
| [4] | Specify any name for virtual disk. |
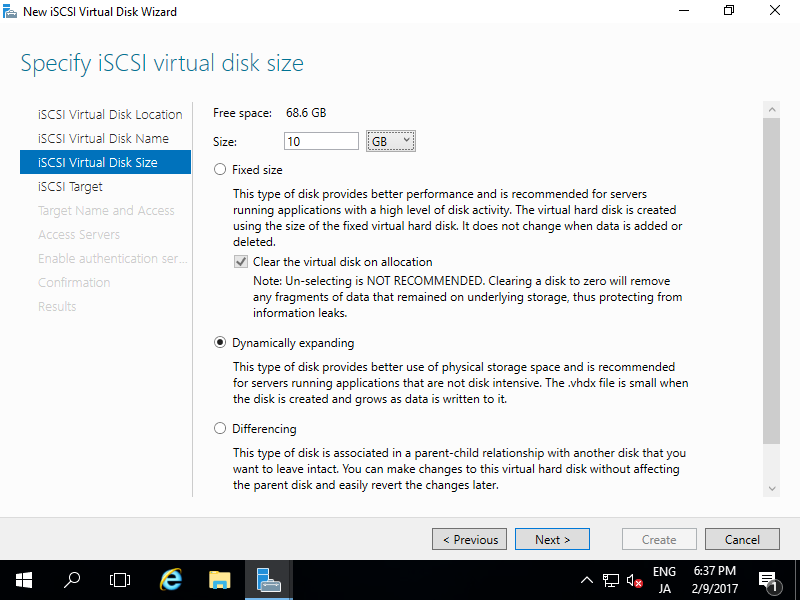
| [5] | Specify the disk size for virtual disk. |
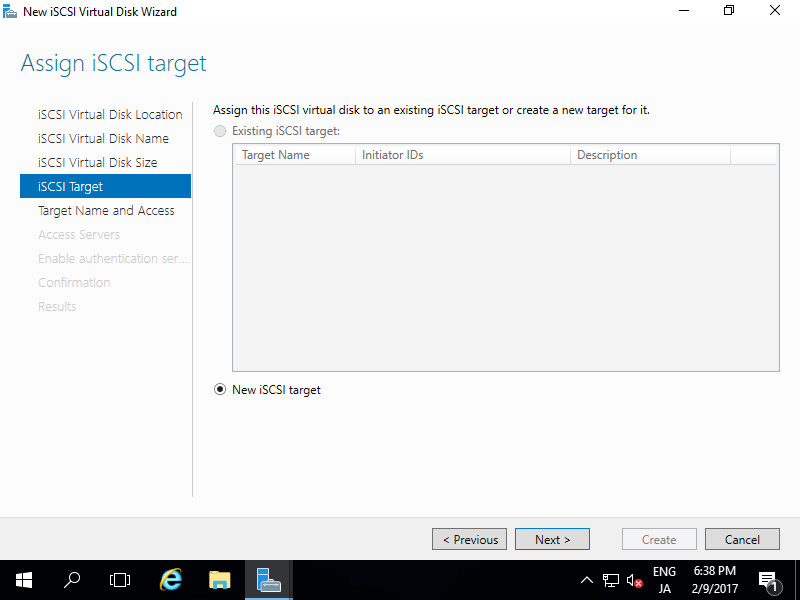
| [6] | Specify the iSCSI Target to assign this virtual disk. If the Target is new, select like follows. |
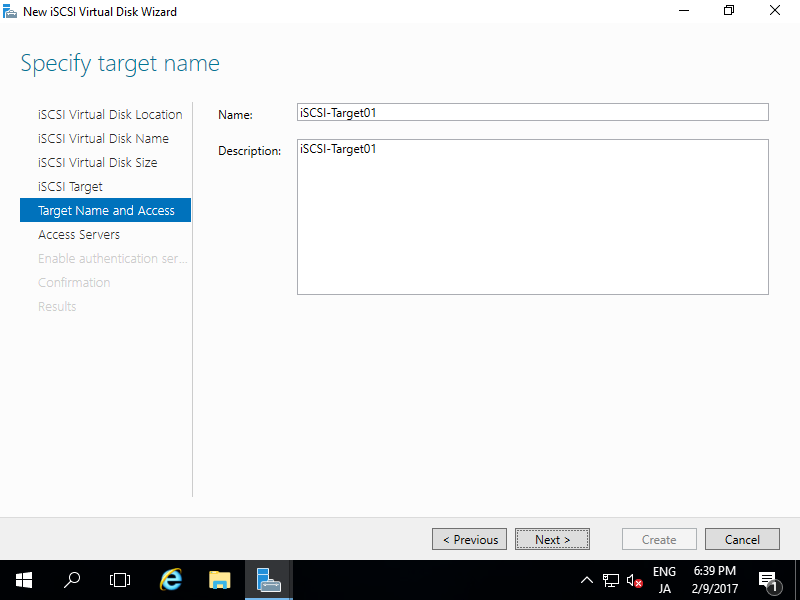
| [7] | Specify any name for iSCSI Target. |
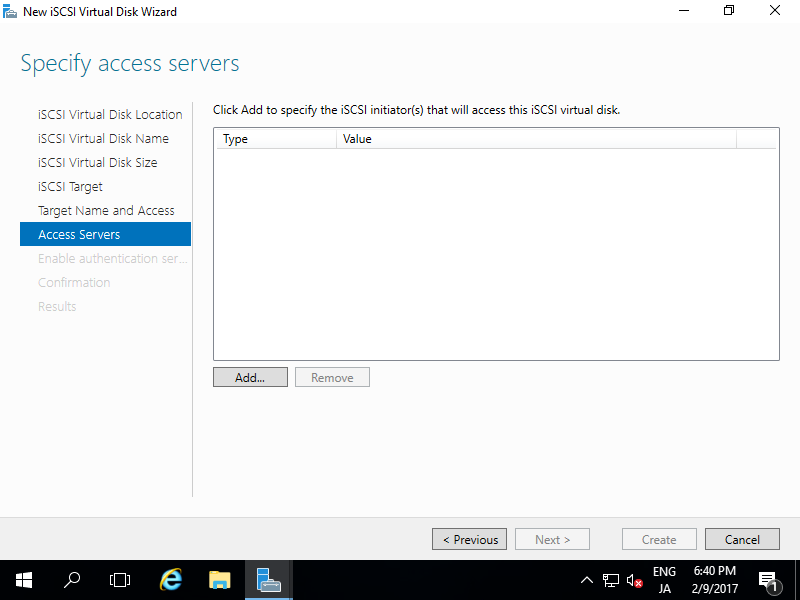
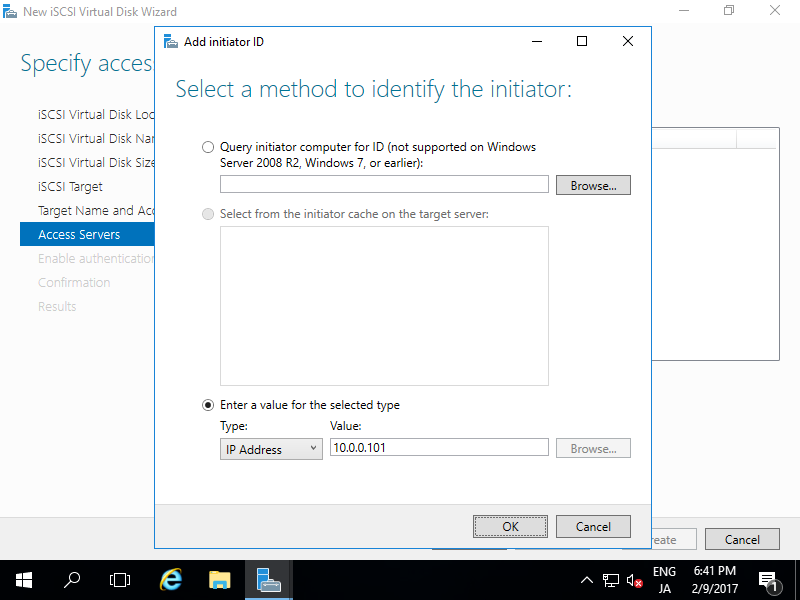
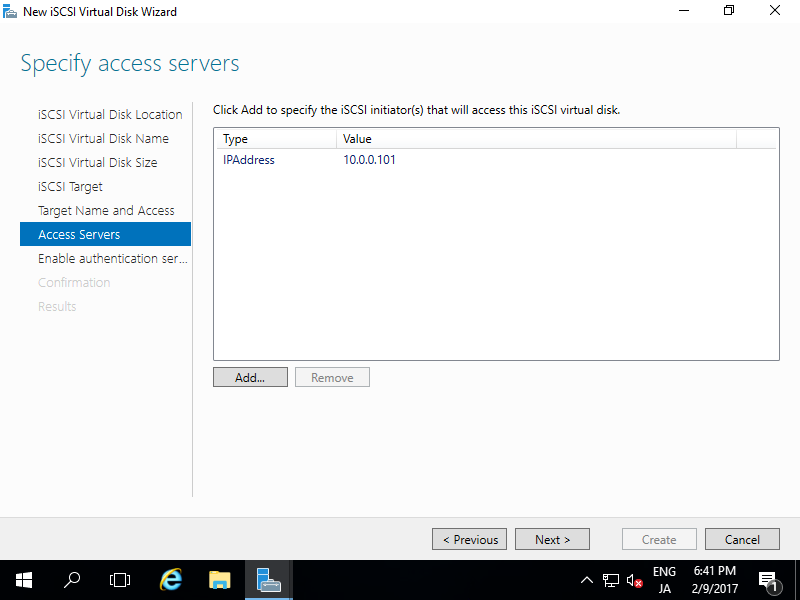
| [8] | Specify access servers to this iSCSI Target. Click [Add...] button. |
| [9] | Select a method to identify the initiator. This example shows to set initiators by IP address like follows. |
| [10] | If it's OK all, click [Next] button. |
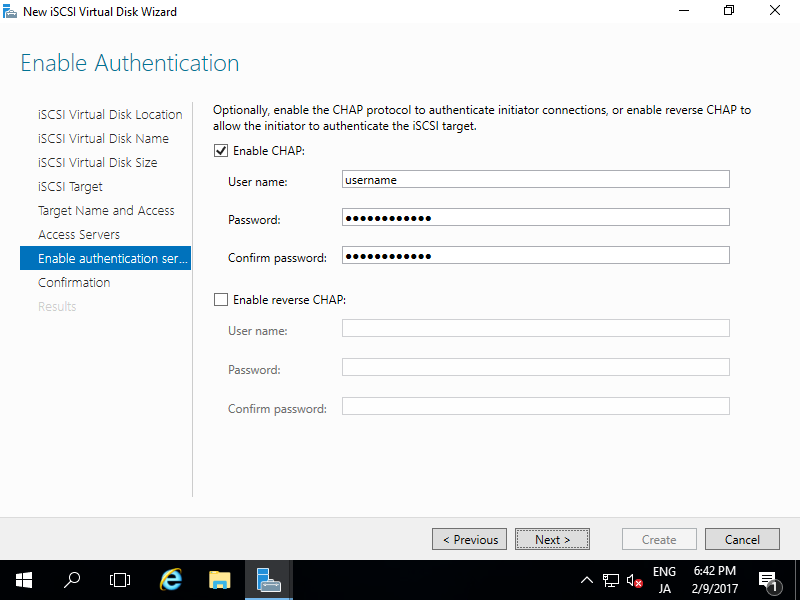
| [11] | Configure authentication method between Target and Initiator. This example shows to configure CHAP. If select CHAP like follwos, set username and password too that are used for connecting to Target from Initiator. |
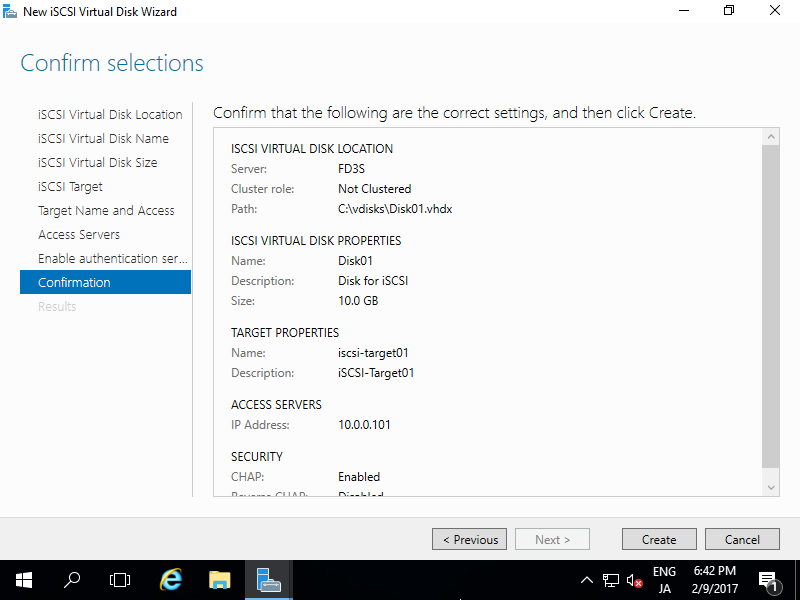
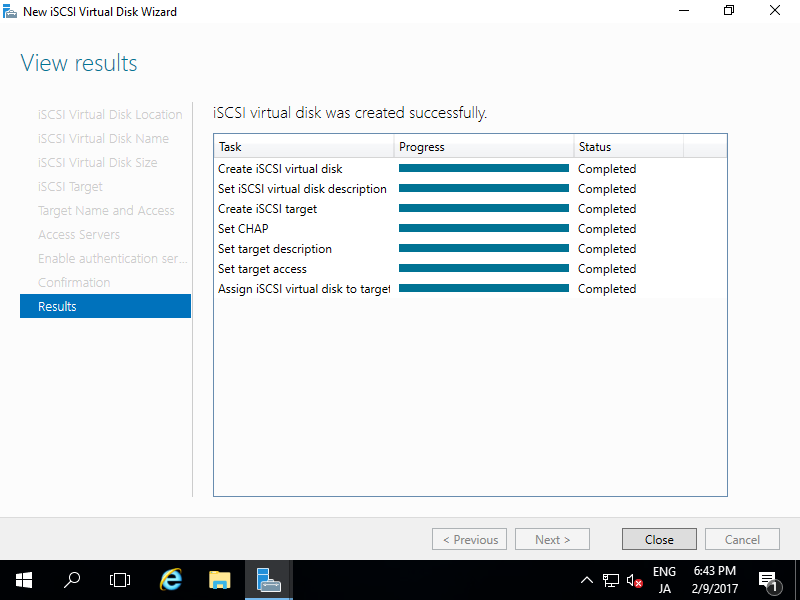
| [12] | If it's OK all, click [Create] button. |
| [13] | After finishing creating, click [Close] button. |
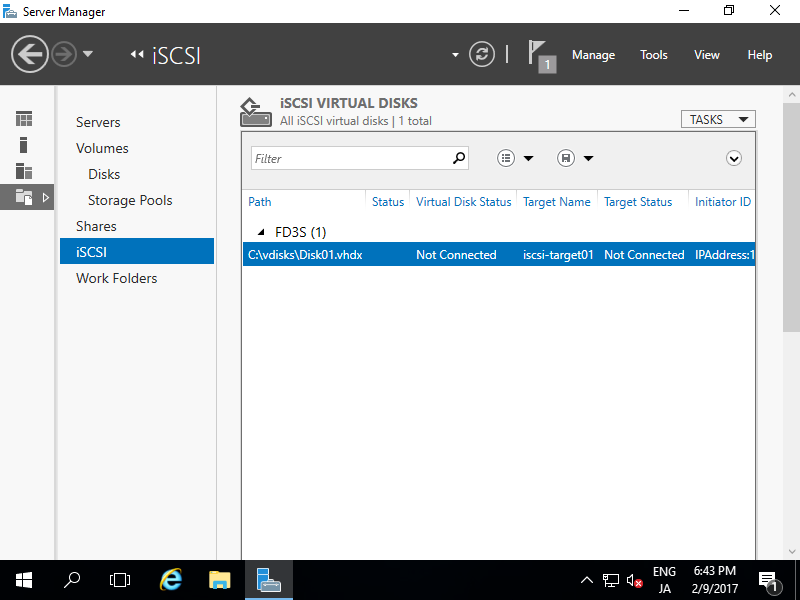
| [14] | A new virtual disk has been listed like follows. |
iSCSI : Configure iSCSI Initiator (Server OS)
Configure iSCSI Initiator (Windows Server OS).
This example is based on the environment below.
FD3S.srv.world [10.0.0.100] - iSCSI Target
RX-7.srv.world [10.0.0.101] - iSCSI initiator
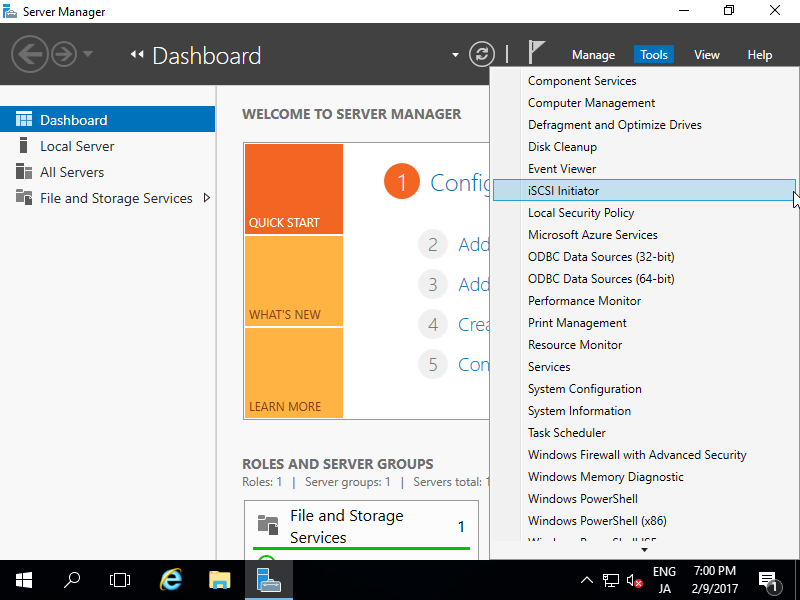
| [1] | Run Server Manager and Open [Tools] - [iSCSI Initiator]. |
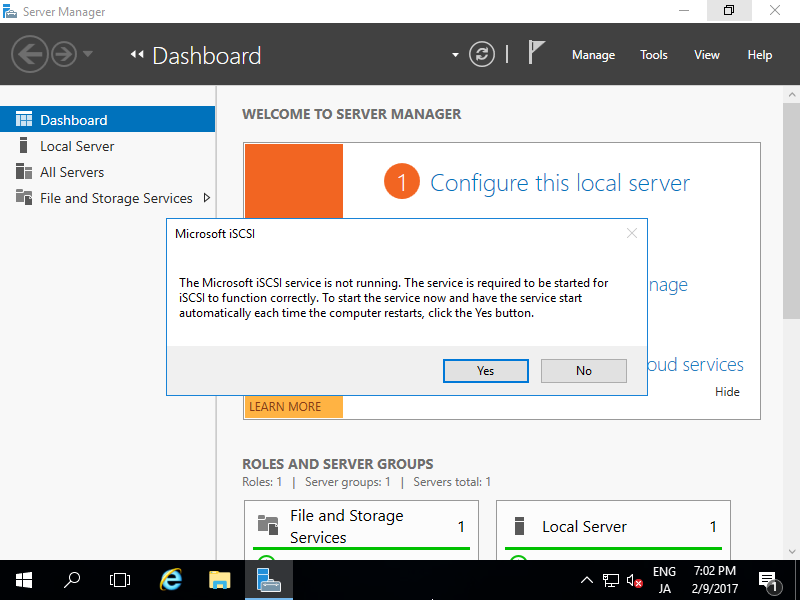
| [2] | Click [Yes] button to proceed. |
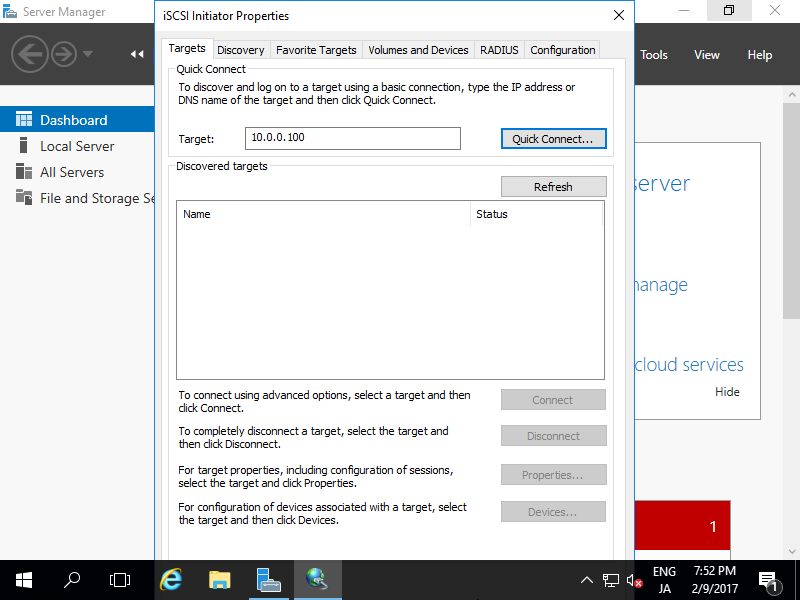
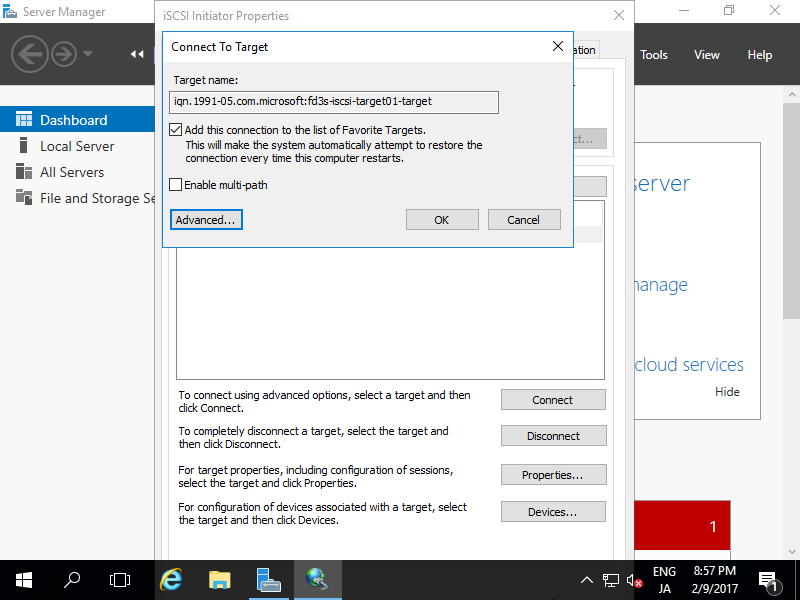
| [3] | Input Target's Hostname or IP address on [Target] field and click [Quick Connect] button. |
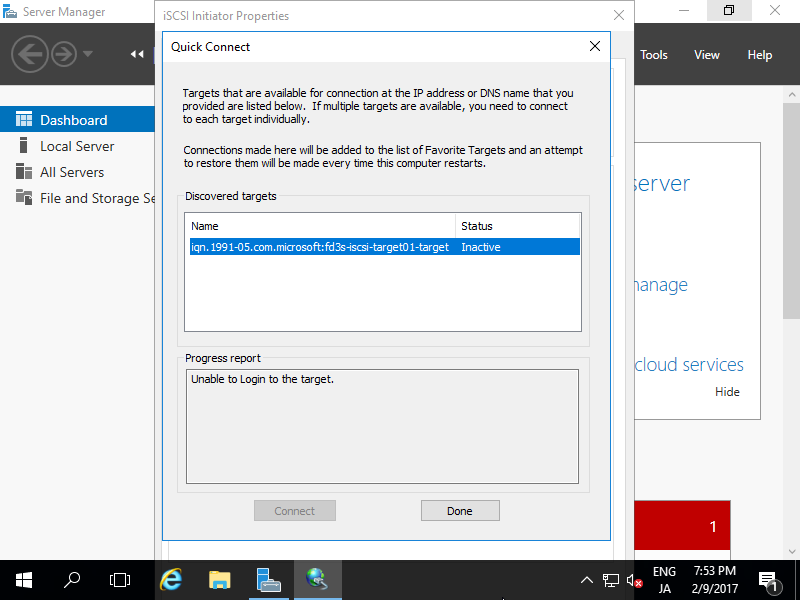
| [4] | iSCSI Target has been detected like follows, click [Done] button. |
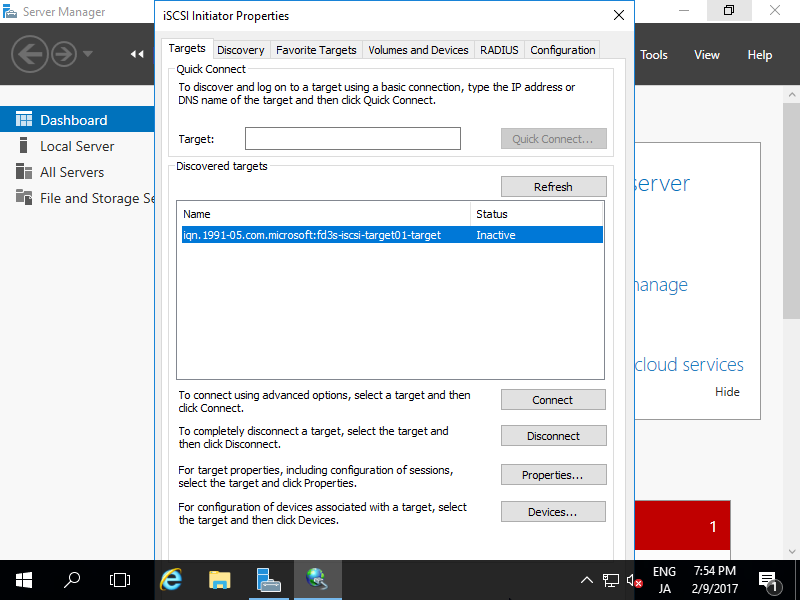
| [5] | Click [Connect] button. |
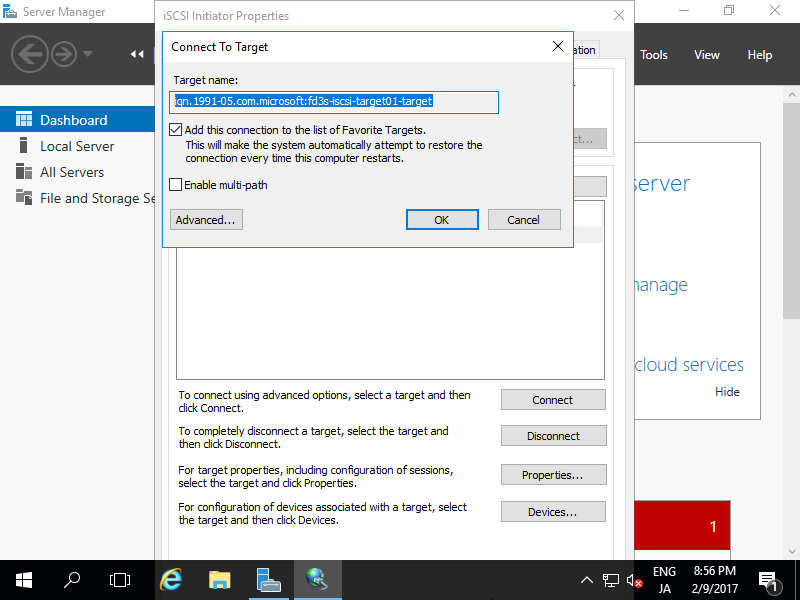
| [6] | Click [Advanced] button. |
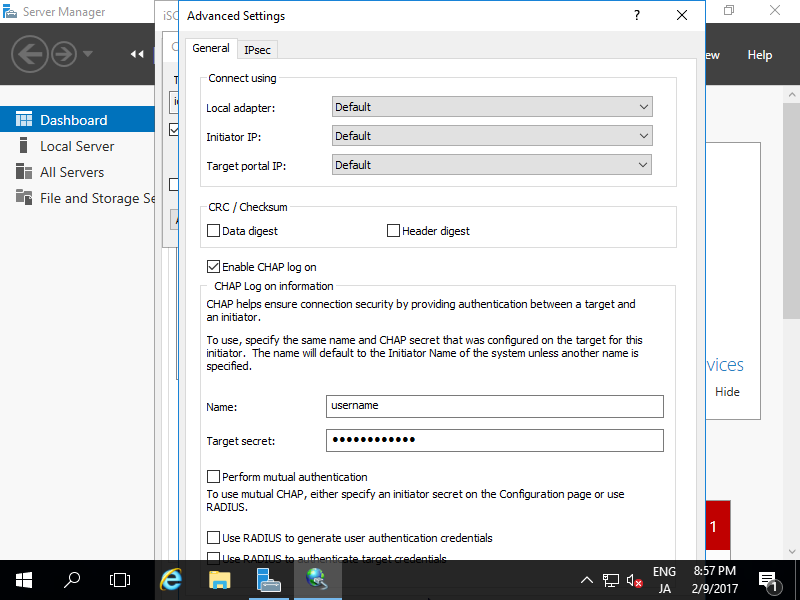
| [7] | Check a box [Enable CHAP log on] and specify username and password on the fileds. They are the just one you set on iSCSI Target's configuration. |
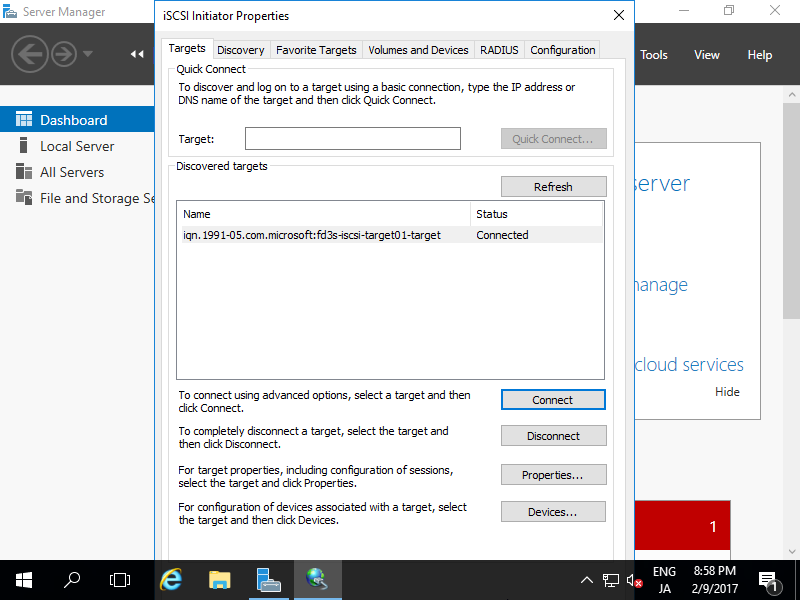
| [9] | If it's no ploblem, the status turns to [Connected] like follows. It's OK to configure iSCSI initiator settings. |
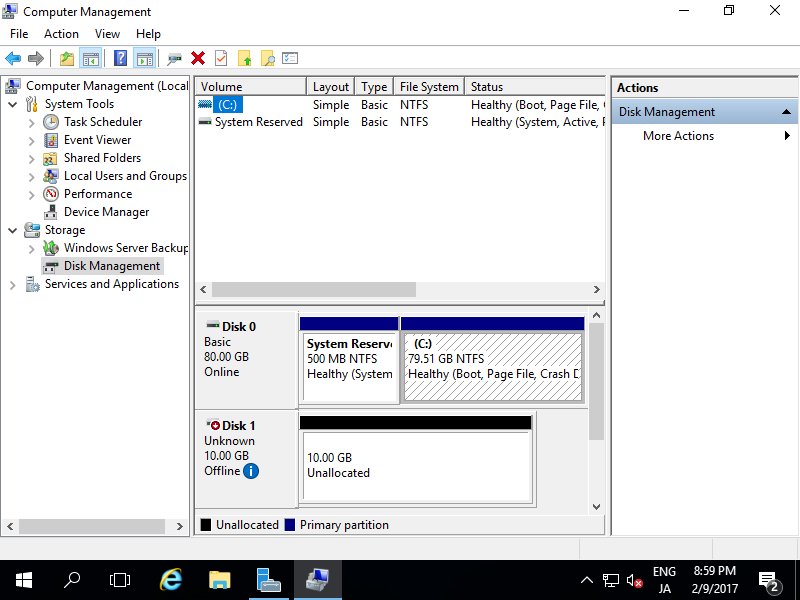
| [10] | On the [Disk Management] tool, the iSCSI Disk has been attached like follows. |
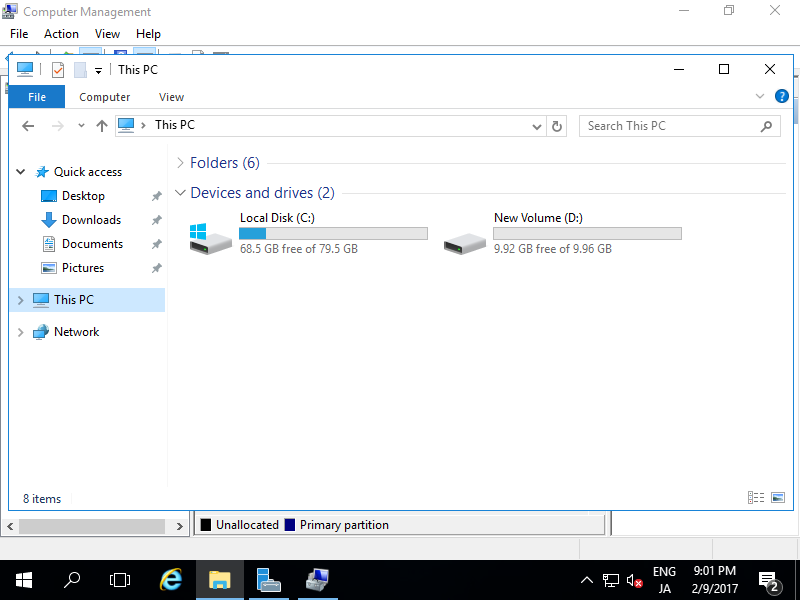
| [11] | After changing online and initializing iSCSI disk, it's possible to use it like follows. |
iSCSI : Configure iSCSI Initiator (Client OS)
Configure iSCSI Initiator (Windows Client OS). This example is based on Windows 10 Pro.
This example is based on the environment below.
FD3S.srv.world [10.0.0.100] - iSCSI Target
RX-7.srv.world [10.0.0.101] - iSCSI initiator
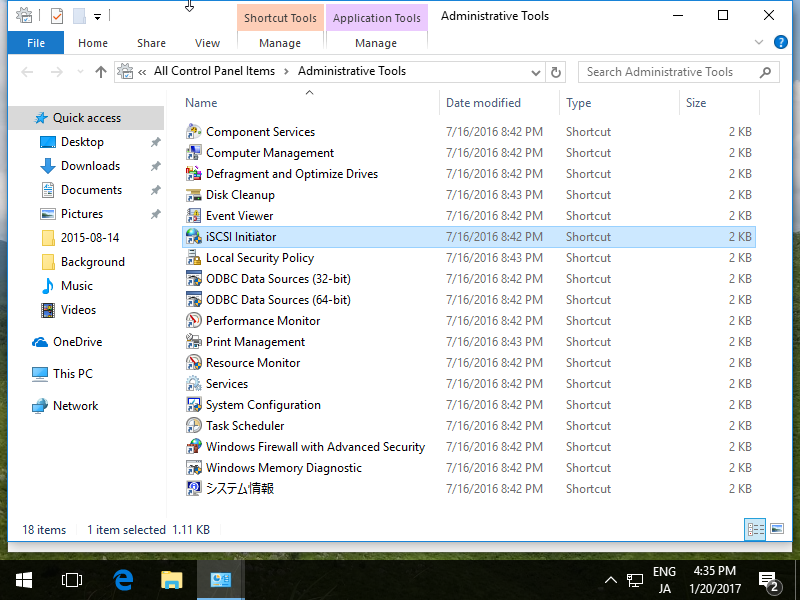
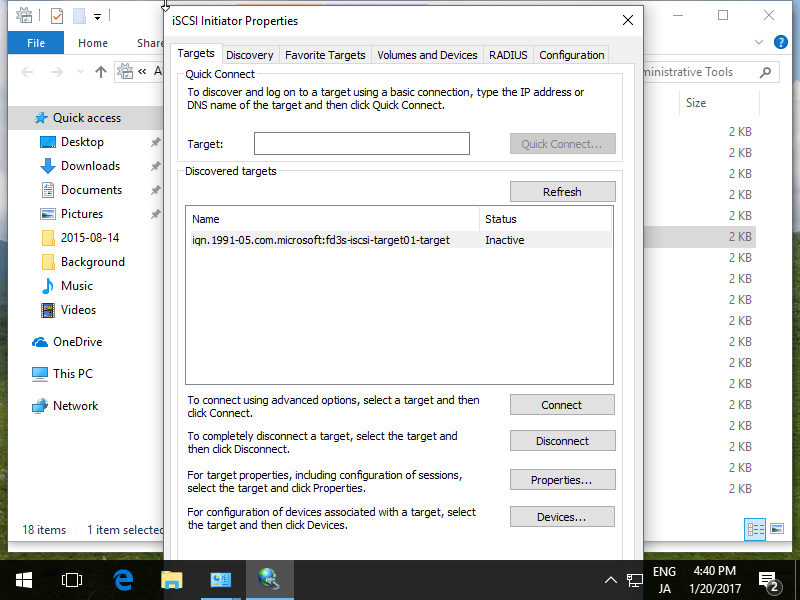
| [1] | Open [Control Panel] - [Administrative Tools] - [iSCSI Initiator]. |
| [2] | Click [Yes] button to proceed. |
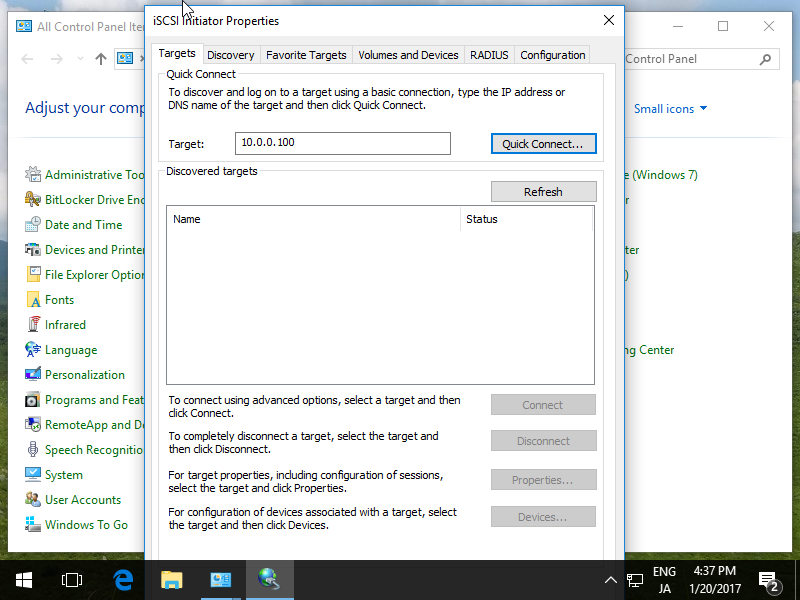
| [3] | Input Target's Hostname or IP address on [Target] field and click [Quick Connect] button. |
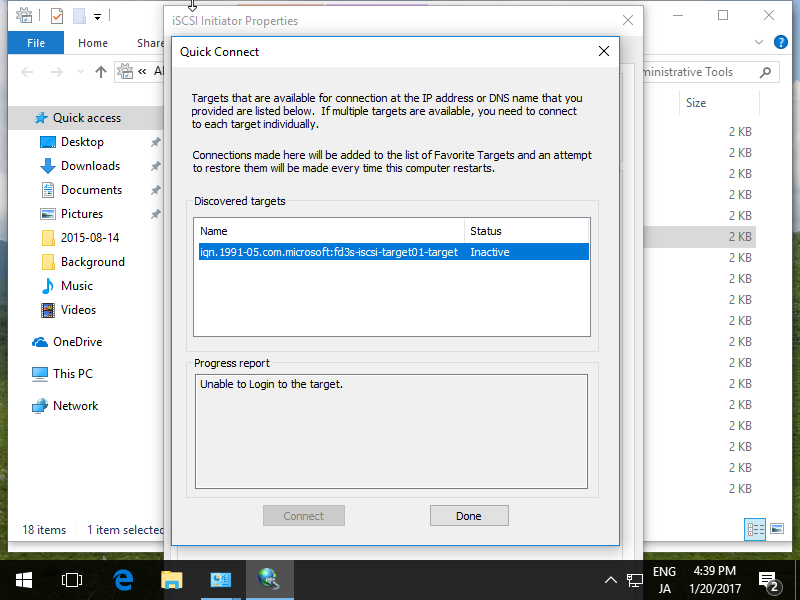
| [4] | iSCSI Target has been detected like follows, click [Done] button. |
| [5] | Click [Connect] button. |
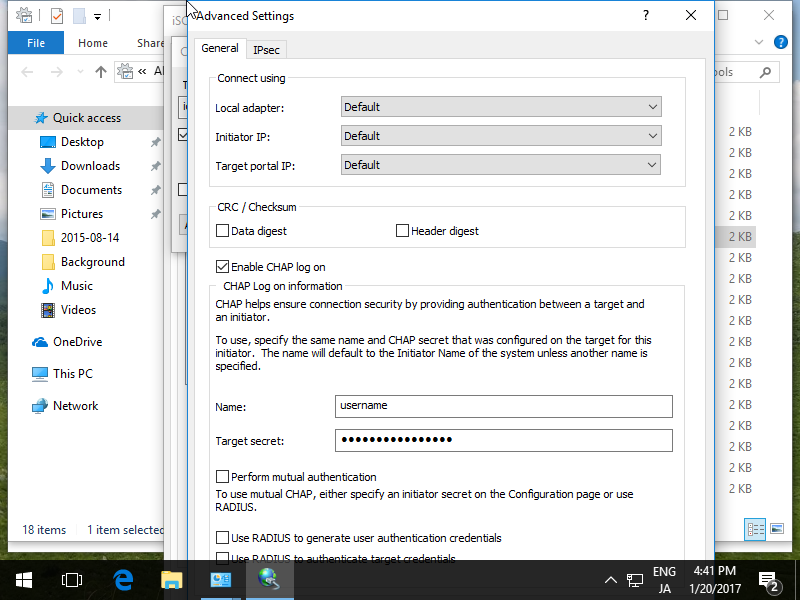
| [6] | Click [Advanced] button. |
| [7] | Check a box [Enable CHAP log on] and specify username and password on the fileds. They are the just one you set on iSCSI Target's configuration. |
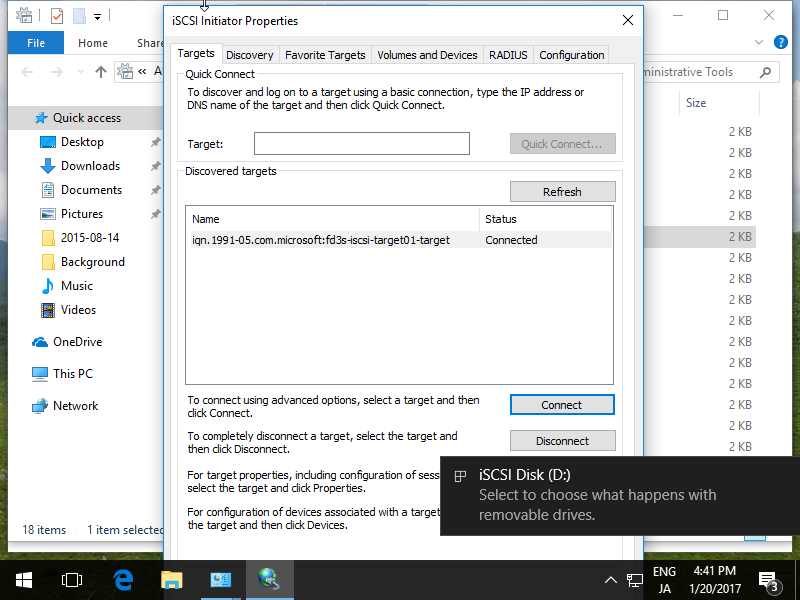
| [9] | If it's no ploblem, the status turns to [Connected] like follows. It's OK to configure iSCSI initiator settings. |
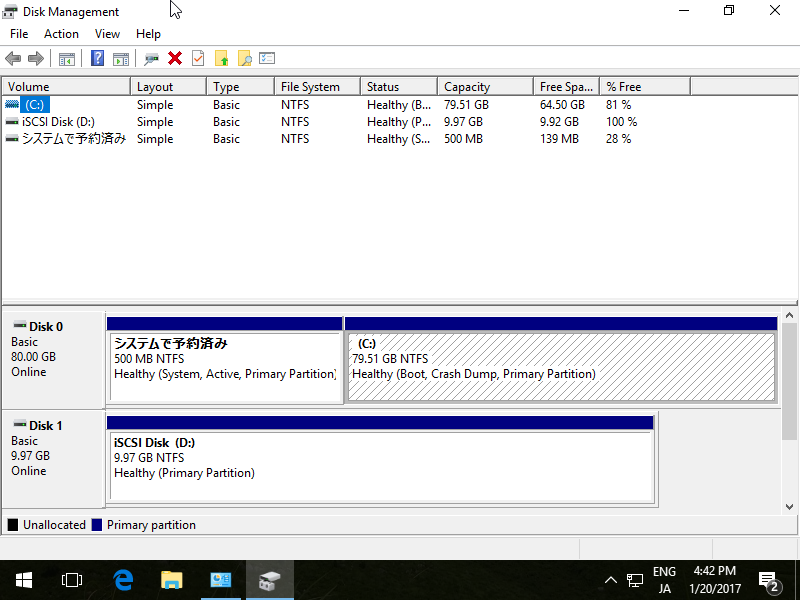
| [10] | On the [Disk Management] tool, the iSCSI Disk has been attached like follows. |
| [11] | After changing online and initializing iSCSI disk, it's possible to use it lie follows. |
iSCSI : Install iSCSI Target
原文:http://blog.51cto.com/2833481/2092463