Cobbler支持命令行管理,web界面管理,还提供了API接口,可以方便二次开发使用。
Cobbler客户端Koan支持虚拟机安装和操作系统重新安装,使重装系统更便捷。
安装 epel-release-latest-7.noarch.rpm 软件包(cobbler相关软件包是由EPEL源提供的)
rpm -ivh /mnt/epel-release-latest-7.noarch.rpmyum install cobbler cobbler-web dhcp tftp-server pykickstart httpd rsync xinetd -yvim /etc/cobbler/settingsnext-server:192.168.96.129 #tftp服务器的ip地址
server:192.168.96.129 #服务器的ip地址
manage_dhcp:1 #开启dhcp功能
cobbler check ---------------------提示内容:需要优化-----------------------------------
The following are potential configuration items that you may want to fix:1 : SELinux is enabled. Please review the following wiki page for details on ensuring cobbler works correctly in your SELinux environment:
https:#github.com/cobbler/cobbler/wiki/Selinux2 : change ‘disable‘ to ‘no‘ in /etc/xinetd.d/tftp
3 : Some network boot-loaders are missing from /var/lib/cobbler/loaders, you may run ‘cobbler get-loaders‘ to download them, or, if you only want to handle x86/x86_64 netbooting, you may ensure that you haveinstalled a recent version of the syslinux package installed and can ignore this message entirely. Files in this directory, should you want to support all architectures, should include pxelinux.0, menu.c32, elilo.efi, and yaboot. The ‘cobbler get-loaders‘ command is the easiest way to resolve these requirements.
4 : enable and start rsyncd.service with systemctl
5 : debmirror package is not installed, it will be required to manage debian deployments and repositories
6 : The default password used by the sample templates for newly installed machines (default_password_crypted in /etc/cobbler/settings) is still set to ‘cobbler‘ and should be changed, try: "openssl passwd -1-salt ‘random-phrase-here‘ ‘your-password-here‘" to generate new one
7 : fencing tools were not found, and are required to use the (optional) power management features. install cman or fence-agents to use them
Restart cobblerd and then run ‘cobbler sync‘ to apply changes.
openssl passwd -1 -salt ‘abc123‘ ‘abc123‘ #盐值加密$1$abc123$9v8z2./E/PZihXrVcy3II0 #加密后的密码
将此密码替换到settings文件中
default_password_crypted: "$1$abner$kDle2KnwbPHdm1UZEE79V." #替换密码,此为root用户密码
:wq! #保存退出
下载引导操作系统文件
cobbler get-loaders 启动rsyncd服务
systemctl start rsyncd.servicevim /etc/xinetd.d/tftpdisable = no #将yes修改为no,启用tftp
重启xinetd服务
systemctl restart xinetd.service
vim /etc/cobbler/dhcp.template #cobbler控制的dhcp服务模板
subnet 192.168.96.0 netmask 255.255.255.0 {
option routers 192.168.96.1; #修改网关
option domain-name-servers 192.168.96.2; #修改DNS
option subnet-mask 255.255.255.0;
range dynamic-bootp 192.168.96.100 192.168.96.200; #修改地址池
:wq! #保存退出
cobbler sync 启动dhcpd服务
systemctl restart dhcpd.service mount /dev/sr0 /mnt#导入iso镜像
cobbler import --path=/mnt/ --name=CentOS-7-x86_64 --arch=x86_64 #默认导入存放位置
/var/www/cobbler/ks_mirror/CentOS-7-x86_64 
#查看导入结果
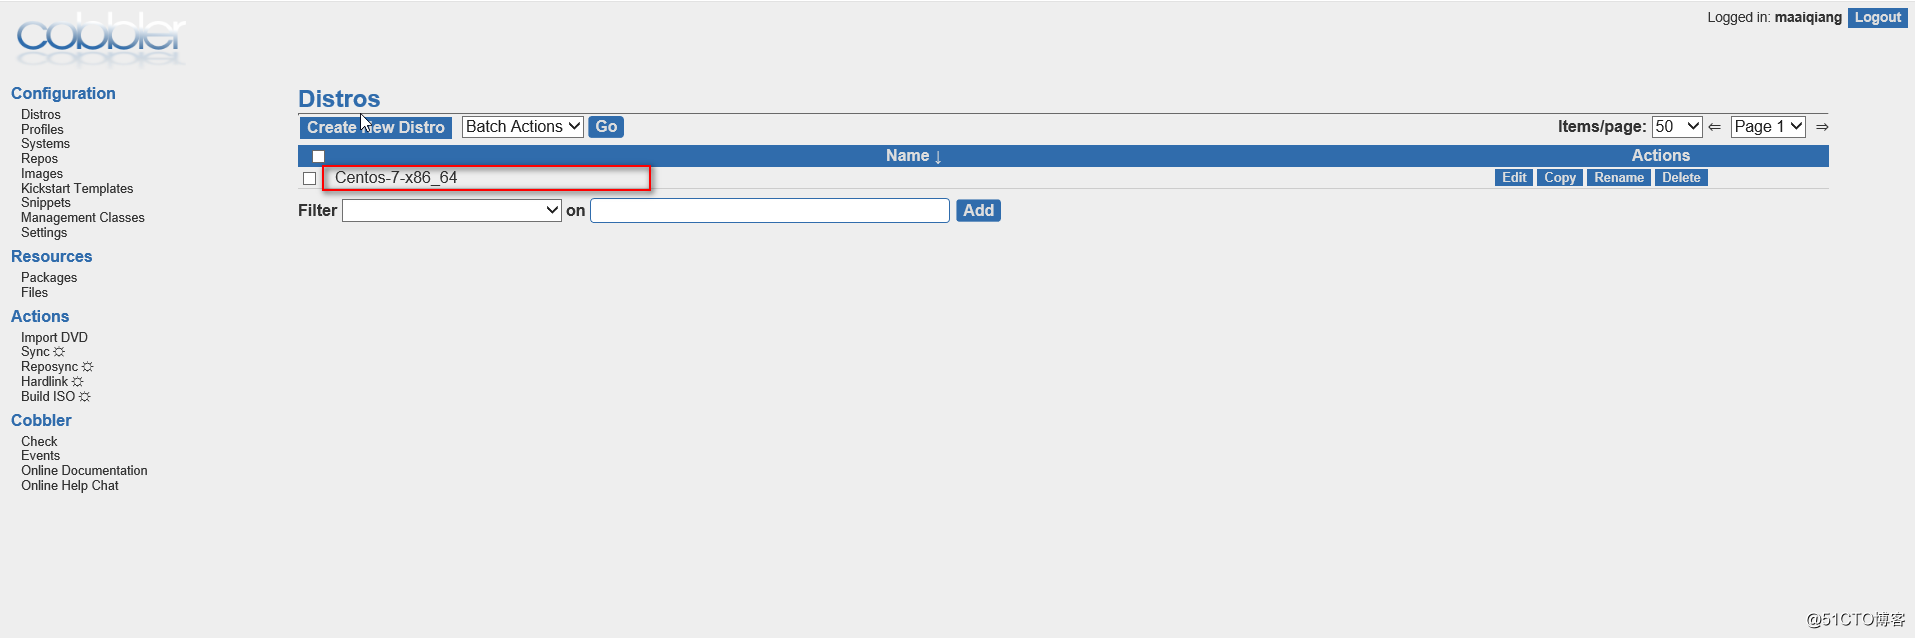
cobbler list distros:
Centos-7-x86_64
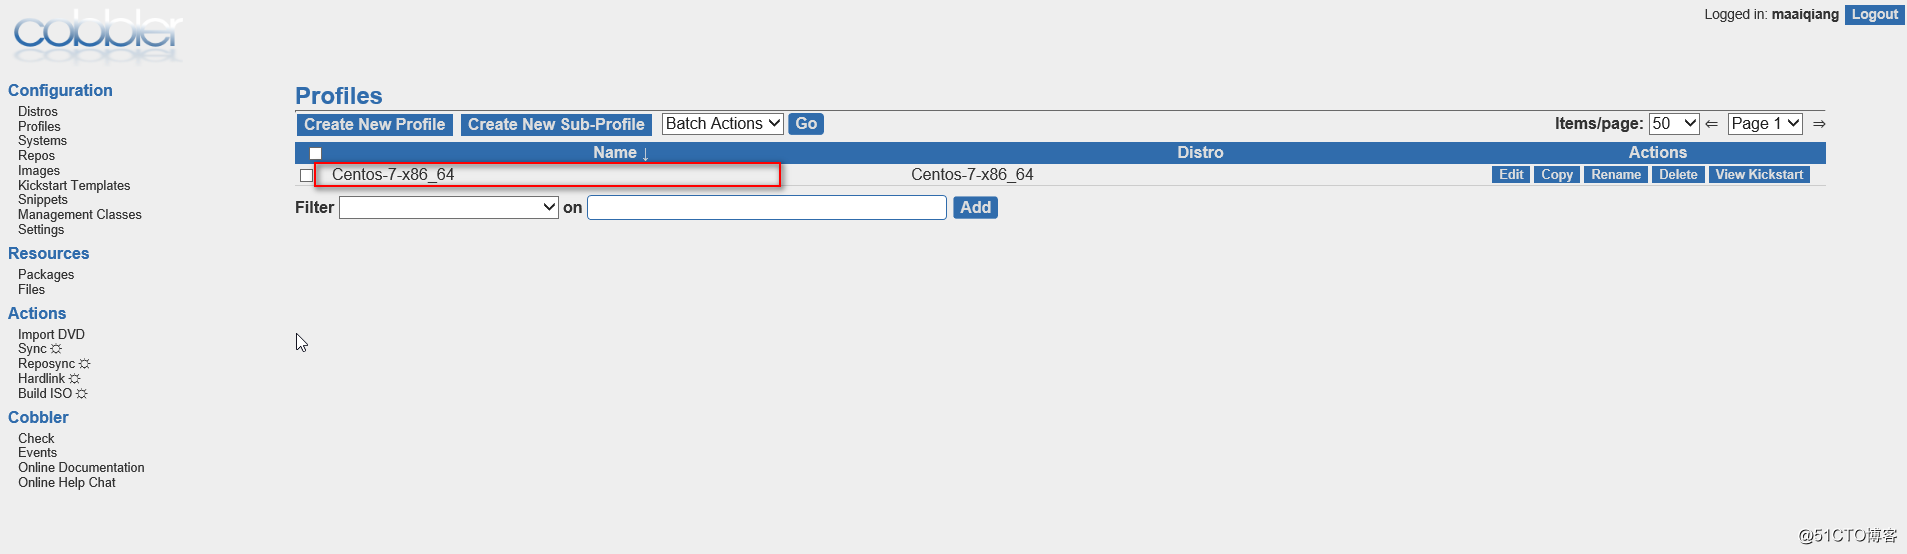
profiles:
Centos-7-x86_64
systems:
repos:
images:
mgmtclasses:
packages:
files:
#查看发行版本
cobbler distro list 
#安装tree软件包
yum install tree -ytree /var/lib/tftpboot/images #查看内核和初始化文件在tftp server 共享目录
└── Centos-7-x86_64
├── initrd.img
└── vmlinuz
cobbler profile reportName : Centos-7-x86_64
TFTP Boot Files : {}
Comment :
DHCP Tag : default
Distribution : Centos-7-x86_64
Enable gPXE? : 0
Enable PXE Menu? : 1
Fetchable Files : {}
Kernel Options : {}
Kernel Options (Post Install) : {}
Kickstart : /var/lib/cobbler/kickstarts/sample_end.ks
Kickstart Metadata : {}
Management Classes : []
Management Parameters : <<inherit>>
Name Servers : []
Name Servers Search Path : []
Owners : [‘admin‘]
Parent Profile :
Internal proxy :
Red Hat Management Key : <<inherit>>
Red Hat Management Server : <<inherit>>
Repos : []
Server Override : <<inherit>>
Template Files : {}
Virt Auto Boot : 1
Virt Bridge : xenbr0
Virt CPUs : 1
Virt Disk Driver Type : raw
Virt File Size(GB) : 5
Virt Path :
Virt RAM (MB) : 512
Virt Type : kvm
#ks默认文件存放位置
/var/lib/cobbler/kickstarts/sample_end.ks #cobbler日志文件所在位置
/var/log/cobbler/cobbler.log关闭防火墙及安全功能
setenforce 0
systemctl stop firewalld.service
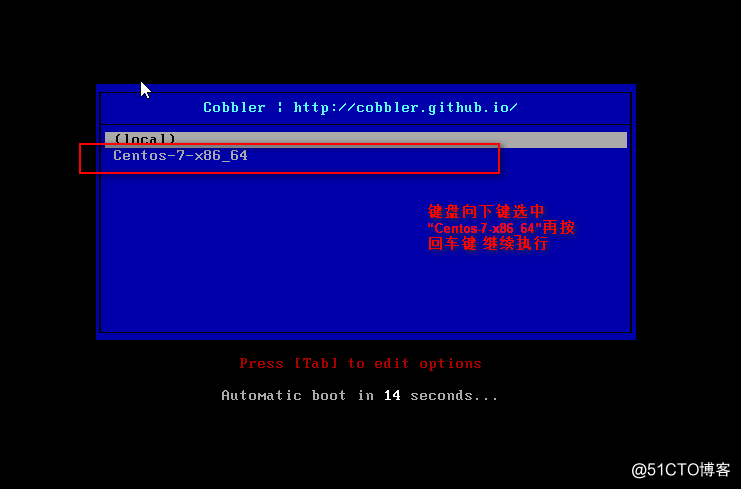
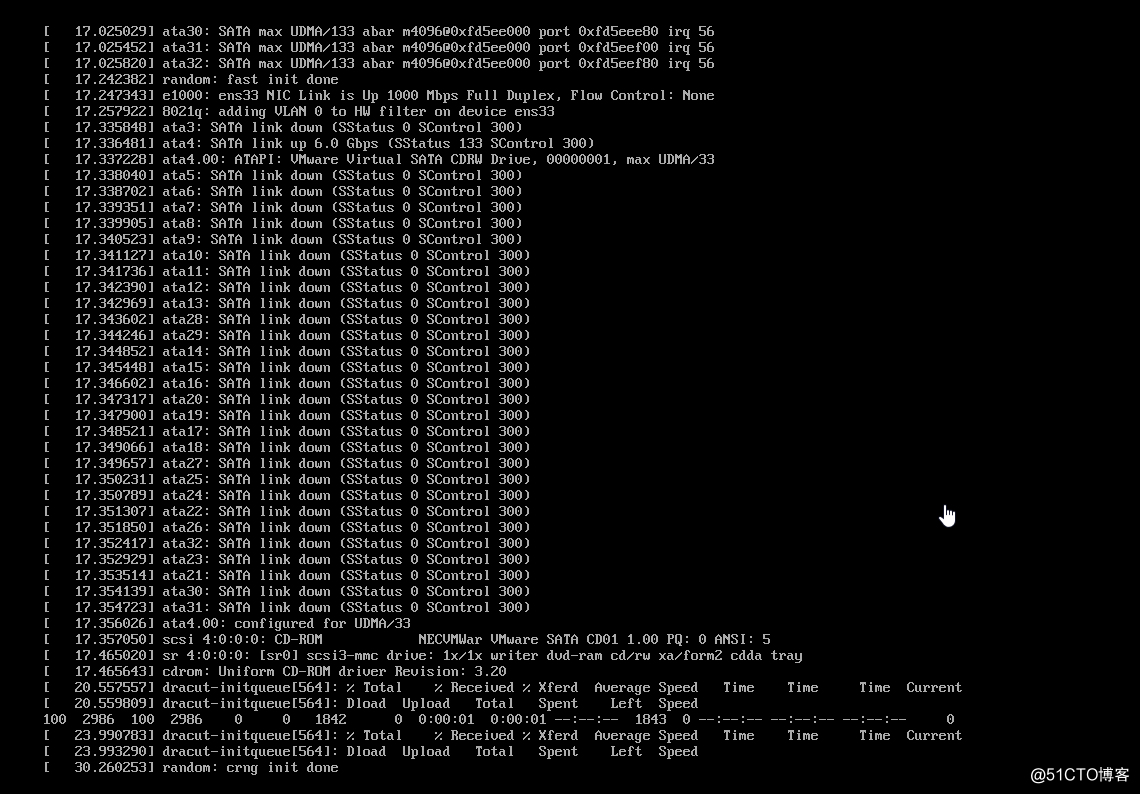
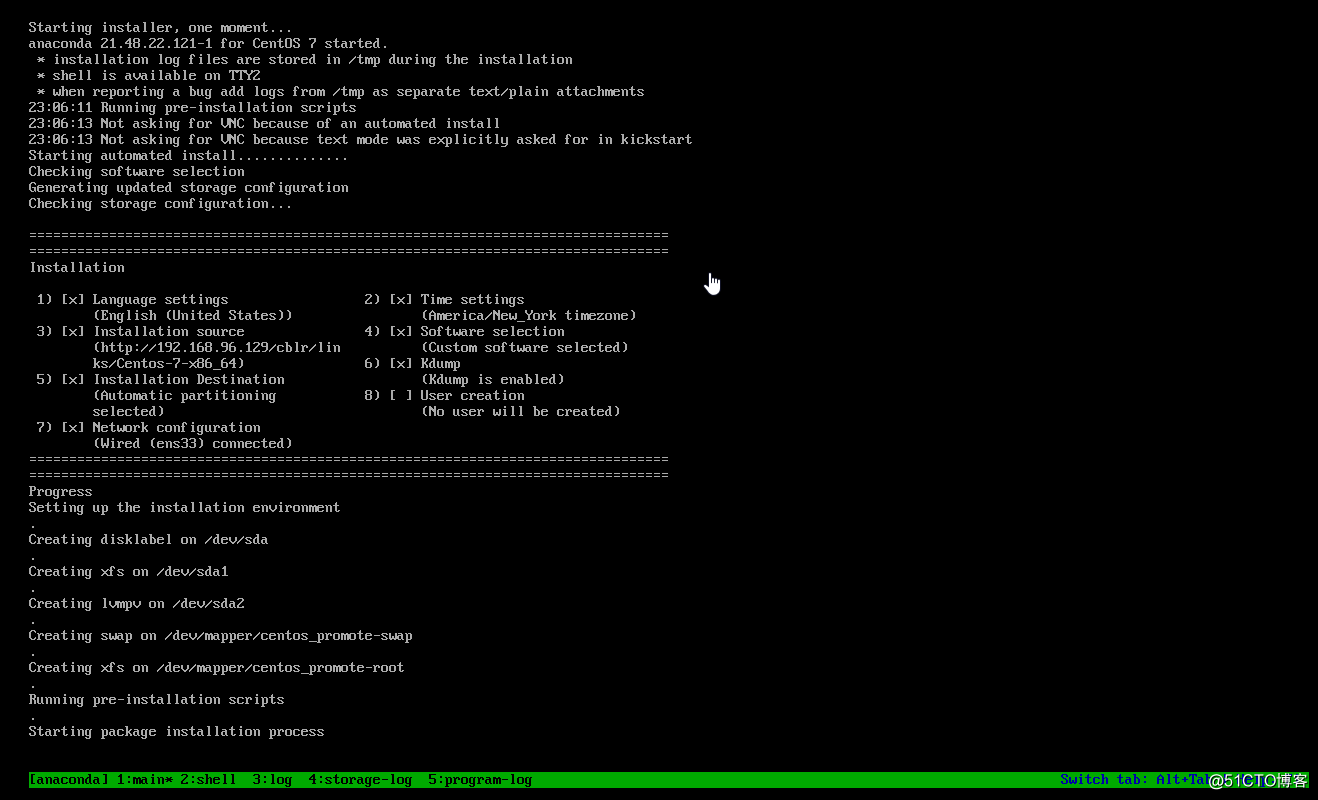
客户端安装完成后只具备字符界面
登录账户名:root 密码:abc123
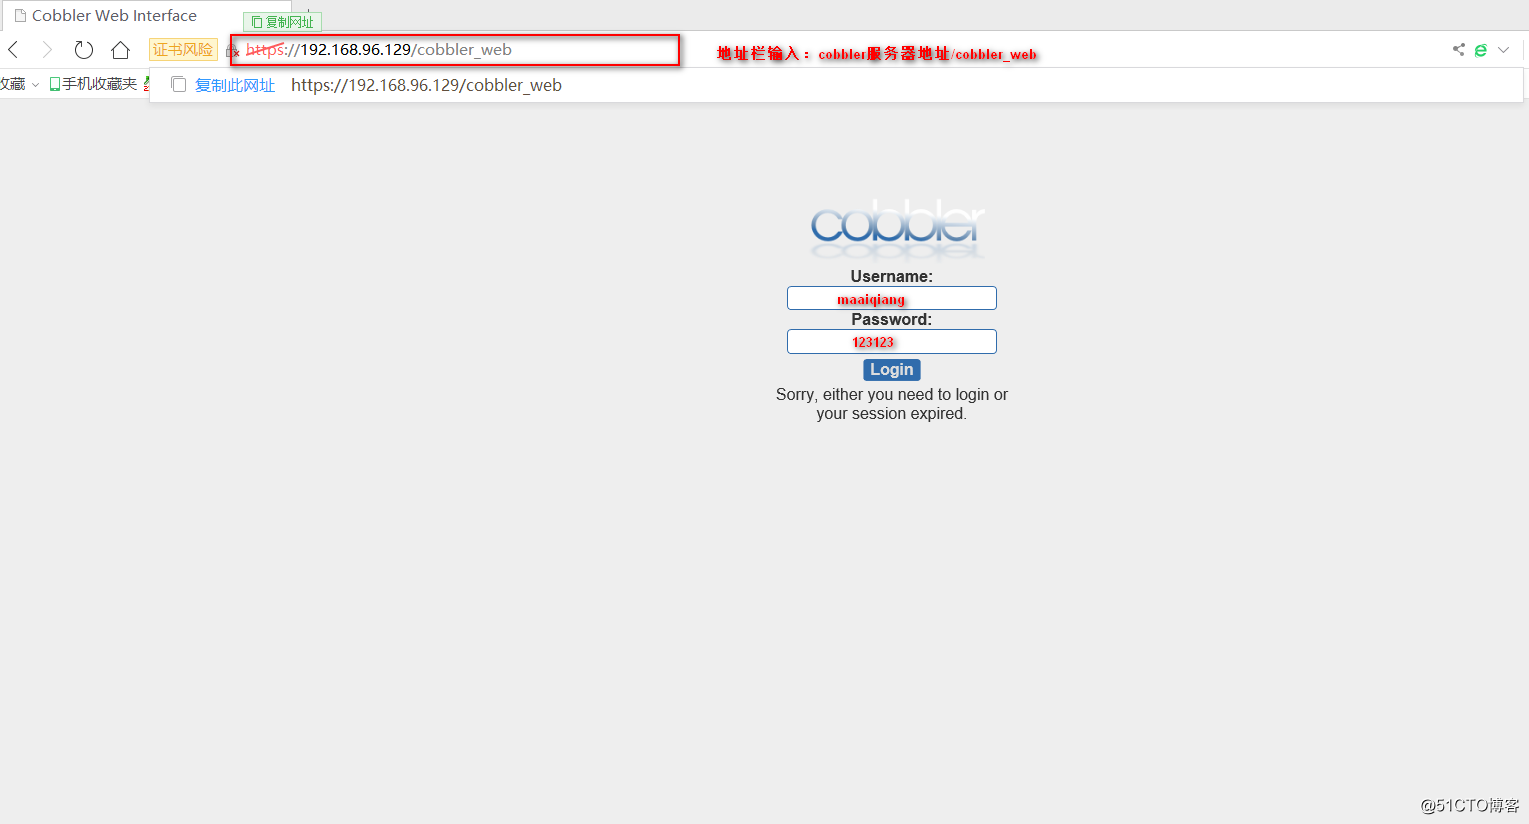
vim /etc/cobbler/modules.conf authn_configfile #默认就是模块认证
htdigest -c /etc/cobbler/users.digest Cobbler maaiqiang
输入两次确认密码(123123)
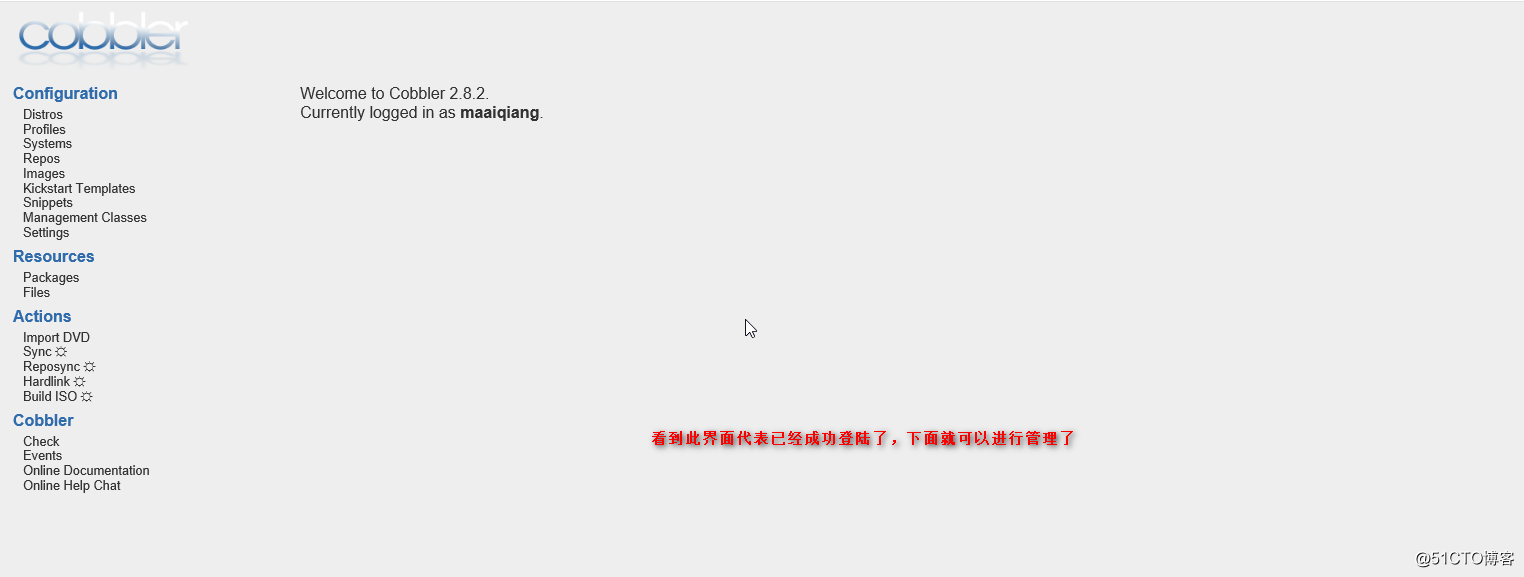
#重新启动cobblerd、httpd服务
systemctl restart cobblerd.service
systemctl restart httpd.service

原文:http://blog.51cto.com/10316297/2117219