所谓虚拟主机,在Web服务当中就是一个独立的网站站点,这个站点对应独立的域名(也有可能是IP或者端口),具有独立的程序和资源目录,可以独立地对外提供服务供用户访问。
? 这个独立的站点在配置里是由一定格式的标签进行标记,和apache相对比,apache的虚拟主机的标签段通常是以
进行标注的,而Nginx则是以Server{}标签段来标示一个虚拟主机。一个Web服务中支持多个虚拟主机站点。 和apache一样,虚拟主机主要有3种:
- (1)基于域名的虚拟主机
- (2)基于端口的虚拟主机
- (3)基于IP的虚拟主机
(1)基于域名域名的虚拟主机配置
(1)修改主配置文件nginx.conf,加载虚拟主机配置
[root@localhost conf]# grep -Ev "^$|#" nginx.conf
user  nginx;
worker_processes  auto;
events {
    worker_connections  1024;
}
http {
    include       mime.types;
    default_type  application/octet-stream;
    log_format  main  '$remote_addr - $remote_user [$time_local] "$request" '
                      '$status $body_bytes_sent "$http_referer" '
                      '"$http_user_agent" "$http_x_forwarded_for"';
    sendfile        on;
    tcp_nopush     on;
    keepalive_timeout  65;
    include /usr/local/nginx/conf/vhosts/*.conf;  #包含虚拟主机配置
}

(2)创建虚拟主机配置文件,并增加虚拟主机
[root@localhost conf]# mkdir vhosts && cd vhosts/
[root@localhost vhosts]# vim www.abc.org.conf
server {
        listen 80;
        server_name www.abc.org;
        root /vhosts/html/www;
        index index.html index.htm index.php;
}
[root@localhost vhosts]# cp www.abc.org.conf bbs.abc.org.conf
[root@localhost vhosts]# cp www.abc.org.conf blog.abc.org.conf
[root@localhost vhosts]# vim bbs.abc.org.conf
server {
        listen 80;
        server_name bbs.abc.org;
        root /vhosts/html/bbs;
        index index.html index.htm index.php;
}
[root@localhost vhosts]# vim blog.abc.org.conf
server {
        listen 80;
        server_name blog.abc.org;
        root /vhosts/html/blog;
        index index.html index.htm index.php;
}

(3)创建虚拟主机主页
[root@localhost vhosts]# mkdir /vhosts/html/{www,bbs,blog}
[root@localhost vhosts]# echo "welcome to www.abc.org" >> /vhosts/html/www/index.html
[root@localhost vhosts]# echo "welcome to bbs.abc.org" >> /vhosts/html/bbs/index.html
[root@localhost vhosts]# echo "welcome to blog.abc.org" >> /vhosts/html/blog/index.html

(4)检查语法,重载nginx
[root@localhost vhosts]# /usr/local/nginx/sbin/nginx -t
nginx: the configuration file /usr/local/nginx1.15.1/conf/nginx.conf syntax is ok
nginx: configuration file /usr/local/nginx1.15.1/conf/nginx.conf test is successful
[root@localhost vhosts]# /usr/local/nginx/sbin/nginx -s reload
windows下做hosts解析
192.168.56.11 www.abc.org bbs.abc.org blog.abc.org 分别访问


(2)基于端口的虚拟主机配置
(1)修改bbs和blog站点监听端口
[root@localhost vhosts]# vim bbs.abc.org.conf
listen 8081;
[root@localhost vhosts]# vim blog.abc.org.conf
listen 8082
[root@localhost vhosts]# export PATH=/usr/local/nginx/sbin/:$PATH

(2)检查语法,重载nginx
[root@localhost vhosts]# nginx -t
nginx: the configuration file /usr/local/nginx1.15.1/conf/nginx.conf syntax is ok
nginx: configuration file /usr/local/nginx1.15.1/conf/nginx.conf test is successful
[root@localhost vhosts]# nginx -s reload

(3)测试访问页面
[root@localhost ~]# curl www.abc.org
welcome to www.abc.org
[root@localhost ~]# curl bbs.abc.org:8081
welcome to bbs.abc.org
[root@localhost ~]# curl blog.abc.org:8082
welcome to blog.abc.org
以上端口可以随意更改,但是不能和已有服务冲突,原则上应该是大于1024小于65535的任意端口
(3)基于IP的虚拟主机配置
(1)增加虚拟网卡eth0:0和eth0:1
[root@localhost ~]# ifconfig eth0:0 192.168.56.110/24 up
[root@localhost ~]# ifconfig eth0:1 192.168.56.111/24 up
[root@localhost ~]# ifconfig eth0:0
eth0:0: flags=4163<UP,BROADCAST,RUNNING,MULTICAST>  mtu 1500
        inet 192.168.56.110  netmask 255.255.255.0  broadcast 192.168.56.255
        ether 00:0c:29:ce:31:fd  txqueuelen 1000  (Ethernet)

[root@localhost ~]# ifconfig eth0:1
eth0:1: flags=4163<UP,BROADCAST,RUNNING,MULTICAST>  mtu 1500
        inet 192.168.56.111  netmask 255.255.255.0  broadcast 192.168.56.255
        ether 00:0c:29:ce:31:fd  txqueuelen 1000  (Ethernet)

(2)修改虚拟主机配置server_name为ip访问
[root@localhost vhosts]# vim bbs.abc.org.conf
listen 8081;
server_name 192.168.56.110;
[root@localhost vhosts]# vim blog.abc.org.conf
listen 8082;
server_name 192.168.56.111;

(3)检测语法,重载nginx,测试访问
[root@localhost vhosts]# nginx -t
nginx: the configuration file /usr/local/nginx1.15.1/conf/nginx.conf syntax is ok
nginx: configuration file /usr/local/nginx1.15.1/conf/nginx.conf test is successful
[root@localhost vhosts]# nginx -s reload
[root@localhost ~]# curl http://192.168.56.110:8081/
welcome to bbs.abc.org
[root@localhost ~]# curl http://192.168.56.111:8082/
welcome to blog.abc.org(1)MySQL数据库配置准备
[root@localhost tools]# wget https://cn.wordpress.org/wordpress-4.9.4-zh_CN.tar.gz    //下载wordpress源码包
[root@localhost tools]# mysql -uroot -p
Enter password:
Welcome to the MySQL monitor.  Commands end with ; or \g.
Your MySQL connection id is 24
Server version: 5.6.35 MySQL Community Server (GPL)

Copyright (c) 2000, 2016, Oracle and/or its affiliates. All rights reserved.

Oracle is a registered trademark of Oracle Corporation and/or its
affiliates. Other names may be trademarks of their respective
owners.

Type 'help;' or '\h' for help. Type '\c' to clear the current input statement.

mysql> create database wordpress default character set = 'utf8';    //创建wordpress专用数据库,用于存放blog数据
Query OK, 1 row affected (0.00 sec)

mysql> show databases like "wordpress";
+----------------------+
| Database (wordpress) |
+----------------------+
| wordpress            |
+----------------------+
row in set (0.02 sec)

mysql> grant all on wordpress.* to wordpress@'%' identified by '123456';    //授权数据库管理用户
Query OK, 0 rows affected (0.02 sec)

mysql> flush privileges;
Query OK, 0 rows affected (0.01 sec)

mysql> quit;
Bye
(2)Nginx和PHP配置准备
[root@localhost vhosts]# vim wordpress.conf //编辑博客虚拟主机配置
server {
listen 80;
server_name blog.test.com;
root /vhosts/html/wordpress;
index index.html index.php index.htm;
access_log logs/blog.test.com_access.log main;
error_log logs/blog.test.com_error.log info;
location ~ \.php$ {
root /vhosts/html/wordpress;
fastcgi_pass 127.0.0.1:9000;
fastcgi_index index.php;
fastcgi_param SCRIPT_FILENAME $document_root$fastcgi_script_name;
include fastcgi_params;
}
}
[root@localhost tools]# tar -zxf wordpress-4.9.4-zh_CN.tar.gz //解压博客源码包
[root@localhost tools]# mv wordpress /vhosts/html/
[root@localhost wordpress]# chown -R nginx.nginx /vhosts/html/wordpress //更改所属权限
[root@localhost wordpress]# nginx -t
nginx: the configuration file /usr/local/nginx1.15.1/conf/nginx.conf syntax is ok
nginx: configuration file /usr/local/nginx1.15.1/conf/nginx.conf test is successful
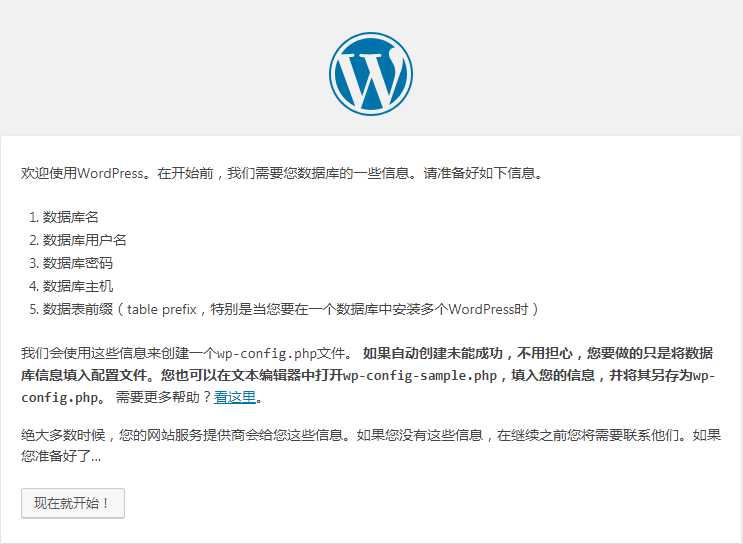
[root@localhost wordpress]# nginx -s reloadwindows下做hosts域名解析 192.168.56.11 blog.test.com,访问blog.test.com,出现以下界面,进行安装wordpress
填写数据库相关信息
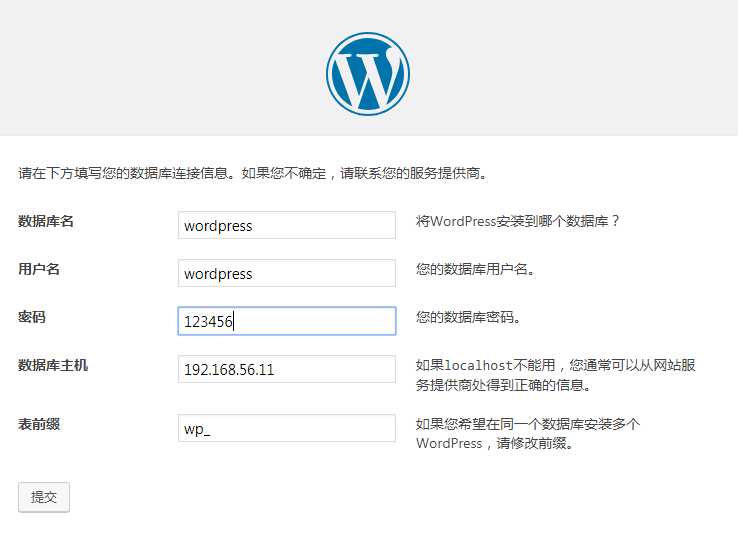
提交后,点击现在安装,而后输入博客相关信息。完成后登录博客,可进入到博客内部,如图:
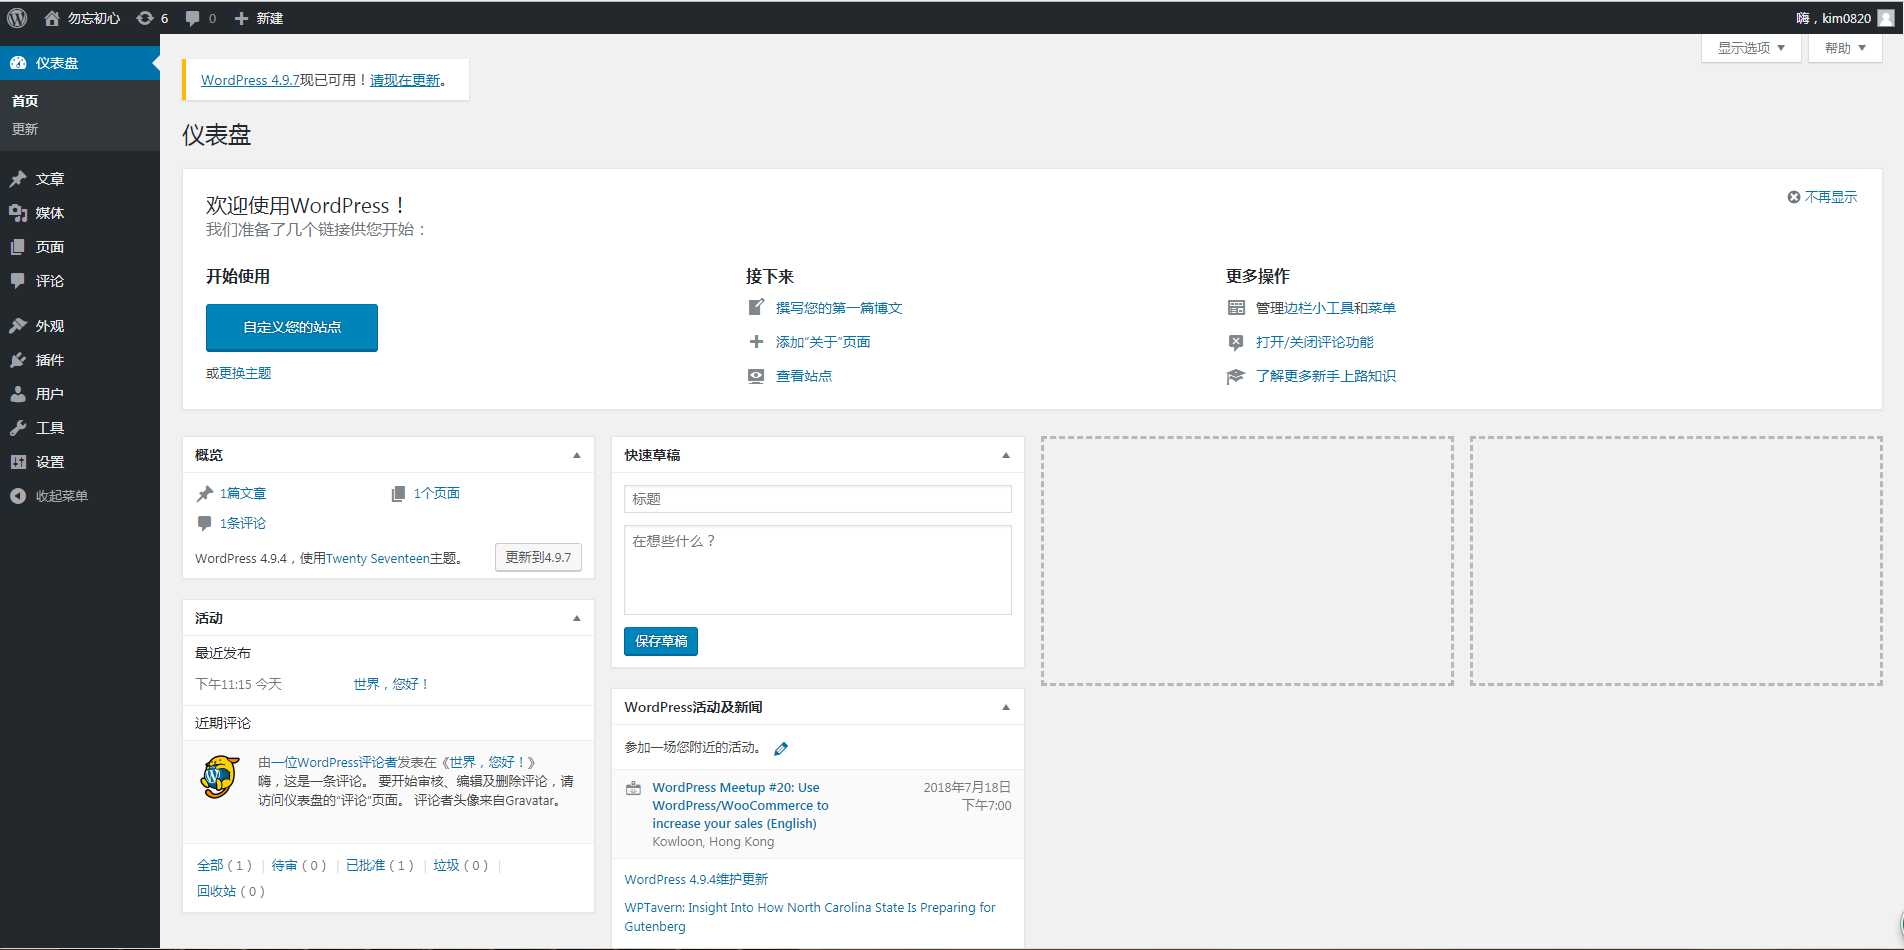
在此界面可以进行发布文章,发布完成后,重新访问blog.test.com时,则跳到了正常的博客访问页面。
[root@localhost web]# git clone https://gitee.com/ComsenzDiscuz/DiscuzX.git    #下载discuz论坛源码包
Cloning into 'DiscuzX'...
remote: Enumerating objects: 7404, done.
remote: Counting objects: 100% (7404/7404), done.
remote: Compressing objects: 100% (4767/4767), done.
remote: Total 7404 (delta 2663), reused 7153 (delta 2588)
Receiving objects: 100% (7404/7404), 12.12 MiB | 471.00 KiB/s, done.
Resolving deltas: 100% (2663/2663), done.

[root@localhost vhost]# cp -r /data/web/DiscuzX/upload /data/web/discuz    #拷贝源码到站点根目录

[root@localhost vhost]# cat discuz.conf     #增加论坛虚拟主机配置
server {
    listen       80;
    server_name  192.168.56.11;
    root /data/www/discuz;
    index index.php index.html index.htm;

    location / {
        try_files $uri $uri/ /index.php$is_args$args;
    }

    location ~ \.php$ {
        try_files $uri = 404;
        fastcgi_pass   127.0.0.1:9000;
        fastcgi_index  index.php;
        fastcgi_param  SCRIPT_FILENAME  $document_root$fastcgi_script_name;
        include        fastcgi_params;
    }
}

[root@localhost vhost]# nginx -t
nginx: the configuration file /usr/local/nginx/conf/nginx.conf syntax is ok
nginx: configuration file /usr/local/nginx/conf/nginx.conf test is successful
[root@localhost vhost]# systemctl reload nginx

[root@localhost vhost]# mysql -uroot -p    #登录数据库,创建需要的库和用户名
Enter password:
Welcome to the MariaDB monitor.  Commands end with ; or \g.
Your MariaDB connection id is 3
Server version: 10.1.20-MariaDB MariaDB Server

Copyright (c) 2000, 2016, Oracle, MariaDB Corporation Ab and others.

Type 'help;' or '\h' for help. Type '\c' to clear the current input statement.

MariaDB [(none)]> create database discuz default charset utf8;
Query OK, 1 row affected (0.05 sec)

MariaDB [(none)]> grant all privileges on discuz.* to discuz@"%" identified by "123456";
Query OK, 0 rows affected (0.00 sec)

MariaDB [(none)]> flush privileges;
Query OK, 0 rows affected (0.00 sec)
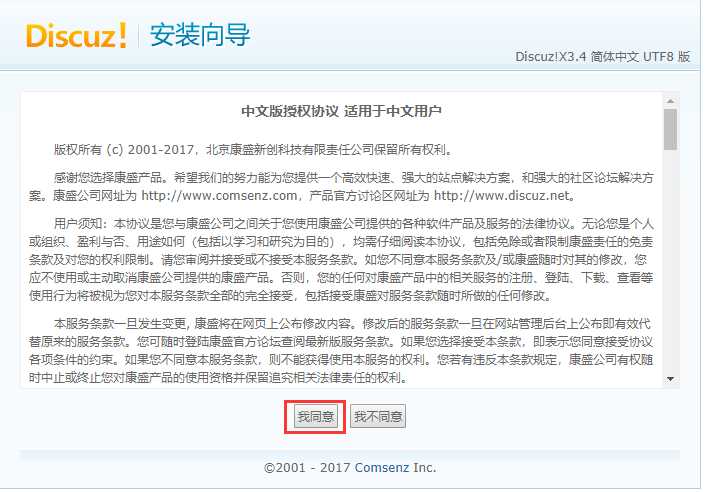
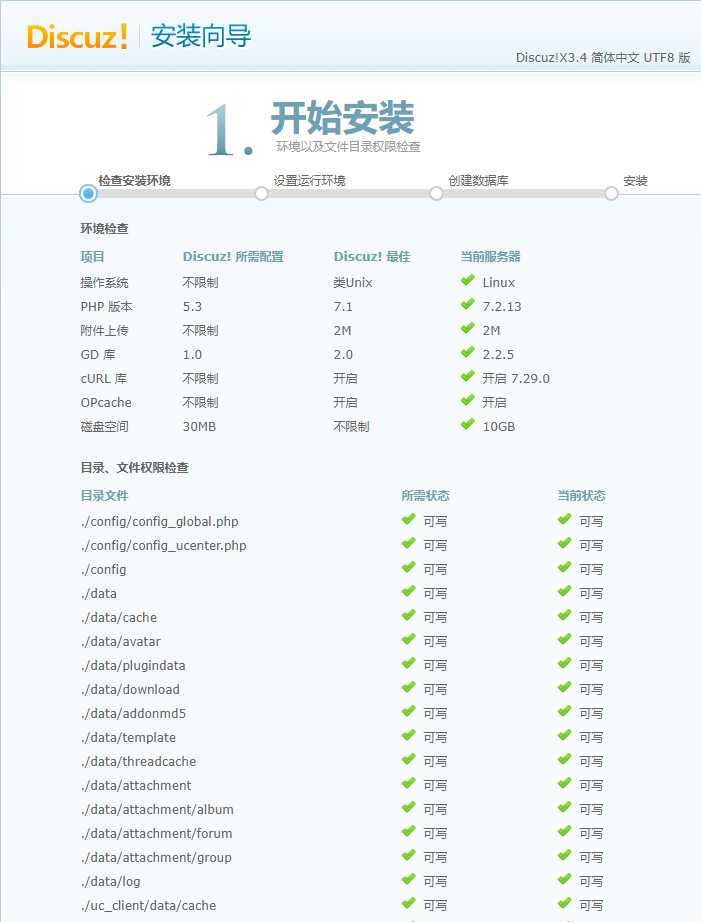
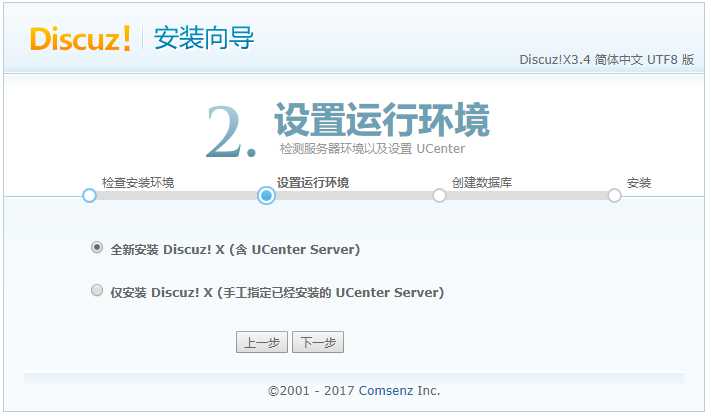
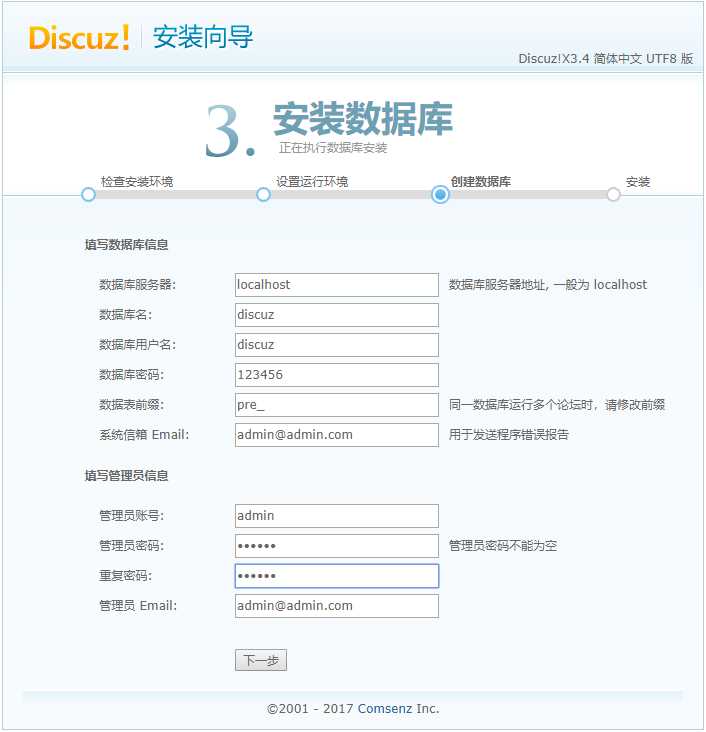
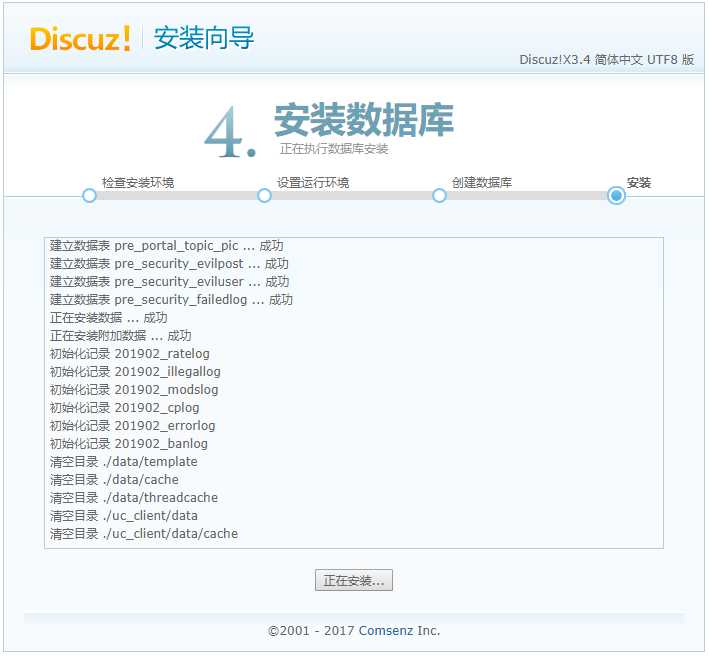
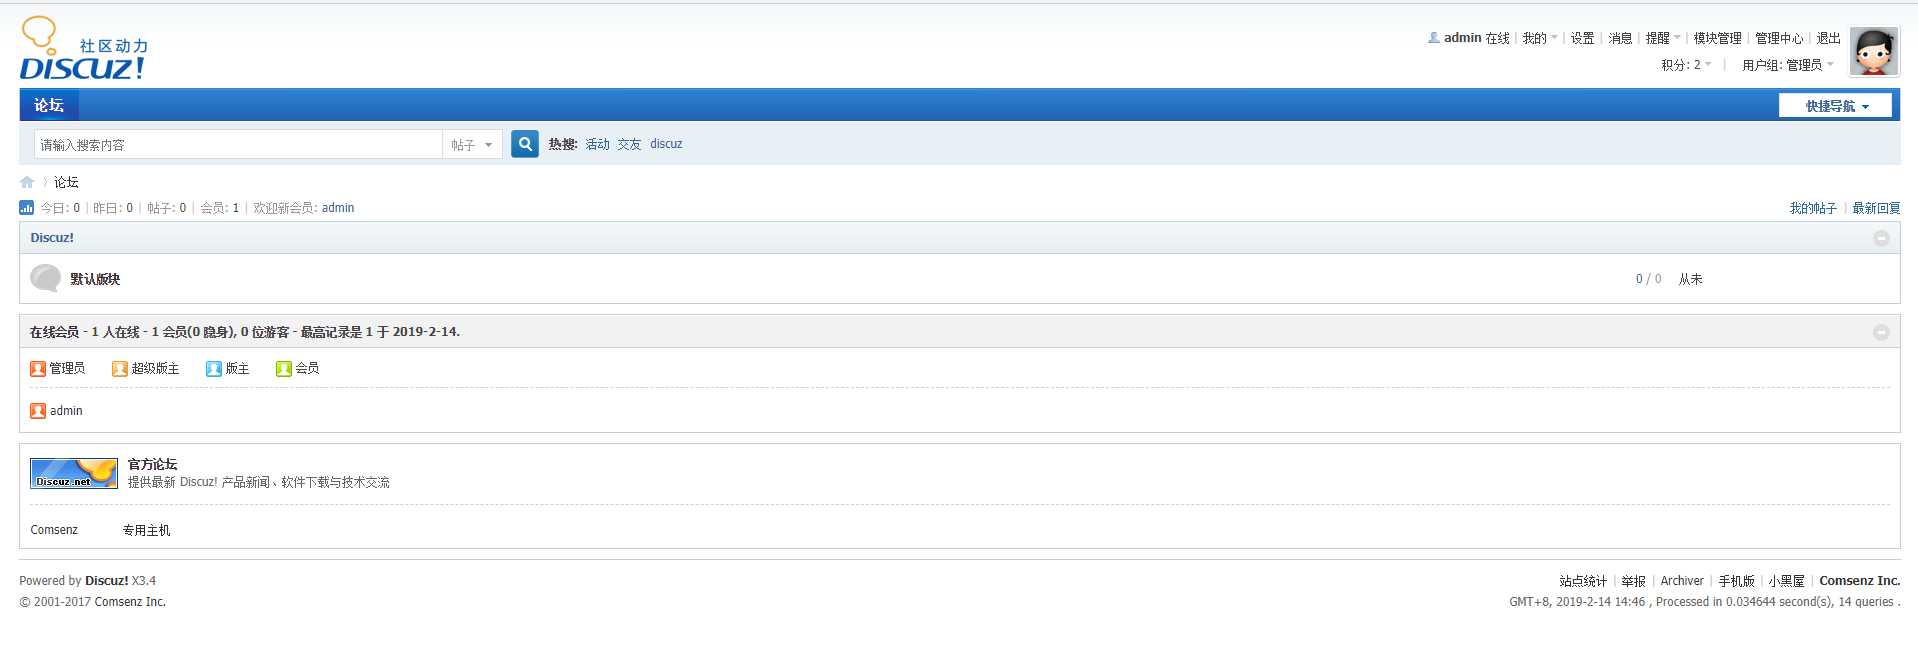
访问192.168.56.11,可以进入安装界面,如图:
原文:https://www.cnblogs.com/linuxk/p/10374346.html