操作系统:Centos 7
环境:VM虚拟机
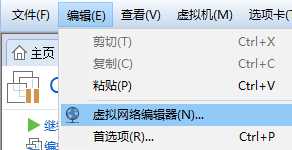
然后选择NAT模式


接下来配置网络


安装ssh
sudo yum install -y curl policycoreutils-pythonopenssh-server
ssh开机启动
sudo systemctl enable sshd
防火墙开启http
sudo firewall-cmd --permanent --add-service=http
安装postfix
sudo yum install postfix
postfix设置开机启动
sudo systemctl enable postfix
安装wget
yum -y install wget
安装gitlab
镜像地址:https://mirrors.tuna.tsinghua.edu.cn/gitlab-ce/yum/el7/
wget https://mirrors.tuna.tsinghua.edu.cn/gitlab-ce/yum/el7/gitlab-ce-10.0.0-ce.0.el7.x86_64.rpm
安装git:

配置gitlab服务器ip和端口:
vi /etc/gitlab/gitlab.rb
修改红色字体部分为IP和端口:


![]()
此处端口设置与上面文件相同

防火墙开启对应端口:

下图firewall-cmd --relaod报错原因是单词打错了 应为reload

之前安装的软件记得启动
gitlab-ctlreconfigure

gitlab-ctl restart


git项目中获取地址后在本地连接远程项目获取代码

连接之后进入文件夹并切换(创建)分支


原文:https://www.cnblogs.com/dnoir/p/10447847.html