第一步:创建一个普通的maven项目
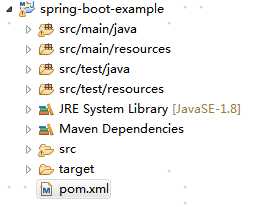
第二步:配置springboot基础依赖配置(即配置pom和启动类)
POM配置
<project xmlns="http://maven.apache.org/POM/4.0.0" xmlns:xsi="http://www.w3.org/2001/XMLSchema-instance" xsi:schemaLocation="http://maven.apache.org/POM/4.0.0 http://maven.apache.org/xsd/maven-4.0.0.xsd">
  <modelVersion>4.0.0</modelVersion>
  <groupId>spring-boot-example</groupId>
  <artifactId>spring-boot-example</artifactId>
  <version>0.0.1-SNAPSHOT</version>
  <name>spring-boot-example</name>
  <description>spring-boot-example</description>

  <!-- 继承父包 -->
    <parent>
        <groupId>org.springframework.boot</groupId>
        <artifactId>spring-boot-starter-parent</artifactId>
        <version>1.5.19.RELEASE</version>
        <relativePath></relativePath>
    </parent>

  <dependencies>
        <dependency>
            <groupId>org.springframework.boot</groupId>
            <artifactId>spring-boot-starter-web</artifactId>
        </dependency>
        <dependency>
            <groupId>org.springframework.boot</groupId>
            <artifactId>spring-boot-starter-test</artifactId>
            <scope>test</scope>
        </dependency>
  </dependencies>

  <properties>
        <java.version>1.8</java.version>
  </properties>

  <build>
        <plugins>
            <plugin>
                <groupId>org.springframework.boot</groupId>
                <artifactId>spring-boot-maven-plugin</artifactId>
            </plugin>
        </plugins>
   </build>
</project>
配置启动类
@RestController      // @RestController  相当于 @Controller 加上  @ResponseBody
@EnableAutoConfiguration
public class HelloController {

    public static void main(String[] args) {
        SpringApplication.run(HelloController.class, args);
    }

    @RequestMapping("/example/hello")
    public int hello(){
        return 1;
    }

}
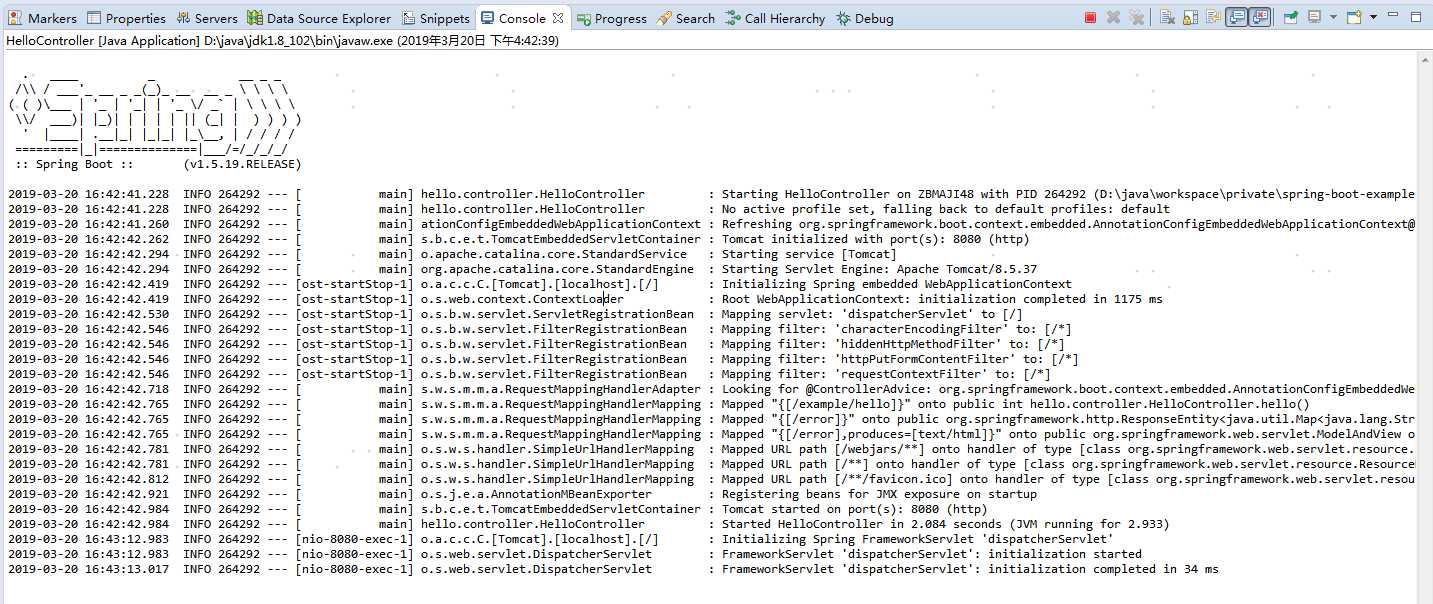
最后,启动springboot应用
方式一:eclipse中直接运行main方法
方式二:命令行执行 java -jar spring-boot-example.jar &
方式三:打包成war文件,放tomcat中运行
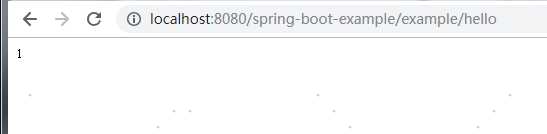
结果如下图所示:
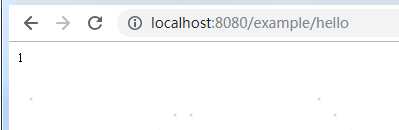
发布的http服务测试:http://localhost:8080/example/hello,测试成功!,如下图所示
关于打包成war形式,放入tomcat中运行需要注意:
第一步:修改pom文件:新增黑色字体部分内容
<project xmlns="http://maven.apache.org/POM/4.0.0" xmlns:xsi="http://www.w3.org/2001/XMLSchema-instance" xsi:schemaLocation="http://maven.apache.org/POM/4.0.0 http://maven.apache.org/xsd/maven-4.0.0.xsd">
  <modelVersion>4.0.0</modelVersion>
  <groupId>spring-boot-example</groupId>
  <artifactId>spring-boot-example</artifactId>
  <version>0.0.1-SNAPSHOT</version>
  <name>spring-boot-example</name>
  <description>spring-boot-example</description>
  <packaging>war</packaging>

  <!-- 继承父包 -->
    <parent>
        <groupId>org.springframework.boot</groupId>
        <artifactId>spring-boot-starter-parent</artifactId>
        <version>1.5.19.RELEASE</version>
        <relativePath></relativePath>
    </parent>

  <dependencies>

          <dependency>
            <groupId>org.springframework.boot</groupId>
            <artifactId>spring-boot-starter-web</artifactId>
        </dependency>

          <dependency>
            <groupId>org.springframework.boot</groupId>
            <artifactId>spring-boot-starter-test</artifactId>
            <scope>test</scope>
        </dependency>

        <!-- 确保内置servlet container 不会干涉发布该war包的servlet container,方案是标记内置servlet container 的依赖为    provided -->
        <dependency>
            <groupId>org.springframework.boot</groupId>
            <artifactId>spring-boot-starter-tomcat</artifactId>
            <scope>provided</scope>
        </dependency>
  </dependencies>
第二步:更改程序入口类 Application.java 使其继承SpringBootServletInitializer,并重写configure方法,(即加粗字体部分)
@RestController      // @RestController  相当于 @Controller 加上  @ResponseBody
@SpringBootApplication
public class HelloController extends SpringBootServletInitializer{

    @Override
    public SpringApplicationBuilder configure(SpringApplicationBuilder application){
        return  application.sources(HelloController.class);
    }

    public static void main(String[] args) {
        SpringApplication.run(HelloController.class, args);
    }

    @RequestMapping("/example/hello")
    public int hello(){
        return 1;
    }
}
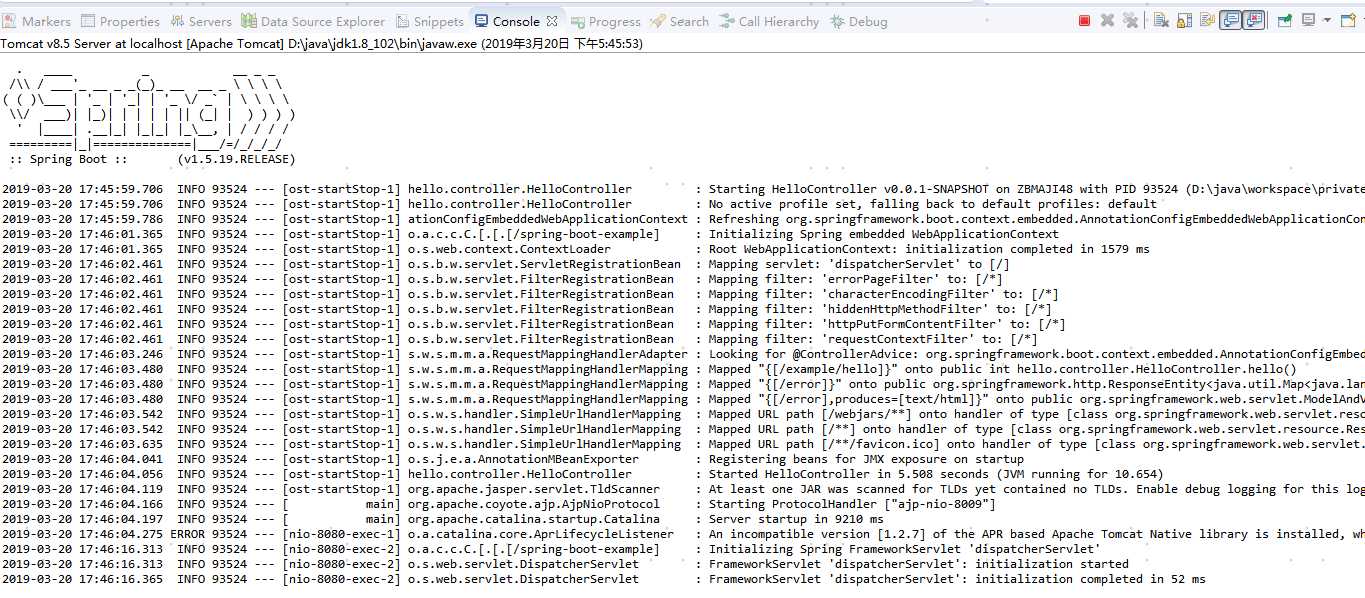
用 tomcat验证结果:

原文:https://www.cnblogs.com/outpointexception/p/10566569.html