浮雕效果:newP = gray0-gray1+150(特定值) 即当前像素等于相邻像素之差再加上一个特定值突出灰度 即边缘特征,设定不同的特征值的时候会出现不同的浮雕效果。
测试代码如下:
 1 import cv2
 2 import numpy as np
 3 import random
 4 img = cv2.imread(‘image0.jpg‘, 1)
 5 imgInfo = img.shape
 6 height = imgInfo[0]
 7 width = imgInfo[1]
 8 cv2.imshow(‘src‘,img)
 9 # 转化为灰度图
10 gray = cv2.cvtColor(img,cv2.COLOR_BGR2GRAY)
11 dst = np.zeros((height,width,1),np.uint8)
12 for i in range(0,height):
13     for j in range(0,width-1):
14         grayP0 = int(gray[i,j])
15         grayP1 = int(gray[i,j+1])
16         newP = grayP0-grayP1+50
17         if newP > 255:
18             newP = 255
19         if newP < 0:
20             newP = 0
21         dst[i,j] = newP
22 cv2.imshow(‘dst‘,dst)
23 cv2.waitKey(0)
运行结果如下:
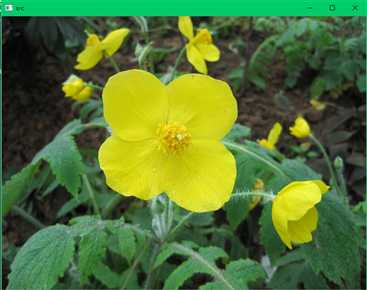
src初始图像:
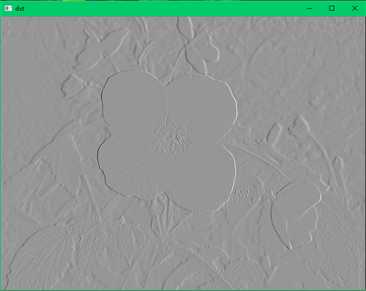
dst浮雕效果图像:(特定值为150的时候)
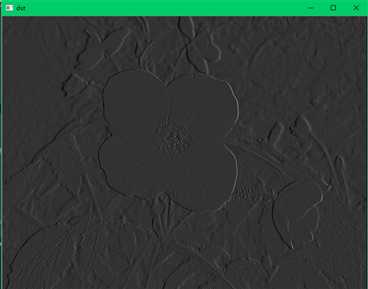
dst浮雕效果图像:(特定值为50的时候)
原文:https://www.cnblogs.com/shixinzei/p/10899102.html