ubuntu对新手的友好性是毋庸置疑的。稳定性的话centos各有千秋吧。
如果是自己本地VM上运行的话,常用的ubuntu14.04推荐下载。前不久买了阿里的云服务器,Ubuntu只支持16.04,今天就来重新配一下环境。
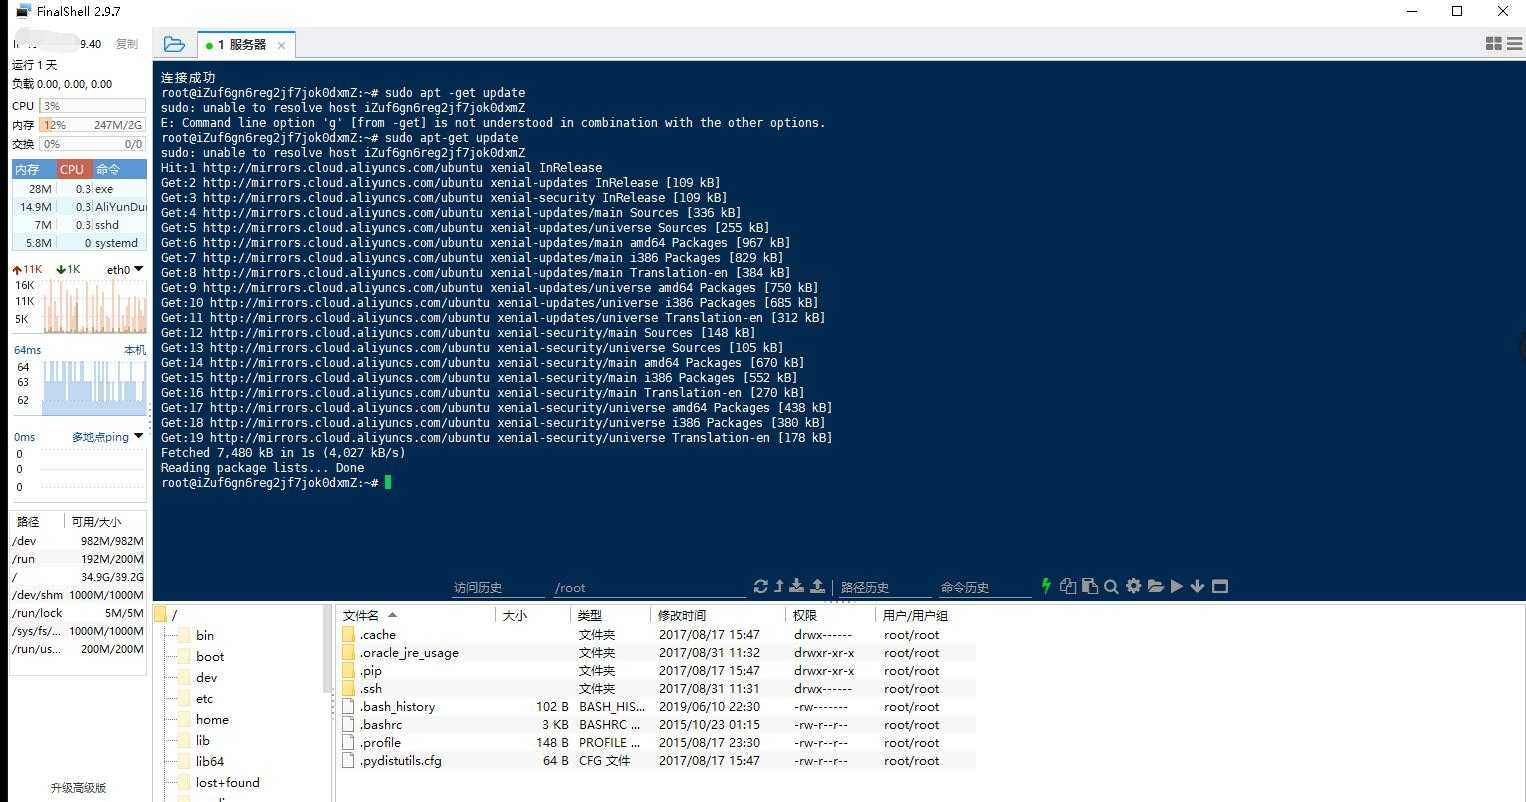
首先连接到我们的服务器,这里我用的finalShell终端连接,很方便,支持复制粘贴,可视化文件夹。
看一下软件效果图:
1、我们先对工具包进行一次更新,防止后面的麻烦:
sudo apt-get update
2、安装服务器维护日常依赖(考虑到后期使用git 所以这里安了git),执行命令
sudo apt-get install git vim openssl build-essential libssh-dev wget curl
到这里环境就整舒服了
1、执行以下代码安装nvm,安装命令可以在github上搜索nvm找到。
地址:https://github.com/nvm-sh/nvm
curl -o- https://raw.githubusercontent.com/nvm-sh/nvm/v0.33.2/install.sh | bash
nvm ls
2、安装成功后我们执行 nvm ls 查看nvm的安装情况,大致情况如下图:
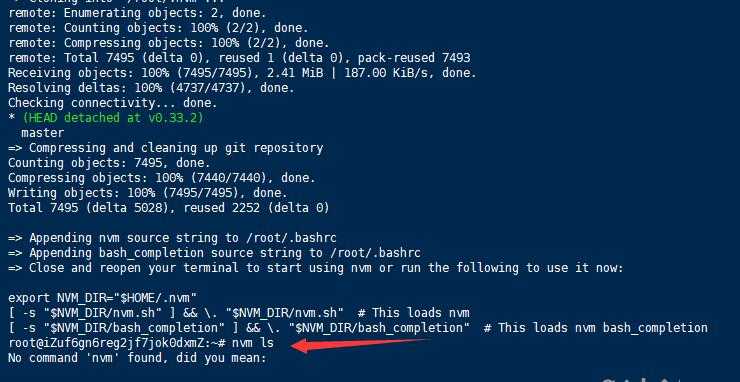
3.这里通常会提示 No Commond 错误不要怕,很正常,缺少环境变量。我们接下来进行配置:
cd ~/.nvm
touch .bash_profile
vim .bash_profile
export NVM_DIR="$HOME/.nvm"
[ -s "$NVM_DIR/nvm.sh" ] && \. "$NVM_DIR/nvm.sh" # This loads nvm
[ -s "$NVM_DIR/bash_completion" ] && \. "$NVM_DIR/bash_completion" # This loads nvm bash_completion
source .bash_profile

这是因为还没有安装对应的nodejs
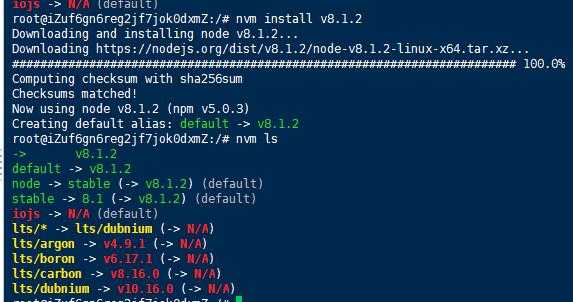
4.执行以下命令安装node.jsv8.1.2
nvm install v8.1.2
我们进入node.js官网,这里说一下中文 版的没有测试这一块,英文版的地址:https://nodejs.org/en/about/
我们在/目录下新建server.js.复制一下内容
const http = require(‘http‘);

const hostname = ‘127.0.0.1‘;
const port = 3000;

const server = http.createServer((req, res) => {
  res.statusCode = 200;
  res.setHeader(‘Content-Type‘, ‘text/plain‘);
  res.end(‘Hello World\n‘);
});

server.listen(port, hostname, () => {
  console.log(`Server running at http://${hostname}:${port}/`);
});
通过node server来运行代码,效果图如下:

到这里我们的nodejs环境就安装完成了。
原文:https://www.cnblogs.com/gede/p/11010367.html