spring boot 解放程序员的框架、利用“约定优于配置“理念、零配置的体验。开始流行起来了。maven创建spring boot 体验。
1、使用idea 创建maven工程、在pom.xml 文件中添加:
<parent>
    <groupId>org.springframework.boot</groupId>
    <artifactId>spring-boot-starter-parent</artifactId>
    <version>1.5.2.RELEASE</version>
</parent>
<dependency>
    <groupId>org.springframework.boot</groupId>
    <artifactId>spring-boot-starter-web</artifactId>
</dependency>
2、创建spring boot 启动类添加注解@SpringBootApplication、完成代码
@SpringBootApplication
public class Application {

    public static void main(String[] args) {
        SpringApplication.run(Application.class, args);
    }
}
3、创建控制类loginController、添加@controller注解标明一个控制器、@requestmapping 注解定义请求路径、这里用 / 代表默认请求路径。
@Controller
@RequestMapping("/")
public class LoginController {

    @RequestMapping("/")
    public String login() {

        return "login";
    }

}
4、在资源文件resource下创建login.HTML 文件
<!DOCTYPE HTML>
<html xmlns:th="http://www.thymeleaf.org">
<head>
    <title>SpringBoot模版渲染</title>
    <meta http-equiv="Content-Type" content="text/html;charset=UTF-8"/>
</head>
<body>
hello spring boot
</body>
</html>
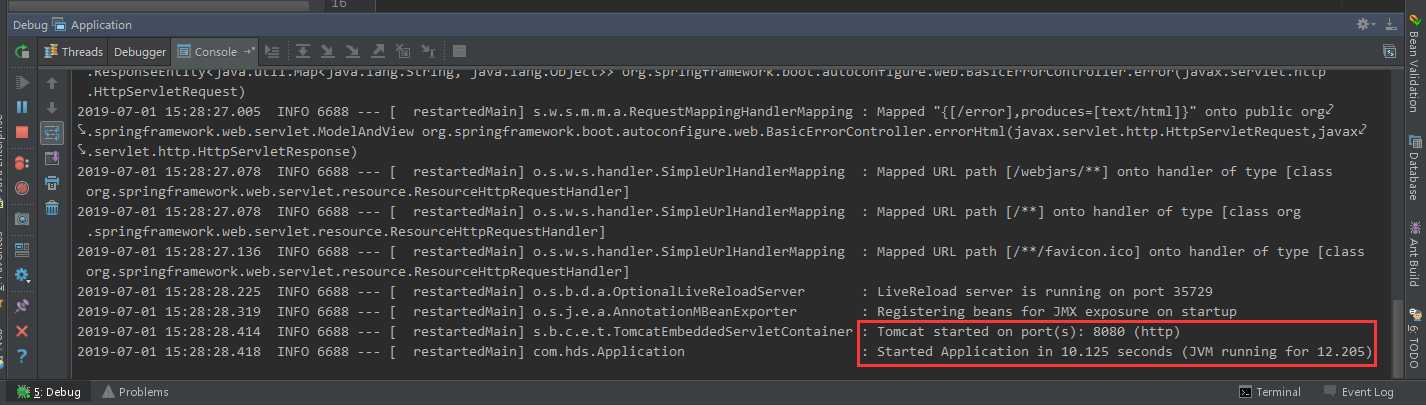
5、运行创建的启动类、既可以启动spring boot 应用、springboot Tomcat 服务启动,如图,显示启动端口号
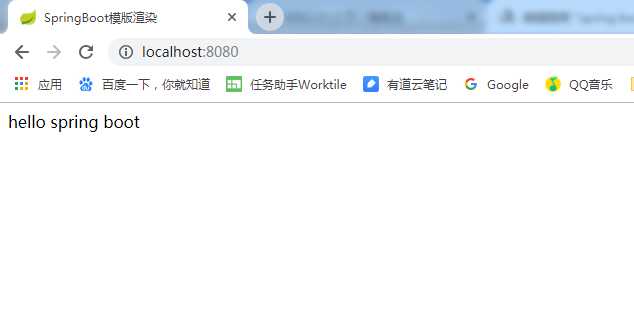
4、打开浏览器、输入localhost:8080,既可访问该应用了。
原文:https://www.cnblogs.com/xiaotongye/p/11114338.html