1。安装好proteus8.4
2.将下载好的ARDUINO.IDX和ARDUINO.LIB放到proteus的安装目录下LIBRARY文件夹里即可加入arduino版
如图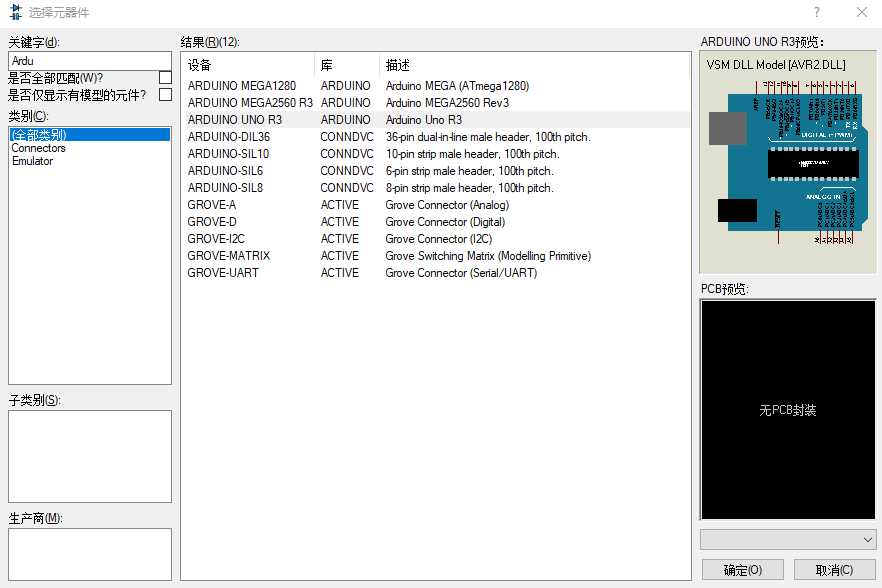
原理连接图如图所示

3.在arduino IDE中编写好代码并编译生成.hex文件(文件>首选项找到preferences.txt文件,在文件末尾加上build.path=hex文件位置)
代码如下
void setup() {
  // put your setup code here, to run once:
   pinMode(6,OUTPUT);
   pinMode(7,OUTPUT);
   pinMode(8,OUTPUT);
   pinMode(9,OUTPUT);

}

void loop() {
  // put your main code here, to run repeatedly:
  int i;
   for(i=6;i<=9;i++){
       digitalWrite(i,HIGH);
       delay(1000);
       digitalWrite(i,LOW);
       delay(1000);
    }
}
4.双击arduino版,选择file的路径为hex文件路径
5.运行仿真即可
原文:https://www.cnblogs.com/chenminyu/p/11219471.html