使用vue-cli搭建SPA项目的前提就是搭建好NodeJS
NodeJS搭建指路:https://www.cnblogs.com/psyu/p/11302204.html
什么是vue-cli?
vue-cli是vue.js的脚手架,用于自动生成vue.js+webpack的项目模板,创建命令如下:
vue init webpack xxx
注1:xxx 为自己创建项目的名称
注2:必须先安装vue,vue-cli,webpack,node等一些必要的环境
安装vue-cli
npm install -g vue-cli
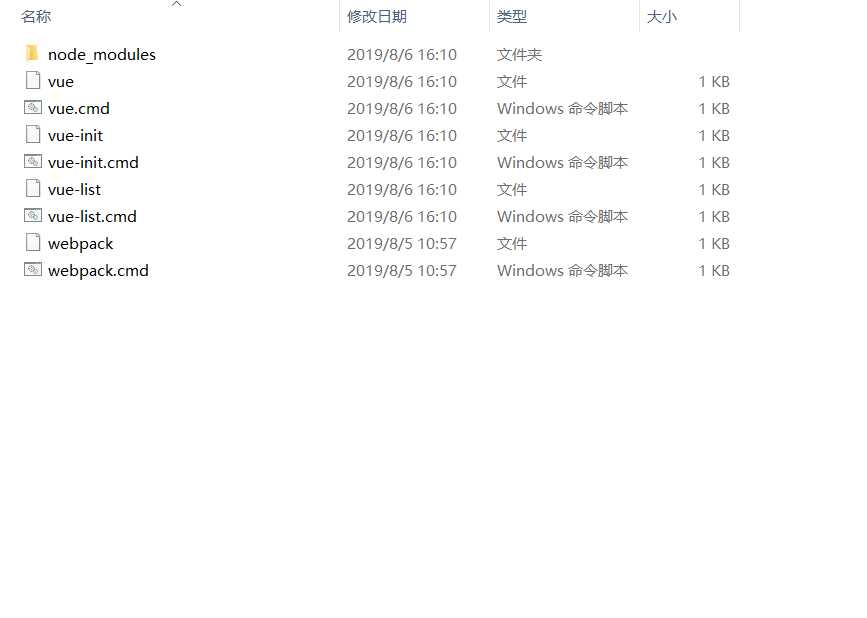
安装成功后,会出现如下文件
安装完成之后打开命令窗口并输入 vue -V(注意这里是大写的“V”),如果出现相应的版本号,则说明安装成功。
使用脚手架vue-cli(2.X版)来构建项目
vue init webpack spa1
此命令用于创建SPA项目,它会在当前目录生成一个以“spa1”命名的文件夹
spa1即为项目名,项目名不能用中文或大写字母,然后终端会出现“一问一答”模式
“一问一答”模式:
1.Project name:项目名,默认是输入时的那个名称spa1,直接回车
2.Project description:项目描述,直接回车
3.Author:作者,随便填或直接回车
4.Vue build:选择题,一般选第一个
4.1Runtime + Compiler: recommended for most users//运行加编译,官方推荐,就选它了
4.2Runtime-only: about 6KB lighter min+gzip, but templates (or any Vue-specific HTML) are ONLY allowed in .vue files
- render functions are required elsewhere//仅运行时,已经有推荐了就选择第一个了
5.Install vue-router:是否需要vue-router,Y选择使用,这样生成好的项目就会有相关的路由配置文件
6.Use ESLint to lint your code:是否用ESLint来限制你的代码错误和风格。N 新手就不用了,但实际项目中一般都会使用,这样多人开发也能达到一致的语法
7.Set up unit tests:是否安装单元测试 N
8.Setup e2e tests with Nightwatch?:是否安装e2e测试 N
9.Should we run `npm install` for you after the project has been created? (recommended) (Use arrow keys)
> Yes, use NPM
Yes, use Yarn
No, I will handle that myself //选择题:选第一项“Yes, use NPM”是否使用npm install安装依赖
全部选择好回车就进行了生成项目,出现如下内容表示项目创建完成
# Project initialization finished!
运行完上面的命令后,我们需要将当前路径改变到SPA这个文件夹内,然后安装需要的模块
cd spa1 #改变路径到spa1文件夹下
npm install #安装所有项目需要的npm模块
启动并访问项目:
npm run dev
项目启动成功后,打开浏览器输入“http://localhost:8080”即可
停止项目添加element-ui模块:
npm install element-ui -S
这样项目就算构建好了
接下来看一个案例:
index.js:
import Vue from ‘vue‘
import Router from ‘vue-router‘
import HelloWorld from ‘@/components/HelloWorld‘
import About from ‘@/views/About‘
import UserInfo from ‘@/views/UserInfo‘
import UserDetail from ‘@/views/UserDetail‘
import UserPwd from ‘@/views/UserPwd‘

Vue.use(Router)

export default new Router({
  routes: [
    {
      path: ‘/‘,
      name: ‘HelloWorld‘,
      component: HelloWorld
    },
        {
          path: ‘/About‘,
          name: ‘About‘,
          component: About
        },
        {
          path: ‘/UserInfo‘,
          name: ‘UserInfo‘,
          component: UserInfo,
            children:[
                {
                  path: ‘/UserDetail‘,
                  name: ‘/UserDetail‘,
                  component: UserDetail
                },
                {
                  path: ‘/UserPwd‘,
                  name: ‘/UserPwd‘,
                  component: UserPwd
                }
            ]
        }
  ]
})
about.vue:
<template>
    <div>
        博主个人事迹

    </div>
</template>

<script>
    export default {
        data() {
            return {

            };
        }
    }
</script>

<style scoped>
h1, h2 {
  font-weight: normal;
}
ul {
  list-style-type: none;
  padding: 0;
}
li {
  display: inline-block;
  margin: 0 10px;
}
a {
  color: #42b983;
}
</style>
UserDetail.vue:
<template>
    <div>
        详情

    </div>
</template>

<script>
    export default {
        data() {
            return {

            };
        }
    }
</script>

<style scoped>
h1, h2 {
  font-weight: normal;
}
ul {
  list-style-type: none;
  padding: 0;
}
li {
  display: inline-block;
  margin: 0 10px;
}
a {
  color: #42b983;
}
</style>
UserInfo.vue:
<template>
    <div>
        <div class="hello">
            <router-link to="/UserDetail">个人详情</router-link>
            <router-link to="/UserPwd">修改密码</router-link>
            <router-view/>
        </div>

    </div>
</template>

<script>
    export default {
        data() {
            return {

            };
        }
    }
</script>

<style scoped>
h1, h2 {
  font-weight: normal;
}
ul {
  list-style-type: none;
  padding: 0;
}
li {
  display: inline-block;
  margin: 0 10px;
}
a {
  color: #42b983;
}
</style>
UserPwd.vue:
<template>
    <div>
        修改密码

    </div>
</template>

<script>
    export default {
        data() {
            return {

            };
        }
    }
</script>

<style scoped>
h1, h2 {
  font-weight: normal;
}
ul {
  list-style-type: none;
  padding: 0;
}
li {
  display: inline-block;
  margin: 0 10px;
}
a {
  color: #42b983;
}
</style>
App.vue:
<template>
  <div id="app">
    <!-- <img src="./assets/logo.png"> -->
        <router-link to="/About">about me</router-link>
        <router-link to="/UserInfo">个人信息</router-link>
    <router-view/>
  </div>
</template>

<script>
export default {
  name: ‘App‘
}
</script>

<style>
#app {
  font-family: ‘Avenir‘, Helvetica, Arial, sans-serif;
  -webkit-font-smoothing: antialiased;
  -moz-osx-font-smoothing: grayscale;
  text-align: center;
  color: #2c3e50;
  margin-top: 60px;
}
</style>

这样就可以实现不同组件之间的跳转
原文:https://www.cnblogs.com/psyu/p/11317110.html