为了实现这个功能,需要修改nginx的配置文件,将nginx.conf清理一下,使结构更清晰。
worker_processes  1;
events {
    worker_connections  1024;
}
http {
    include       mime.types;
    default_type  application/octet-stream;
    sendfile        on;
    keepalive_timeout  65;

    server {
        listen       80;
        server_name  localhost;
        location / {
            root   html;
            index  index.html index.htm;
        }
        error_page   500 502 503 504  /50x.html;
        location = /50x.html {
            root   html;
        }
    }
}
1 基于端口的虚拟主机配置
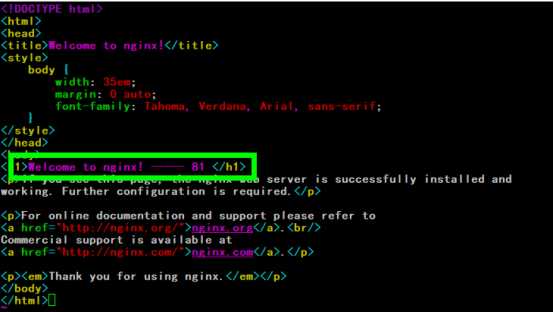
1.1将html文件复制两份,分别命名为html-81、html-82,并且修改文件夹里面index.html内容,添加端口标识。
root@yatces-virtual-machine:/usr/local/nginx# cp -r html html-81
root@yatces-virtual-machine:/usr/local/nginx# cp -r html html-82
结构:

1.2nginx配置,新增两个server:配置监听端口为 81 和 82
    server {
        listen       81;
        server_name  localhost;
        location / {
            root   html-81;
            index  index.html index.htm;
        }
        error_page   500 502 503 504  /50x.html;
        location = /50x.html {
            root   html;
        }
    }

    server {
        listen       82;
        server_name  localhost;
        location / {
            root   html-82;
            index  index.html index.htm;
        }
        error_page   500 502 503 504  /50x.html;
        location = /50x.html {
            root   html;
        }
    }
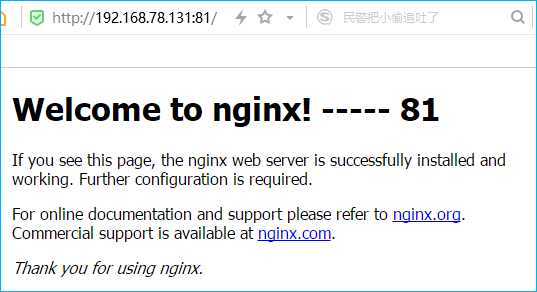
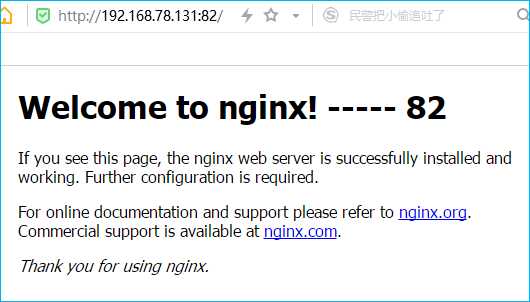
1.3测试
访问192.168.78.131:81 和 192.168.78.131:82
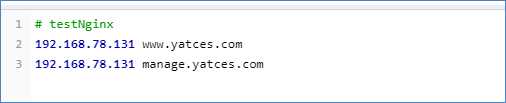
这边我们使用SwitchHosts修改hosts文件
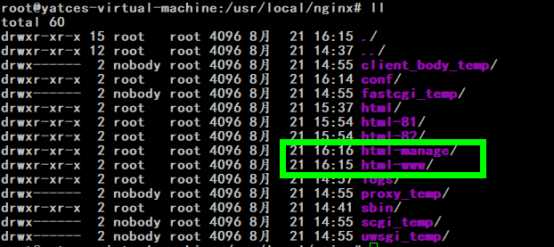
1.1将html文件复制两份,分别命名为html-www、html-manage,并且修改文件夹里面index.html内容,添加域名文件标识。
root@yatces-virtual-machine:/usr/local/nginx# cp -r html html-www
root@yatces-virtual-machine:/usr/local/nginx# cp -r html html-manage
结构
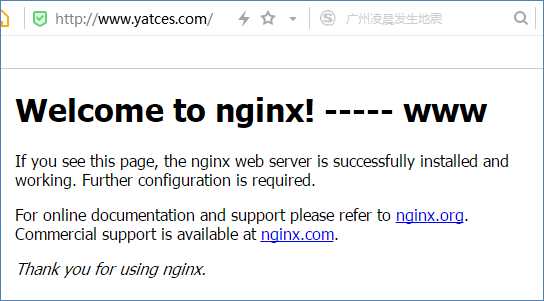
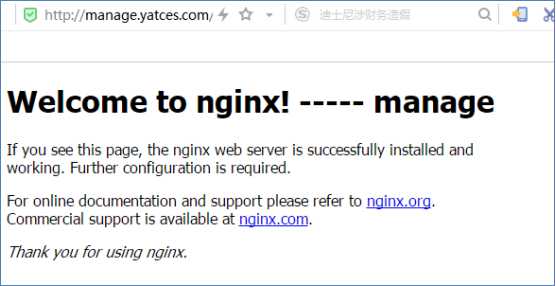
1.2nginx配置(新增两个server:配置server_name分别为www.yatces.com 和 manage.yatces.com)
    server {
        listen       80;
        server_name  manage.yatces.com;
        location / {
            root   html-www;
            index  index.html index.htm;
        }
        error_page   500 502 503 504  /50x.html;
        location = /50x.html {
            root   html;
        }
    }

    server {
        listen       80;
        server_name  www.yatces.com;
        location / {
            root   html-www;
            index  index.html index.htm;
        }
        error_page   500 502 503 504  /50x.html;
        location = /50x.html {
            root   html;
        }
    }
1.3测试(访问 www.yatces.com 和 manage.yatces.com)
3 nginx的反向代理和负载均衡到 tomcat
3.1先安装jdk 环境,新增tomcat实例
新增两个tomcat实例tomcat1和Tomcat,端口分别是 8081 和 8082 。
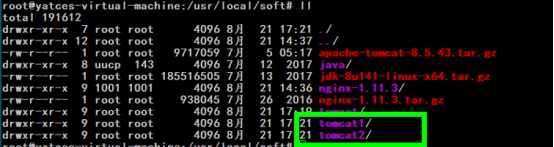
修改两个tomcat实例的配置文件:conf/server.xml中的端口信息(每个实例都要修改三个位置的port,防止端口冲突)


分别修改webapps/ROOT/index.jsp,加上端口,以便识别。

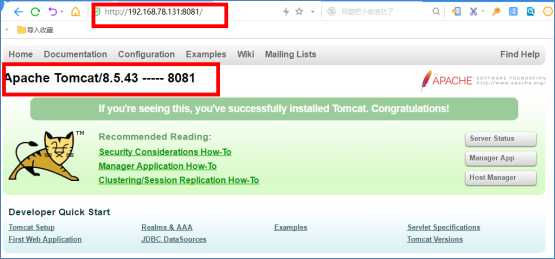
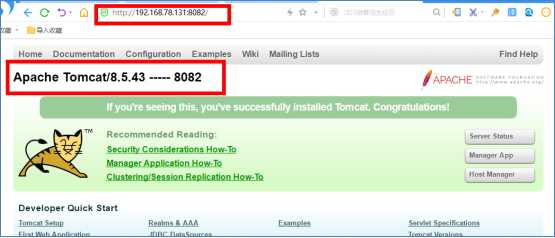
分别测试tomcat是否成功:
http://192.168.78.131:8081/
http://192.168.78.131:8082/
修改本地hosts文件

反向代理配置
修改nginx.conf(在http目录下添加 upstream 和一个server)
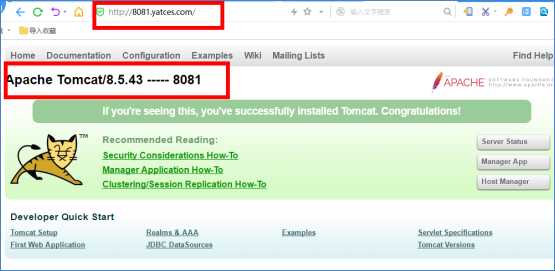
    upstream tomcatserver1{
        server 192.168.78.131:8081;
    }

    server {
        listen       80;
        server_name  8081.yatces.com;
        #charset koi8-r;
        #access_log  logs/host.access.log  main;
        location / {
            proxy_pass http://tomcatserver1;
            index  index.html index.htm;
        }
    }
访问 http://8081.yatces.com/
负载均衡配置
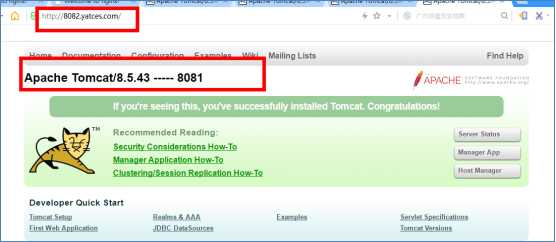
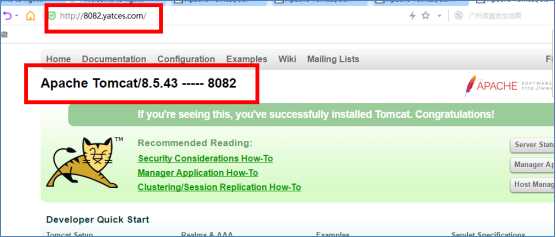
    upstream tomcatserver2{
        server 192.168.78.131:8081 weight=2; #weight为权重,越高处理的请求越多
        server 192.168.78.131:8082 weight=1;
    }

    server {
        listen       80;
        server_name  8082.yatces.com;
        #charset koi8-r;
        #access_log  logs/host.access.log  main;
        location / {
            proxy_pass http://tomcatserver2;
            index  index.html index.htm;
        }
   }
访问同一个地址,出现两种情况
http://8082.yatces.com/
nginx的虚拟主机、反向代理、负载均衡配置完成。
原文:https://www.cnblogs.com/Yatces/p/11389530.html