准备两台Linux,用第二台linux主机来通过拿第一台主机的图片链接来展现图片;
因为主机2是通过主机1拿的图片链接所以当别人都通过链接访问图片时,占用的是主机一的内存空间,而不是占用主机2的内存空间
A)设定主机一为本公司的服务器,一旦非本公司人员通过链接去访问图片时,会对服务器造成内存压力。因此要设置非本公司人员不能通过链接访问
解决方法,主机一做防盗链功能可以有效的阻止非本公司人员访问图片。以造成内存压力-------》这样主机2将访问不到图片即使有图片链接
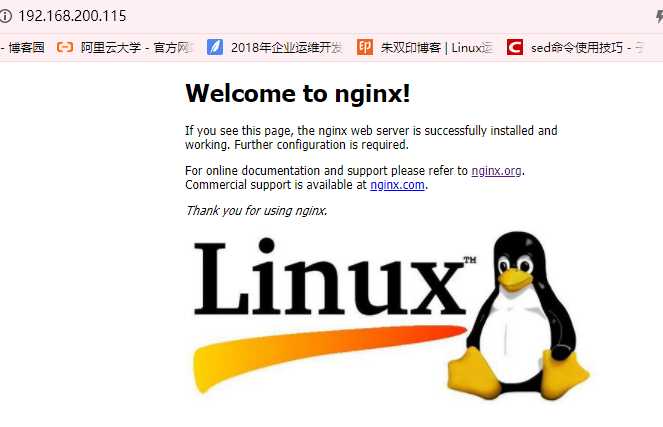
第一台Ip地址为:192.168.200.115
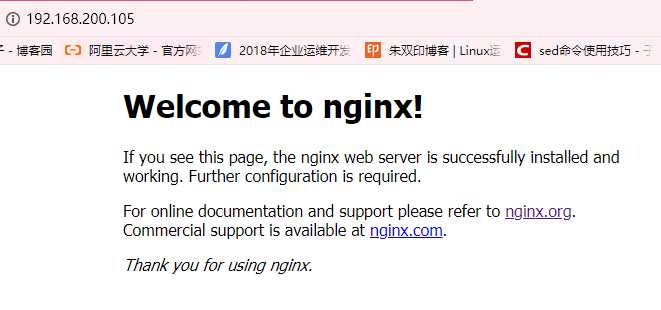
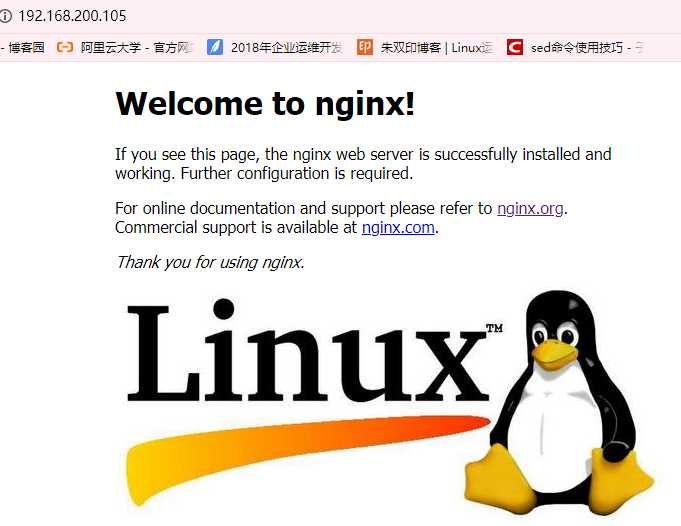
第二台ip地址值为:192.168.200.105
未添加图片前只有字母:
改动index.html添加图片:
[root@localhost ~]# cd /usr/local/nginx/html/
[root@localhost html]# ls
50x.html index.html
[root@localhost html]# vim index.html
在p段落下添加图片链接
<img src="http://192.168.200.115/linux.jpg" />
添加图片后
在主机1中的server下添加如下命令
[root@localhost ~]# vim /usr/local/nginx/html/error.txt
<h1>盗链可耻</h1>
[root@localhost ~]# vim /usr/local/nginx/conf/nginx.conf

user nginx nginx;
worker_processes 2;
#error_log logs/error.log;
#error_log logs/error.log notice;
error_log logs/error.log info;
pid logs/nginx.pid;
events {
use epoll;
worker_connections 10240;
}
http {
include mime.types;
default_type application/octet-stream;
log_format main ‘$remote_addr - $remote_user [$time_local] "$request" ‘
‘$status $body_bytes_sent "$http_referer" ‘
‘"$http_user_agent" "$http_x_forwarded_for"‘;
access_log logs/access.log main;
sendfile on;
server_tokens off;
keepalive_timeout 65;
//NginX连接超时代码
client_header_timeout 60;
client_body_timeout 60;
//Nginx网页压缩功能开启代码
gzip on;
#gzip _min_length 1k;
gzip_buffers 4 16k;
gzip_http_version 1.1;
gzip_comp_level 2;
gzip_types text/plain text/javascript application/x-javascrip t text/css text/xml
application/xml application/xml+rss;
server {
listen 80;
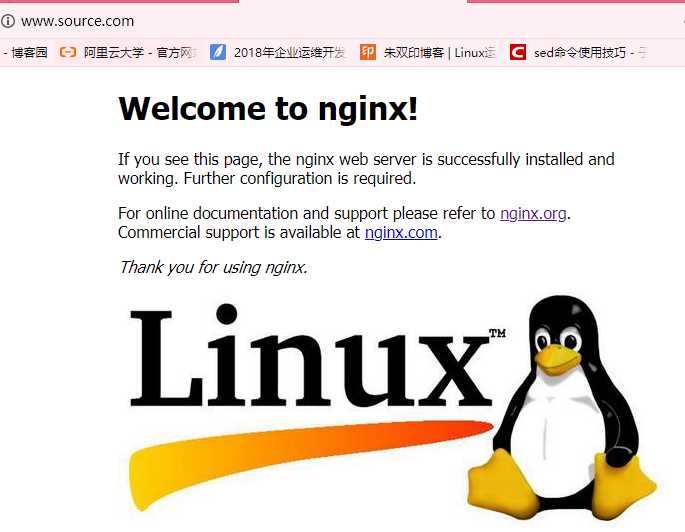
server_name www.source.com;
charset utf-8;
access_log logs/crushlinux.com.access.log main;
location / {
root html;
index index.html index.htm;
}
location ~* \.(js|css)$ {
expires 1h;
}
location ~* \.(jpg|gif|png|swf)$ {
#*.amber.com amber.com相当于公司域名
expires 1d;
root html;
valid_referers none blocked *.source.com source.com;
if ($invalid_referer) {
rewrite ^/ http://www.source.com/error.txt;
}
}
error_page 500 502 503 504 /50x.html;
location = /50x.html {
root html;
}
}
}
[root@localhost ~]# killall -9 nginx //杀死nginx进程
[root@localhost ~]# nginx //开启nginx进程
[root@localhost ~]# killall -HUP nginx //重新加载
================================================================================
真机改动hosts文件:hosts文件所在(C盘中windows、system32、drivers、etc中)
文件内容改动如下:
192.168.200.115 www.source.com
192.168.200.105 www.steal.com
=================================================================================
主机一、主机二浏览器访问对比
www.source.com页面需要强制刷新按(shift+fn+f5)
www.sttal.com页面需要强制刷新按(shift+fn+f5)
原文:https://www.cnblogs.com/L1-5551/p/11518580.html