这里我就省略了springboot框架的搭建,进行直接整合swagger
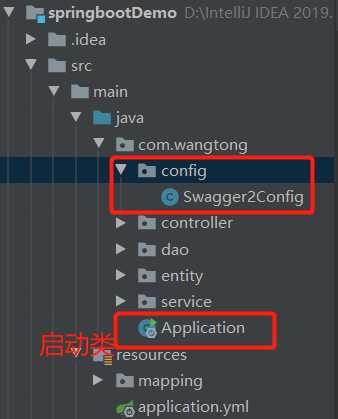
在你的springboot框架的启动类的同一级目录下,新建一个包config,在包下,新建一个类Swagger2Config,如图:
Swagger2Config类内容:
package com.wangtong.config;

import org.springframework.context.annotation.Bean;
import org.springframework.context.annotation.Configuration;
import springfox.documentation.builders.ApiInfoBuilder;
import springfox.documentation.builders.PathSelectors;
import springfox.documentation.builders.RequestHandlerSelectors;
import springfox.documentation.service.ApiInfo;
import springfox.documentation.service.Contact;
import springfox.documentation.spi.DocumentationType;
import springfox.documentation.spring.web.plugins.Docket;
import springfox.documentation.swagger2.annotations.EnableSwagger2;

@EnableSwagger2
@Configuration
public class Swagger2Config {

    @Bean
    public Docket createRestApi() {
        return new Docket(DocumentationType.SWAGGER_2)
                .apiInfo(apiInfo())
                .select()
                //为自己项目中的controller包路径
                .apis(RequestHandlerSelectors.basePackage("com.wangtong.controller"))
                .paths(PathSelectors.any())
                .build();
    }
    //构建 api文档的详细信息函数
    private ApiInfo apiInfo() {
        return new ApiInfoBuilder()
                //页面标题
                .title("Spring Boot集成Swagger2构建RESTful API")
                //创建人信息
                .contact(new Contact("Eric", "http://www.nyist.edu.cn", "Eric@163.com"))
                //版本号
                .version("1.9")
                //描述
                .description("演示系统API描述")
                .build();
    }
}
之后启动自己的springboot框架,访问swagger路径:
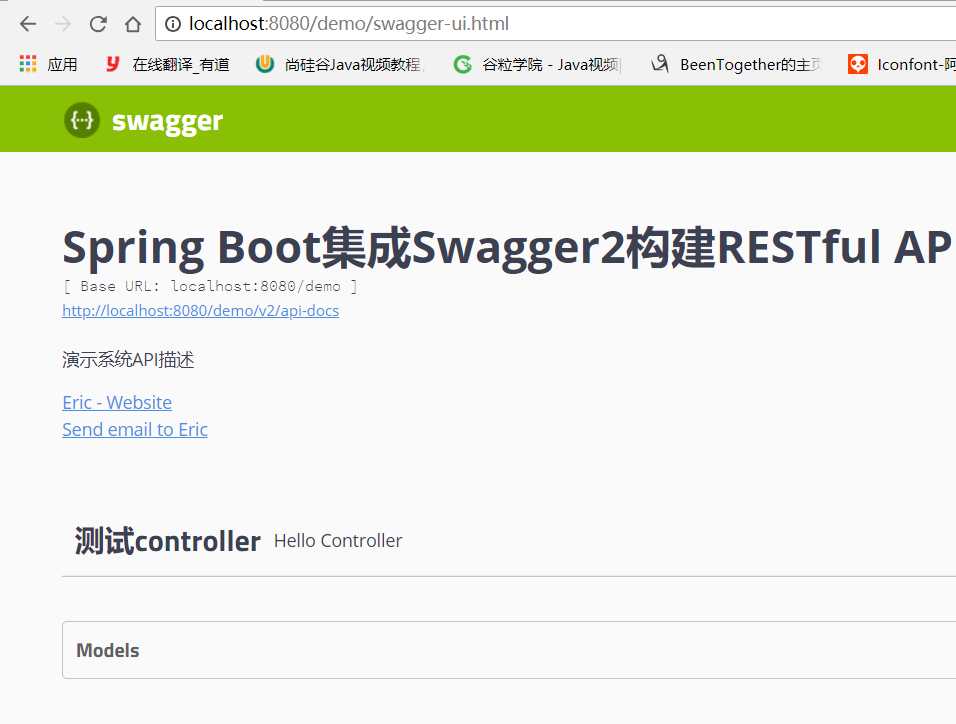
出现这个页面,代表测试成功!
原文:https://www.cnblogs.com/BeenTogether/p/11556035.html