


yum install gcc
yum install gcc-c++
yum install openssl-devel
yum install perl
yum install pcre-devel


cd apr-1.5.2
./configure --prefix=/usr/local/apr
make && make install
cd ../apr-util-1.5.3
./configure --prefix=/usr/local/apr-util --with-apr=/usr/local/apr && make && make install
若之前安装过httpd的其他版本需要先卸载并删除目录


 cd httpd-2.4.10
./configure --prefix=/usr/local/apache --sysconf=/etc/httpd2.4 --enable-ssl --enable-cgi --enable-rewrite --with-zlib --with-pcre --with-apr=/usr/local/apr --with-apr-util=/usr/local/apr-util --enable-modules=most --enable-mpms-shared=all --with-mpm=prefork
make && make install

#chkconfig: 35 85 21 #设定默认启动级别3、5,85为启动优先级 21为关闭优先级,数字越小,优先级越高
#description:wwww #描述信息 


export PATH=/usr/local/apache/bin:$PATH自定义启动deflate和rewrite模块并修改servername属性


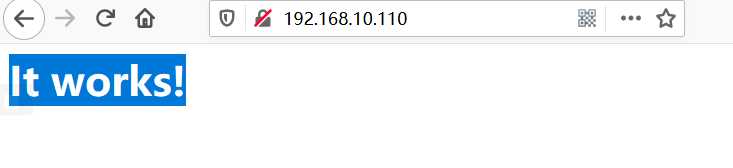
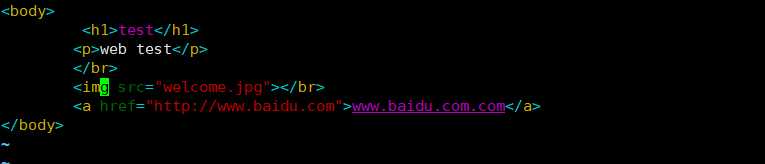
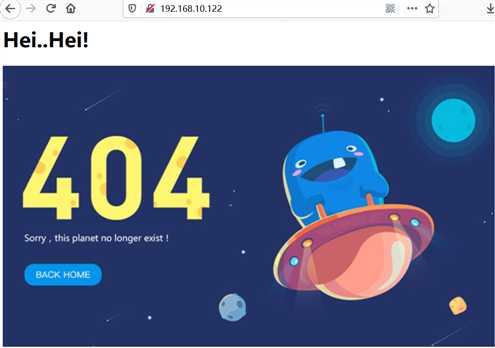
修改主页


测试

实验环境
安装httpd,centos7.6默认提供httpd2.4(使用yum安装,需要确保yum配置正确)

主配置文件配置


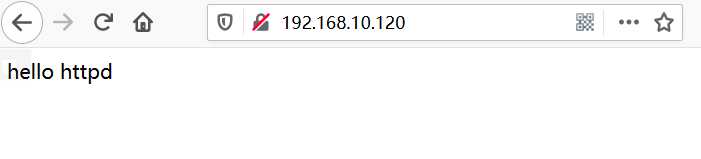
添加测试网页

启动服务并设置开机启动

测试


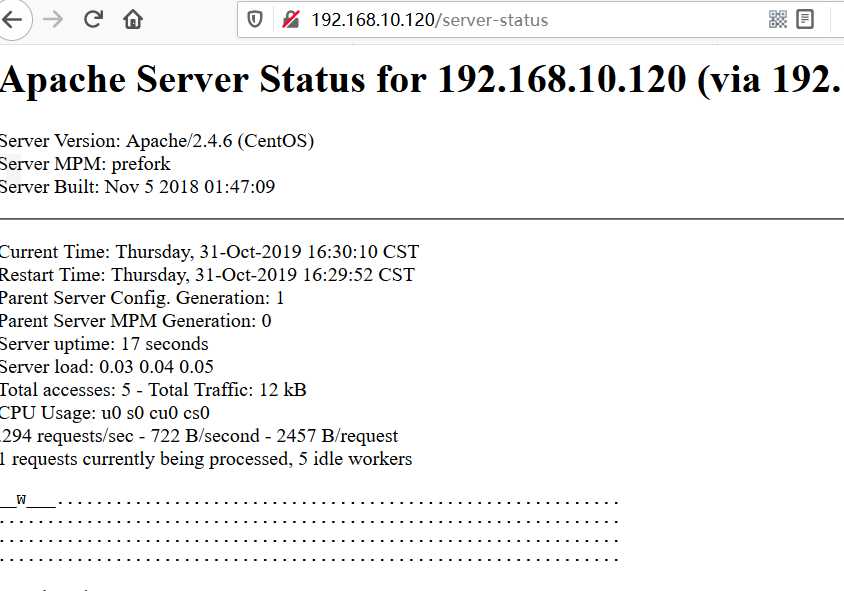
<location /server-status>
    SetHandler server-status
    Require ip 192.168.10.1 #允许访问的主机
</location>
重启服务

测试(网站地址后添加 server-status访问status页面,还可以指定刷新时间(秒)?refresh=5 )


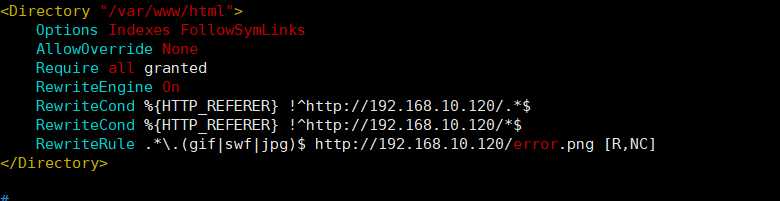
<Directory "/var/www/html">
    Options Indexes FollowSymLinks
    AllowOverride None
    Require all granted
    RewriteEngine On #启用rewrite
    RewriteCond %{HTTP_REFERER} !^http://192.168.10.120/.*$  #匹配所有非直接访问本机的请求
    RewriteCond %{HTTP_REFERER} !^http://192.168.10.120/*$
    RewriteRule .*\.(gif|swf|jpg)$ http://192.168.10.120/error.png [R,NC] #对匹配到的请求进行重定向,返回指定页面或资
</Directory>
    #返回的资源类型不能与匹配项相同,否则会陷入循环
    #RewriteCond 匹配条件
    #RewriteRule 重写规则
    #%{HTTP_REFERER} 引导用户代理到当前页的前一页的地址
    #[NC]指的是不区分大小写,[R]强制重定向redirect
    #[L]表示如果能匹配本条规则,那么本条规则是最后一条(Last),忽略之后的规则


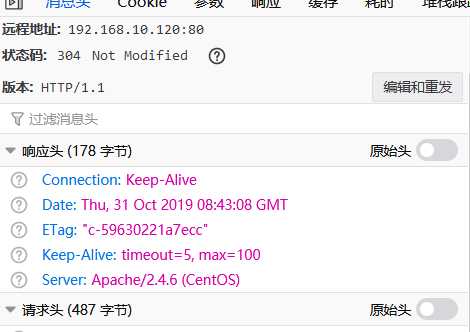
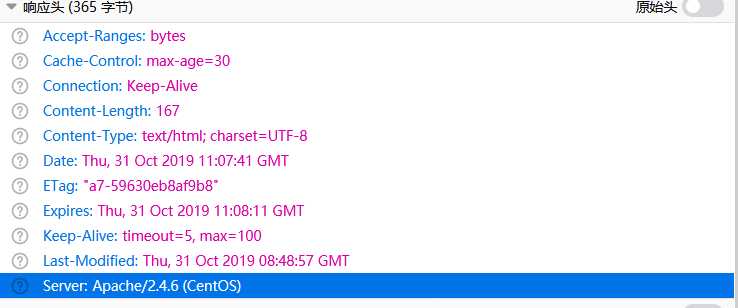
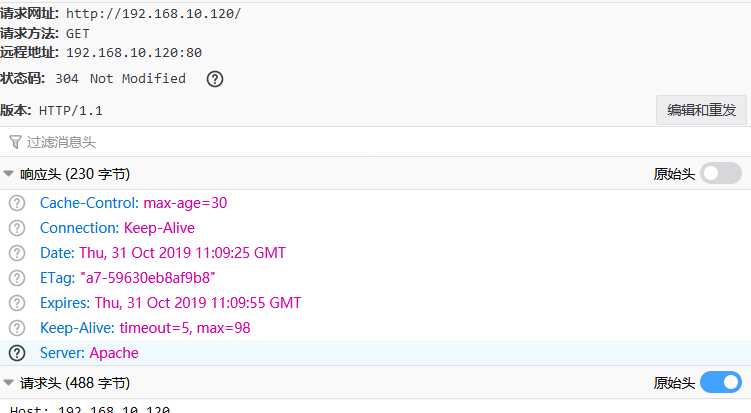
ServerTokens Prod #返回的头部信息中版本信息
ServerSignature Off
#ServerTokens Major|Minor|Minimal|ProductOnly|OS|Full
    #Prod[uctOnly] 只显示服务名-->Server:Apache
    #Major 服务/主版本号  Server:Apache/2
    #Minor 服务/主版本号.次版本号  Server:Apache/2.4
    #Min[imal] 服务/主版本号.次版本号.末版本号  Server:Apache/2.4.6
    #Min[imal] 服务/主版本号.次版本号.末版本号(系统类型)  Server:Apache/2.4.6(CentOS)
    #Full 显示全部相关信息
#ServerSignature 控制由系统生成的页面(错误信息,mod_proxy ftp directory listing等等)的页脚中如何显示信息
#注设置需要声明在全局配置中
httpd2.4的虚拟主机配置文件为: /etc/httpd/conf.d/vhost.conf (缺省下不存在)
httpd2.4 的虚拟主机不再需要NameVirtualHost 参数开启
创建并修改vhost.conf文件


<VirtualHost 192.168.10.120:80> #指定虚拟主机
ServerAdmin root@web1.lg.com #管理邮箱地址
DocumentRoot /www/docs/web1 #站点根目录
<Directory "/www/docs/web1"> #权限控制
AllowOverride None #是否允许权限覆盖
Options Indexes #使用的选项参数 Indexs若无匹配的主页则列表显示站点目录内容
Require all granted #允许全部
</Directory>
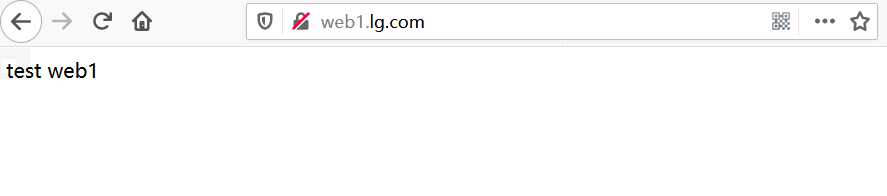
ServerName web1.lg.com #站点域名
ErrorLog logs/web1-error_log #错误日志存放位置及名称
CustomLog logs/web1-access_log common #访问日志存放位置及名称common为设定的别名
</VirtualHost>
<VirtualHost 192.168.10.120:80>
ServerAdmin admin@web2.lg.com
DocumentRoot /www/docs/web2
<Directory "/www/docs/web2">
AllowOverride None
Options Indexes
Require all granted
</Directory>
ServerName web2.lg.com
ErrorLog logs/web2-error_log
CustomLog logs/web2-access_log common
</VirtualHost>创建指定的站点根目录,并添加测试主页

重启服务

win客户机修改hosts(C:\Windows\System32\drivers\etc\hosts),添加主机映射

域名访问测试
原文:https://www.cnblogs.com/lastyear/p/11773589.html