写在前面:
搭建项目:
npx create-react-app [your-project-name]
cd [your-project-name]
npm run eject
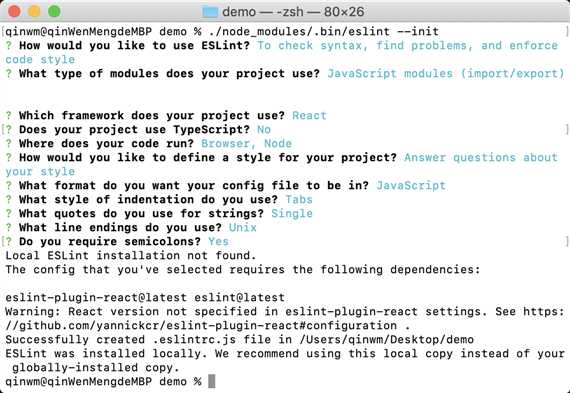
初始化 ESLint 配置文件:
./node_modules/.bin/eslint --init
根据问题选择自己喜欢的配置(选错也没事,后面可以在配置文件里修改)完成以后会在项目根目录生成 .eslintrc.js 文件。

.eslintrc.js:
module.exports = {
    ‘env‘: {
        ‘browser‘: true,
        ‘es6‘: true,
        ‘node‘: true
    },
    ‘extends‘: [
        ‘eslint:recommended‘,
        ‘plugin:react/recommended‘
    ],
    ‘globals‘: {
        ‘Atomics‘: ‘readonly‘,
        ‘SharedArrayBuffer‘: ‘readonly‘
    },
    ‘parserOptions‘: {
        ‘ecmaFeatures‘: {
            ‘jsx‘: true
        },
        ‘ecmaVersion‘: 2018,
        ‘sourceType‘: ‘module‘
    },
    ‘plugins‘: [
        ‘react‘
    ],
    ‘rules‘: {
        ‘indent‘: [
            ‘error‘,
            2,
            {
                ‘SwitchCase‘: 1,
            },
        ],
        ‘linebreak-style‘: [
            ‘error‘,
            ‘unix‘
        ],
        ‘quotes‘: [
            ‘error‘,
            ‘single‘
        ],
        ‘semi‘: [
            ‘error‘,
            ‘always‘
        ],
        ‘react/jsx-uses-react‘: ‘error‘, // Prevent React to be incorrectly marked as unused
        ‘react/jsx-uses-vars‘: ‘error‘, // Prevent variables used in JSX to be incorrectly marked as unused
        ‘no-console‘: ‘off‘,
    }
};
初始化 Prettier 配置:
在根目录下新建 .prettierrc.js 文件:
module.exports = {
  trailingComma: ‘all‘,
  printWidth: 80,
  tabWidth: 2,
  semi: true,
  singleQuote: true,
  jsxBracketSameLine: true,
  jsxSingleQuote: true,
  arrowParens: ‘always‘,
};
安装 Prettier、husky、lint-staged:
npm install --save-dev --save-exact prettier
npm install --save-dev husky
npm install --save-dev lint-staged
注意:一定要使用 --save-dev 安装在 devDependencies 下。
初始化 lint-staged 配置:
npx mrm lint-staged
完成后会在 package.json 中生成husky和lint-staged配置(以下为手动修改后的配置):
  "husky": {
    "hooks": {
      "pre-commit": "lint-staged"
    }
  },
  "lint-staged": {
    "*.{js,jsx,css,less,json,md}": [
      "prettier --write",
      "git add"
    ],
    "**/*.less": "stylelint --syntax less",
    "**/*.{js,jsx}": "npm run lint-staged:js"
  },
配置package.json中的脚本命令:
"scripts": {
    "lint": "npm run lint:js && npm run lint:style && npm run lint:prettier",
    "lint-staged": "lint-staged",
    "lint-staged:js": "eslint --ext .js,.jsx,.ts,.tsx ",
    "lint:fix": "eslint --fix --cache --ext .js,.jsx,.ts,.tsx --format=pretty ./src && npm run lint:style",
    "lint:js": "eslint --cache --ext .js,.jsx,.ts,.tsx --format=pretty ./src",
    "lint:prettier": "check-prettier lint",
    "lint:style": "stylelint --fix \"src/**/*.less\" --syntax less",
    "prettier": "prettier -c --write \"**/*\""
  },
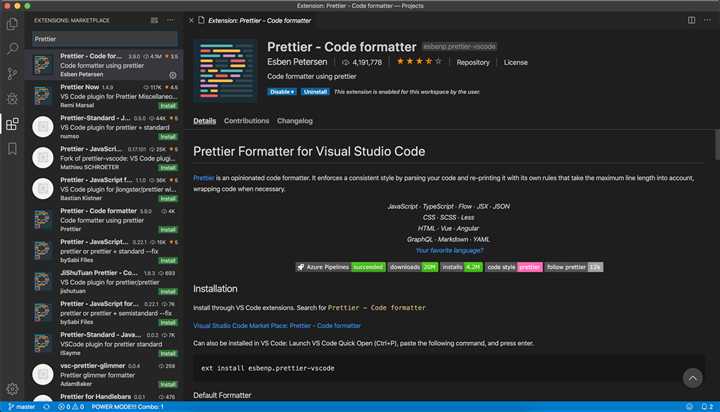
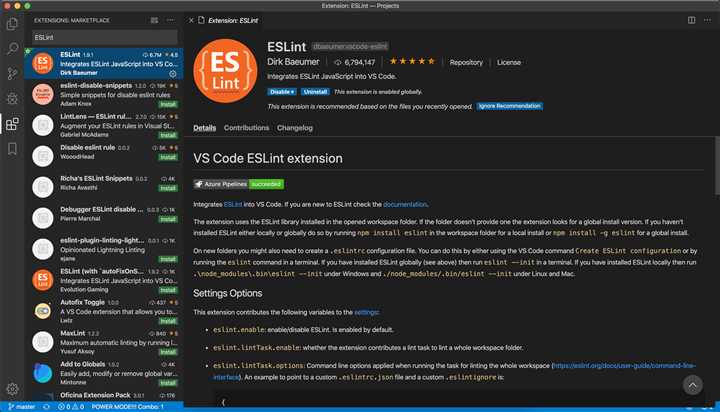
VS Code安装 Prettier、ESLint 插件(不会的自行Google)


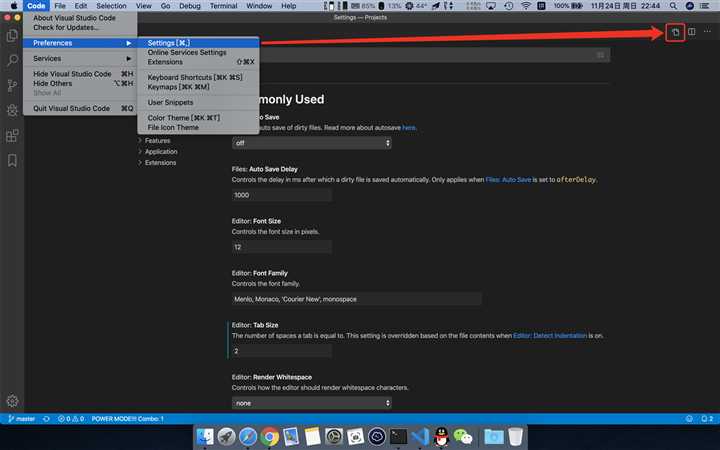
配置 VS Code 编辑器:

这里只示例配合 prettier 插件使用的配置,当保存文件的时候将自动格式化代码:
{
    "editor.defaultFormatter": "esbenp.prettier-vscode",
    "editor.formatOnSave": true,
}
创建可移植的自定义编辑器设置:
在根目录下新建 .editorconfig 文件,配置如下:
# http://editorconfig.org
root = true

[*]
indent_style = space
indent_size = 2
end_of_line = lf
charset = utf-8
trim_trailing_whitespace = true
insert_final_newline = true

[*.md]
trim_trailing_whitespace = false

[Makefile]
indent_style = tab
写在最后:
以上配置均可在 写在最前 的链接中找到,可以根据自己的风格进行配置。
ESLint + Prettier + husky + lint-staged 规范统一前端代码风格
原文:https://www.cnblogs.com/jserhub/p/11924289.html