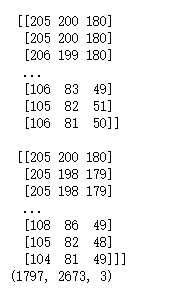
import numpy as np
import tensorflow as tf
import matplotlib.pyplot as plt

#读取图片
image_raw_data = tf.gfile.FastGFile("F:\\TensorFlowGoogle\\201806-github\\datasets\\cat.jpg",‘rb‘).read()

with tf.Session() as sess:
    img_data = tf.image.decode_jpeg(image_raw_data)
    # 输出解码之后的三维矩阵。
    print(img_data.eval())
    img_data.set_shape([1797, 2673, 3])
    print(img_data.get_shape())
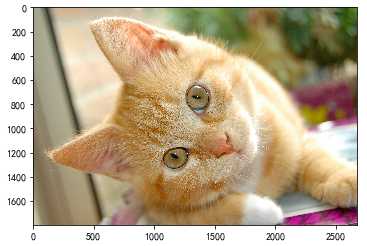
#打印图片
with tf.Session() as sess:
    plt.imshow(img_data.eval())
    plt.show()
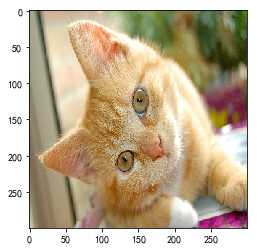
#重新调整图片大小
with tf.Session() as sess:
    # 如果直接以0-255范围的整数数据输入resize_images,那么输出将是0-255之间的实数,
    # 不利于后续处理。建议在调整图片大小前,先将图片转为0-1范围的实数。
    image_float = tf.image.convert_image_dtype(img_data, tf.float32)
    resized = tf.image.resize_images(image_float, [300, 300], method=0)
    plt.imshow(resized.eval())
    plt.show()
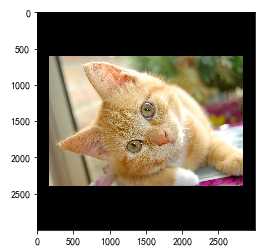
#裁剪和填充图片
with tf.Session() as sess:
    croped = tf.image.resize_image_with_crop_or_pad(img_data, 1000, 1000)
    padded = tf.image.resize_image_with_crop_or_pad(img_data, 3000, 3000)
    plt.imshow(croped.eval())
    plt.show()
    plt.imshow(padded.eval())
    plt.show()
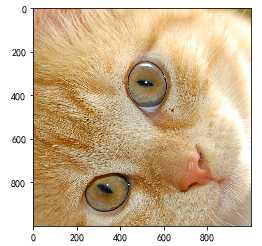
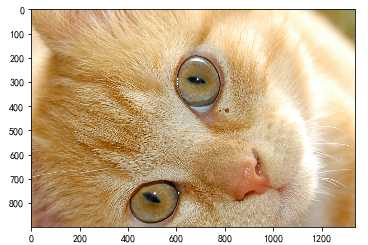
#截取中间50%的图片
with tf.Session() as sess:
    central_cropped = tf.image.central_crop(img_data, 0.5)
    plt.imshow(central_cropped.eval())
    plt.show()
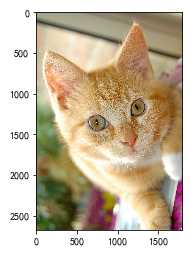
#翻转图片
with tf.Session() as sess:
    # 上下翻转
    #flipped1 = tf.image.flip_up_down(img_data)
    # 左右翻转
    #flipped2 = tf.image.flip_left_right(img_data)

    #对角线翻转
    transposed = tf.image.transpose_image(img_data)
    plt.imshow(transposed.eval())
    plt.show()

    # 以一定概率上下翻转图片。
    #flipped = tf.image.random_flip_up_down(img_data)
    # 以一定概率左右翻转图片。
    #flipped = tf.image.random_flip_left_right(img_data)
#图片色彩调整
with tf.Session() as sess:
    # 在进行一系列图片调整前,先将图片转换为实数形式,有利于保持计算精度。
    image_float = tf.image.convert_image_dtype(img_data, tf.float32)

    # 将图片的亮度-0.5。
    #adjusted = tf.image.adjust_brightness(image_float, -0.5)

    # 将图片的亮度0.5
    #adjusted = tf.image.adjust_brightness(image_float, 0.5)

    # 在[-max_delta, max_delta)的范围随机调整图片的亮度。
    adjusted = tf.image.random_brightness(image_float, max_delta=0.5)

    # 将图片的对比度-5
    #adjusted = tf.image.adjust_contrast(image_float, -5)

    # 将图片的对比度+5
    #adjusted = tf.image.adjust_contrast(image_float, 5)

    # 在[lower, upper]的范围随机调整图的对比度。
    #adjusted = tf.image.random_contrast(image_float, lower, upper)

    # 在最终输出前,将实数取值截取到0-1范围内。
    adjusted = tf.clip_by_value(adjusted, 0.0, 1.0)
    plt.imshow(adjusted.eval())
    plt.show()

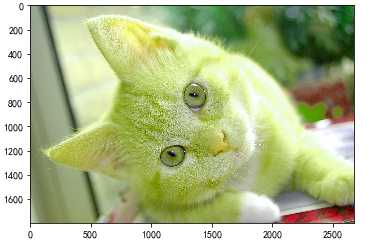
#添加色相和饱和度
with tf.Session() as sess:
    # 在进行一系列图片调整前,先将图片转换为实数形式,有利于保持计算精度。
    image_float = tf.image.convert_image_dtype(img_data, tf.float32)

    adjusted = tf.image.adjust_hue(image_float, 0.1)
    #adjusted = tf.image.adjust_hue(image_float, 0.3)
    #adjusted = tf.image.adjust_hue(image_float, 0.6)
    #adjusted = tf.image.adjust_hue(image_float, 0.9)

    # 在[-max_delta, max_delta]的范围随机调整图片的色相。max_delta的取值在[0, 0.5]之间。
    #adjusted = tf.image.random_hue(image_float, max_delta)

    # 将图片的饱和度-5。
    #adjusted = tf.image.adjust_saturation(image_float, -5)
    # 将图片的饱和度+5。
    #adjusted = tf.image.adjust_saturation(image_float, 5)
    # 在[lower, upper]的范围随机调整图的饱和度。
    #adjusted = tf.image.random_saturation(image_float, lower, upper)

    # 将代表一张图片的三维矩阵中的数字均值变为0,方差变为1。
    #adjusted = tf.image.per_image_whitening(image_float)

    # 在最终输出前,将实数取值截取到0-1范围内。
    adjusted = tf.clip_by_value(adjusted, 0.0, 1.0)
    plt.imshow(adjusted.eval())
    plt.show()
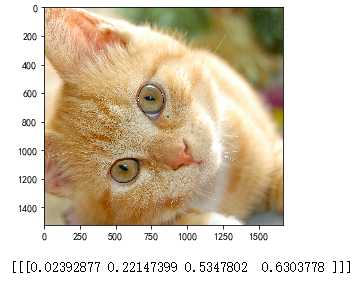
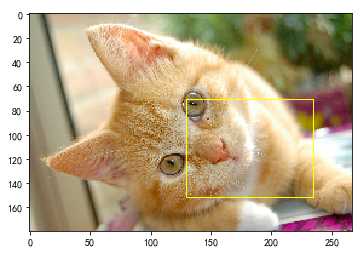
#添加标注框并裁减。
with tf.Session() as sess:
    boxes = tf.constant([[[0.05, 0.05, 0.9, 0.7], [0.35, 0.47, 0.5, 0.56]]])

    # sample_distorted_bounding_box要求输入图片必须是实数类型。
    image_float = tf.image.convert_image_dtype(img_data, tf.float32)

    begin, size, bbox_for_draw = tf.image.sample_distorted_bounding_box(tf.shape(image_float), bounding_boxes=boxes, min_object_covered=0.4)

    # 截取后的图片
    distorted_image = tf.slice(image_float, begin, size)
    plt.imshow(distorted_image.eval())
    plt.show()

    # 在原图上用标注框画出截取的范围。由于原图的分辨率较大(2673x1797),生成的标注框
    # 在Jupyter Notebook上通常因边框过细而无法分辨,这里为了演示方便先缩小分辨率。
    image_small = tf.image.resize_images(image_float, [180, 267], method=0)
    batchced_img = tf.expand_dims(image_small, 0)
    image_with_box = tf.image.draw_bounding_boxes(batchced_img, bbox_for_draw)
    print(bbox_for_draw.eval())
    plt.imshow(image_with_box[0].eval())
    plt.show()
吴裕雄--天生自然 pythonTensorFlow图形数据处理:TensorFlow图像处理函数
原文:https://www.cnblogs.com/tszr/p/12066835.html