文件的上传和预览在web开发领域是随处可见,存储的方式有很多,本文采用阿里巴巴余庆大神开发的FastDFS进行文件的存储,FastDFS是一个分布式文件存储系统,可以看我上一篇博文,有安装和配置教程。
本文后台采用SpringBoot,前端采用Vue.js和Element UI,存储引擎为FastDFS。
步骤:
1.maven项目引入FastDFS依赖
1         <dependency>
2             <groupId>com.github.tobato</groupId>
3             <artifactId>fastdfs-client</artifactId>
4             <version>1.26.7</version>
5         </dependency>
2.配置yml
fdfs:
  so-timeout: 1501 #socket连接超时时长
  connect-timeout: 601 #连接tracker服务器超时时长
  thumb-image:  #缩略图的宽高,可选
    width: 60
    height: 60
  tracker-list: ip地址:22122  #地址,支持多个(集群)
3.编写配置类
package com.steak.system.common.config;
import com.github.tobato.fastdfs.FdfsClientConfig;
import org.springframework.context.annotation.Configuration;
import org.springframework.context.annotation.EnableMBeanExport;F
import org.springframework.context.annotation.Import;
import org.springframework.jmx.support.RegistrationPolicy;
@Configuration
@Import(FdfsClientConfig.class)#导入FastDFS-Client组件
@EnableMBeanExport(registration = RegistrationPolicy.IGNORE_EXISTING) #解决jmx重复注册bean的问

public class FastClientImporter {
}
4.Controller层对图片进行处理,本项目前端通过Base64位将图片传到后台,后台解析和转码后,再上传到服务器
    @Autowired
    private FastFileStorageClient storageClient; //注入操作fastdfs的接口
     String filePath = "D://images//"; #图片存放的路径,这里我写成D盘
        String fileName = System.currentTimeMillis()+".jpg";  #文件名
        BASE64Decoder decoder = new BASE64Decoder();
        imgBase64 = imgBase64.replace("data:image/jpeg;base64,","");  #去除不需要的部分
        StorePath storePath = null;
        try {
            byte[] bytes = decoder.decodeBuffer(imgBase64); //转为图片
            for (int i = 0 ; i < bytes.length ; ++i){
                if (bytes[i] < 0){
                    bytes[i] += 256;
                }
            }
            String imageFilePath = filePath+fileName.replace("\\\\","/");
            OutputStream out = new FileOutputStream(imageFilePath);
            out.write(bytes);
            out.flush();
            out.close();
            File file = new File(imageFilePath);
            storePath = this.storageClient.uploadImageAndCrtThumbImage(new FileInputStream(file),file.length(),"jpg",null); //上传到FastDFS,这里也上传了缩略图,

    }catch (Exception e){
        e.printStackTrace();
  }
    String photoURL = serverPort+storePath.getFullPath();#将ip地址+端口+图片在FastDFS中的存储路径进行拼接就可以

    大概就是这个样子了,哈哈,美女漂亮
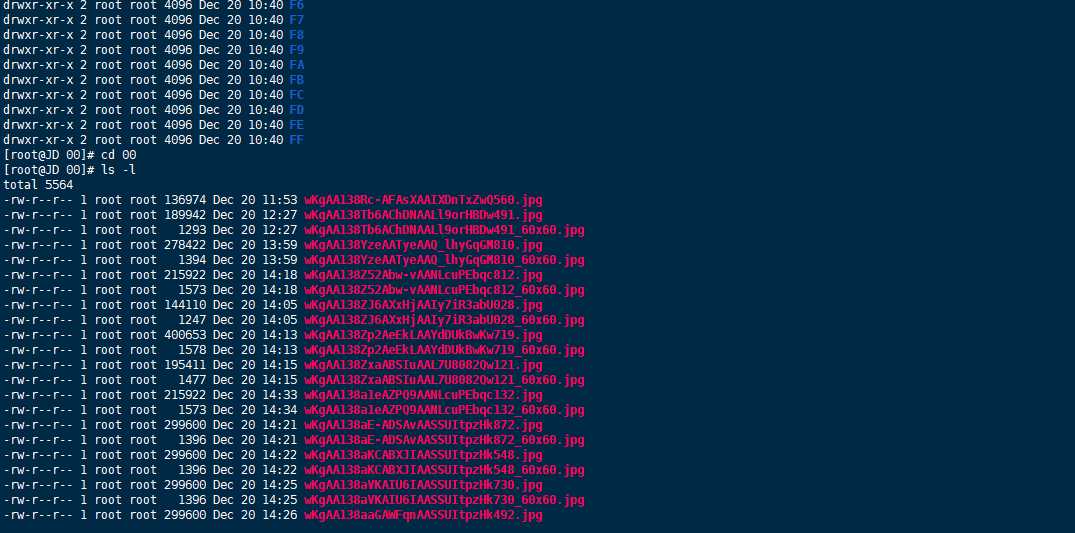
对于FastDFS将图片存储在那:
存储在/var/fdfs/data下,下面有很多很多目录,像00,FF啊这样的,因为才开始使用,所以我就从第一个目录的第一条一直往里面走,随后找到了图片,60x60那个时缩略图
原文:https://www.cnblogs.com/steakliu/p/12074892.html