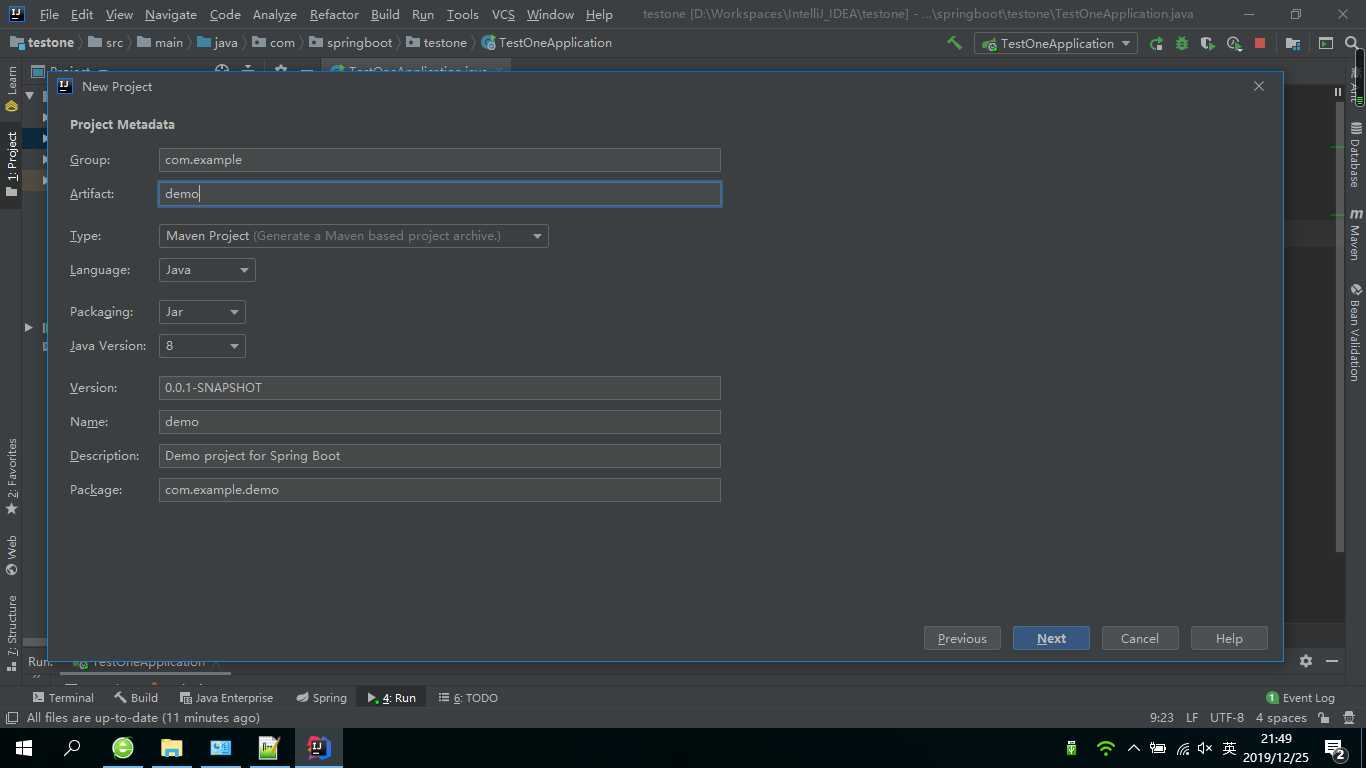
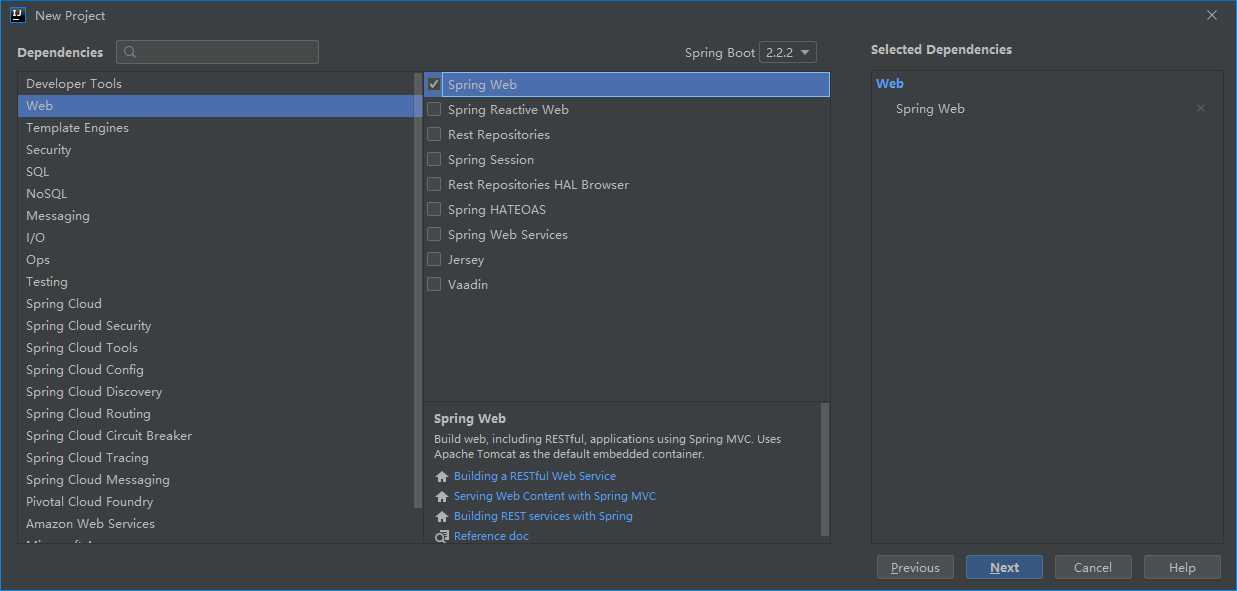
方法一:
File - New -Project


创建结束后进行测试运行,修改代码如下:
package com.springboot.testone;

import org.springframework.boot.SpringApplication;
import org.springframework.boot.autoconfigure.SpringBootApplication;
import org.springframework.web.bind.annotation.GetMapping;
import org.springframework.web.bind.annotation.RestController;

@RestController
@SpringBootApplication
public class DemoApplication {

    public static void main(String[] args) {
        SpringApplication.run(TestOneApplication.class, args);
    }

    @GetMapping("/hello")
    public String test() {
        return "hello";
    }
}
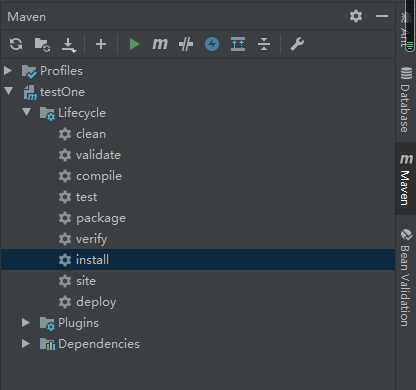
点击右上角运行,如果无法运行,点击右侧Maven - Lifecycle - install
最后浏览器访问,输入http://localhost:8080/hello,页面提示hello
方法二:
访问网址:https://start.spring.io/
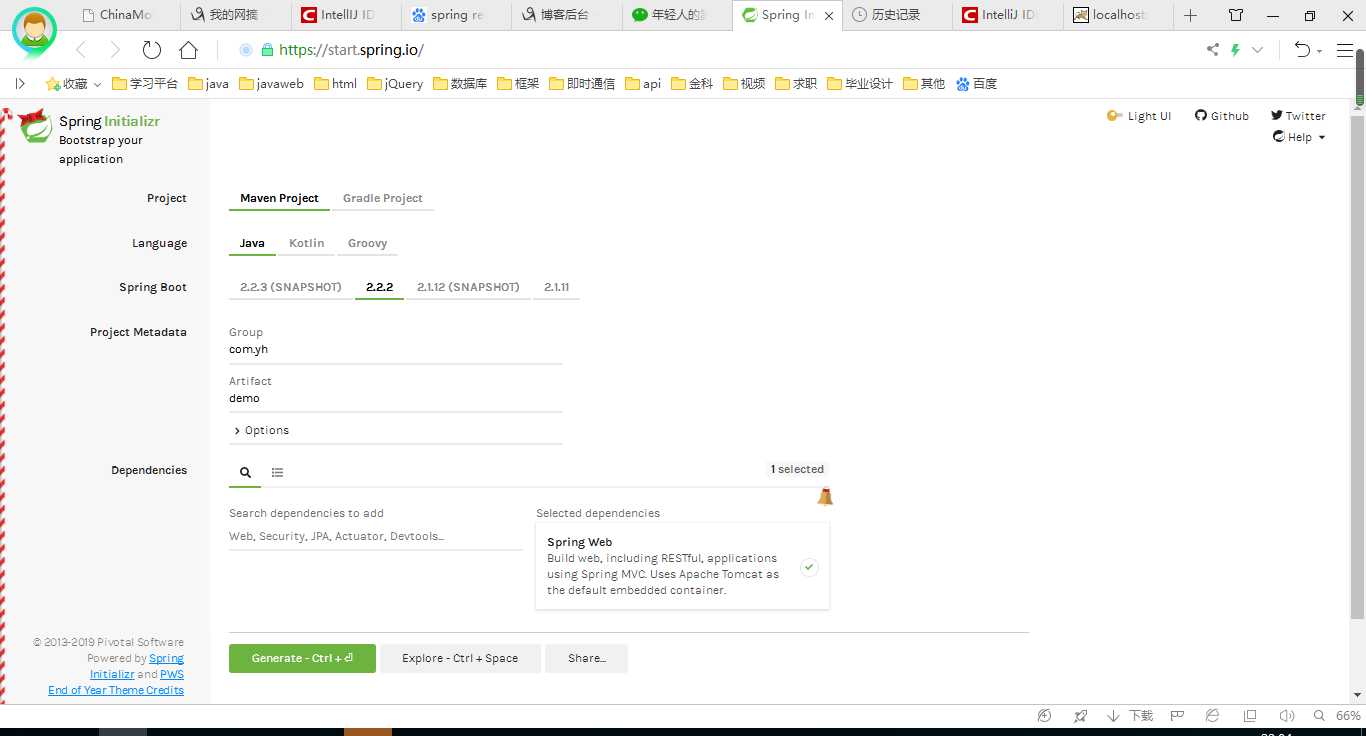
点击生成,解压下载文件,导入IntelliJ IDEA,添加代码和运行参考方法一。
使用IntelliJ IDEA创建简单的Spring Boot项目
原文:https://www.cnblogs.com/YeHuan/p/12099166.html