1.安装Nginx
详见《nginx》安装
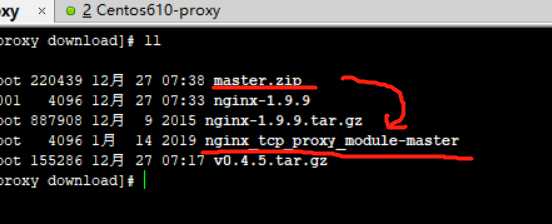
2.下载nginx_tcp_proxy_module模块
下载 wget https://github.com/yaoweibin/nginx_tcp_proxy_module/archive/master.zip
解压 unzip master.zip
进入nginx源码目录 cd ncd /opt/download/nginx-1.9.9
清空上次编译 make clean
修改文件 vi ../nginx_tcp_proxy_module-master/ngx_tcp_upstream.h
打补丁
patching file src/core/ngx_log.c
Hunk #1 FAILED at 66.
1 out of 1 hunk FAILED -- saving rejects to file src/core/ngx_log.c.rej
patching file src/core/ngx_log.h
Hunk #1 FAILED at 29.
Hunk #2 FAILED at 37.
2 out of 2 hunks FAILED -- saving rejects to file src/core/ngx_log.h.rej
patching file src/event/ngx_event_connect.h
Hunk #1 succeeded at 33 (offset 1 line).
Hunk #2 succeeded at 44 with fuzz 2 (offset 1 line).
生成编译 ./configure --with-http_stub_status_module --add-module=../nginx_tcp_proxy_module-master
结果:
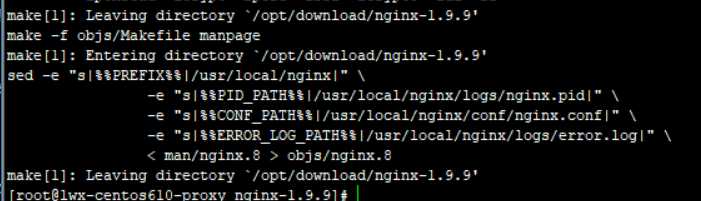
编译 make
升级 make upgrade
3.复制编译文件
进入目录 cd /opt/download/nginx-1.9.9/objs
拷贝文件 cp nginx /usr/local/nginx/sbin/
4.验证模块添加结果
service nginx restart

启动完成,说明nginx_tcp_proxy_module添加完成。
5.添加tcp配置
cd /usr/local/nginx/conf
mkdir tcpconfigs
vi nginx.conf 在http{} 前面添加如下配置
tcp{
    timeout 1d;
    proxy_read_timeout 10d;
    proxy_send_timeout 10d;
    proxy_connect_timeout 30;
    include tcpconfigs/*.conf;
}
cd /tcpconfigs
vi dfs_tracker.conf 插入如下代码配置
upstream fdfs_tracker {
         server 192.168.125.155:22122;
         check interval=3000 rise=2 fall=5 timeout=1000;
    }
server {
        listen  9011;
        proxy_pass fdfs_tracker;
        #so_keepalive on;
        #tcp_nodelay on;
}
保存退出
重启nginx
service nginx restart

启动完成。
原文:https://www.cnblogs.com/oumi/p/12105171.html