接着我们采用 ODB 的案例利用odb 编译器生成相应的代码吧
#ifndef PERSON_HXX
#define PERSON_HXX

#include <string>
#include <cstddef> // std::size_t

#include <odb/core.hxx>

#pragma db object
class person
{
public:
  person (const std::string& first,
          const std::string& last,
          unsigned short age)
      : first_ (first), last_ (last), age_ (age)
  {
  }

  const std::string&
  first () const
  {
    return first_;
  }

  const std::string&
  last () const
  {
    return last_;
  }

  unsigned short
  age () const
  {
    return age_;
  }

  void
  age (unsigned short age)
  {
    age_ = age;
  }

private:
  friend class odb::access;

  person () {}

  #pragma db id auto
  unsigned long id_;

  std::string first_;
  std::string last_;
  unsigned short age_;
};

#pragma db view object(person)
struct person_stat
{
  #pragma db column("count(" + person::id_ + ")")
  std::size_t count;

  #pragma db column("min(" + person::age_ + ")")
  unsigned short min_age;

  #pragma db column("max(" + person::age_ + ")")
  unsigned short max_age;
};
#endif
这个是 person.hxx 可以根据命令 生成代码 sql
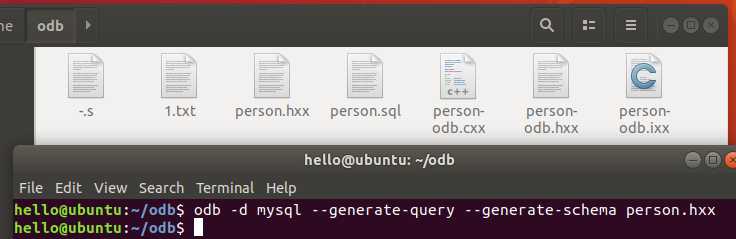
person-odb.cxx
person-odb.hxx
person.hxx
person.ixx
这都是程序中需要用的
person.sql 是数据库中使用的
为了更加直观的测试数据库 我安装了一个mysql 图形界面mysql-workbench
sudo apt-get install mysql-workbench
登录localhost 输入账号密码 新建一个schema 名字为person 的数据库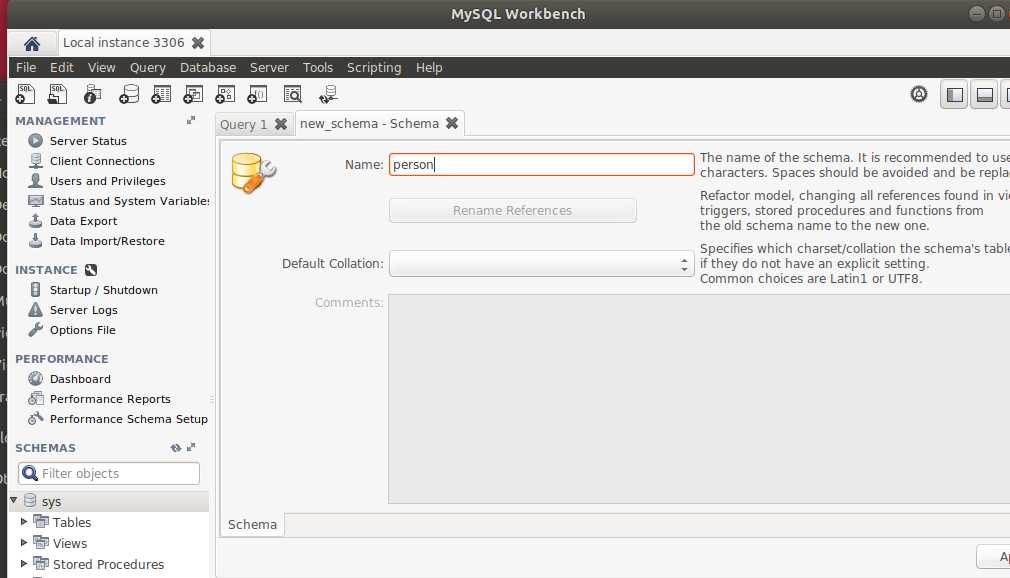
然后双击打开person 这个数据库 点击-file->open sql script... ->选中生成的person.sql 文件即可生成表
好的数据库已经处理完毕
我们接着打开qt Creator 我打算在/home/你的用户/qtproject 下新建一个qt项目 test
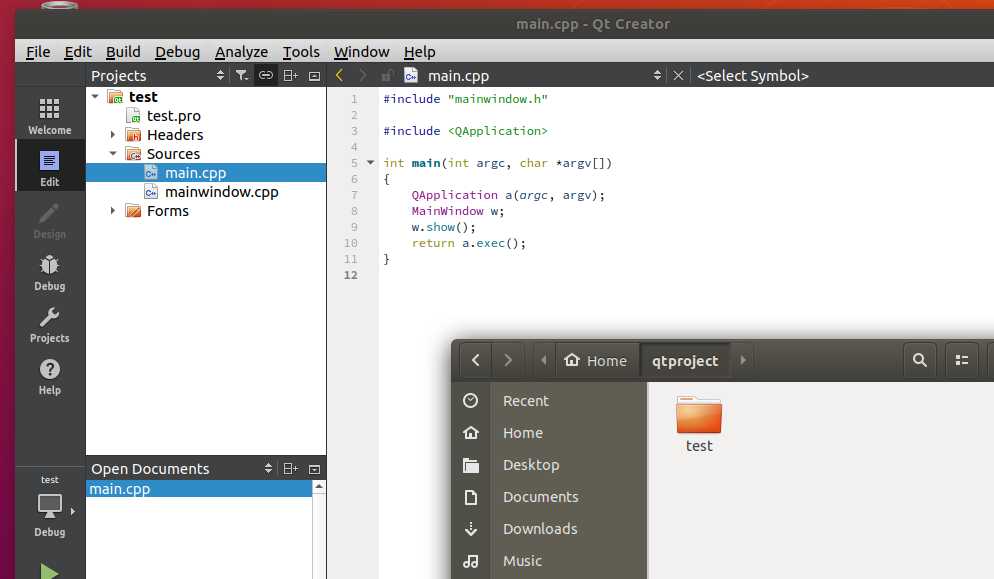
新建完毕如上图所示
然后我们在test 目录下新建一个odbModule文件夹 放置有关odb的文件
person-odb.cxx
person-odb.hxx
person.hxx
person.ixx
右键test项目 添加依赖库 Add Library->External library 外部依赖库 -> linux打勾 其他去掉
连续将 usr/lib/x86_64-linux-gnu/libodb.a和 usr/lib/x86_64-linux-gnu/libodb-mysql.a 添加进来 pro 文件改为以下
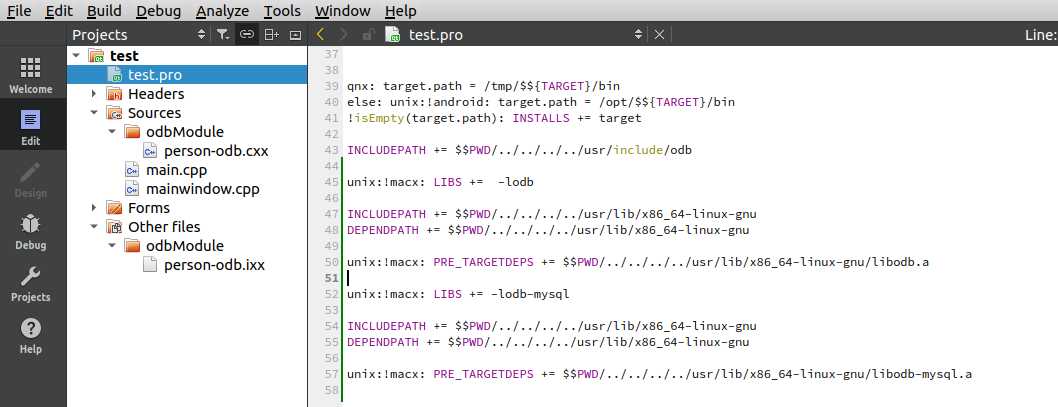
接着添加源文件 Add Existing Files-> 将odb下的四个文件全部包含进来
可能会出现环境问题无法运行Qt
执行 sudo apt-get install libgl1-mesa-dev
在main 函数中添加测试代码
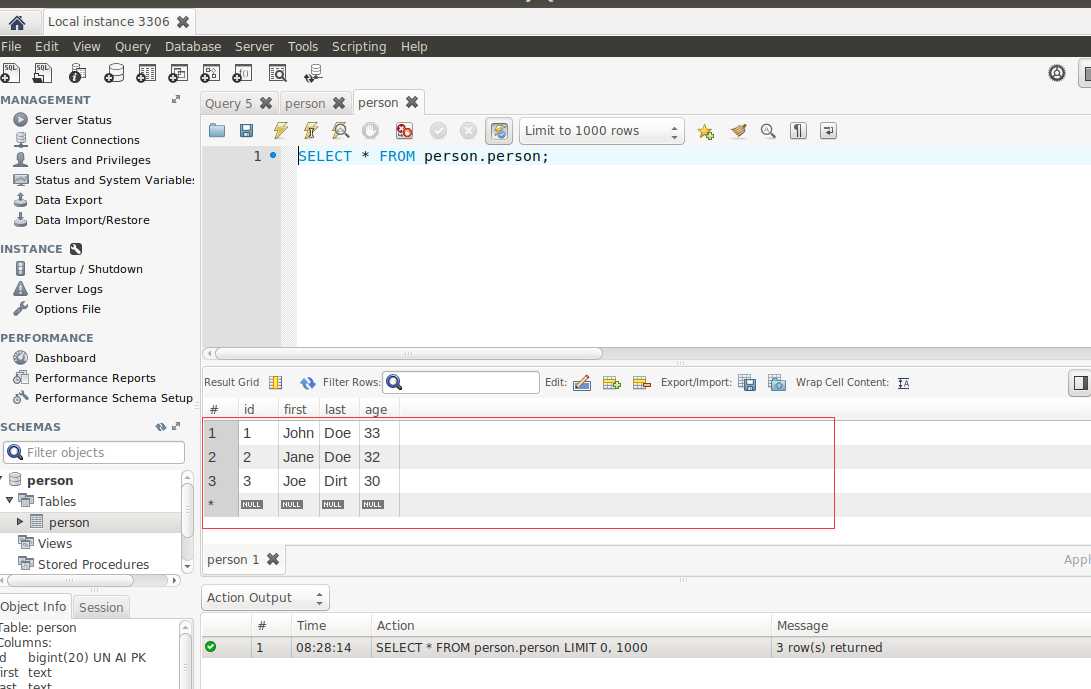
#include "mainwindow.h"

#include <QApplication>


#include <odb/database.hxx>
#include <odb/database.hxx>
#include <odb/transaction.hxx>
#include <odb/mysql/database.hxx>

#include "odbModule/person.hxx"
#include "odbModule/person-odb.hxx"
//#include "odbModule/person-odb.ixx"
//#include "odbModule/person-odb.cxx"

using namespace std;
using namespace odb::core;
#include <iostream>
#include <memory>
using namespace std;
int main(int argc, char *argv[])
{
    QApplication a(argc, argv);
    MainWindow w;
    w.show();


    auto_ptr<odb::database> db (
            new odb::mysql::database (
            "root"     // database login name
            ,"root" // database password
            ,"person" // database name
            ,"localhost"
            ,3306
            ));

    unsigned long john_id, joe_id;

    // Create a few persistent person objects.
    //
    {
      person john ("John", "Doe", 33);
      person jane ("Jane", "Doe", 32);
      person joe ("Joe", "Dirt", 30);

      transaction t (db->begin ());

      // Make objects persistent and save their ids for later use.
      //
      john_id = db->persist (john);
      db->persist (jane);
      joe_id = db->persist (joe);

      t.commit ();
    }

    return a.exec();


}
运行程序观察数据库 成功
好了C++ odb 对mysql 的初级应用就到这里 下次写如何利用基础的关系以表为对象高效开发 数据库相关代码
(二)Ubuntu 18 下安装使用 C++ ODB 连接mysql
原文:https://www.cnblogs.com/tian11shiyi/p/12113787.html