本文在安装hadoop之前已安装配置jdk1.8 环境
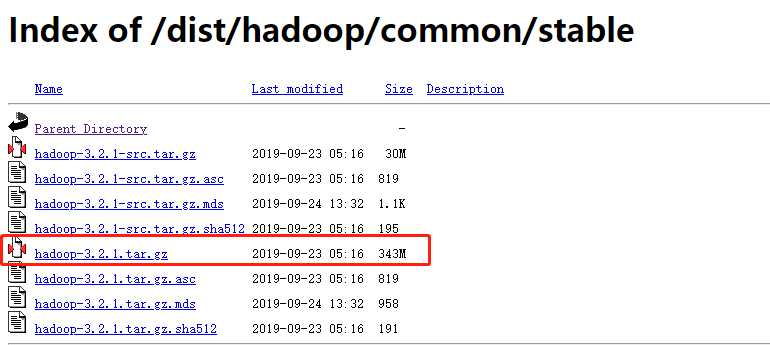
1.hadoop下载
下载地址:
https://www-us.apache.org/dist/hadoop/common/stable/
2.hadoop解压
创建文件夹hadoop,解压tar包
tar -xvf hadoop-3.2.1.tar.gz
3.hadoop伪分布式配置
伪分布式进行配置:用一个机器同时运行NameNode,SecondaryNameNode, DataNode, JobTracker, TaskTracker 5个任务
3.1 修改core-site.xml
core-site.xml 在目录 ./hadoop-3.2.1/etc/hadoop 下
修改为:
<?xml version="1.0" encoding="UTF-8"?>
<?xml-stylesheet type="text/xsl" href="configuration.xsl"?>
<!--
  Licensed under the Apache License, Version 2.0 (the "License");
  you may not use this file except in compliance with the License.
  You may obtain a copy of the License at

    http://www.apache.org/licenses/LICENSE-2.0

  Unless required by applicable law or agreed to in writing, software
  distributed under the License is distributed on an "AS IS" BASIS,
  WITHOUT WARRANTIES OR CONDITIONS OF ANY KIND, either express or implied.
  See the License for the specific language governing permissions and
  limitations under the License. See accompanying LICENSE file.
-->

<!-- Put site-specific property overrides in this file. -->

<configuration>
    <property>
    <name>fs.default.name</name>
    <value>hdfs://localhost:9000</value>
    </property>
</configuration>
3.2 修改 mapred-site.xml
mapred-site.xml 在目录 ./hadoop-3.2.1/etc/hadoop 下
修改为:
<?xml version="1.0"?>
<?xml-stylesheet type="text/xsl" href="configuration.xsl"?>
<!--
  Licensed under the Apache License, Version 2.0 (the "License");
  you may not use this file except in compliance with the License.
  You may obtain a copy of the License at

    http://www.apache.org/licenses/LICENSE-2.0

  Unless required by applicable law or agreed to in writing, software
  distributed under the License is distributed on an "AS IS" BASIS,
  WITHOUT WARRANTIES OR CONDITIONS OF ANY KIND, either express or implied.
  See the License for the specific language governing permissions and
  limitations under the License. See accompanying LICENSE file.
-->

<!-- Put site-specific property overrides in this file. -->

<configuration>
    <property>
    <name>mapred.job.tracker</name>
    <value>localhost:9001</value>
    </property>
</configuration>
3.3 修改 hdfs-site.xml
hdfs-site.xml 在目录 ./hadoop-3.2.1/etc/hadoop 下
修改为:
<?xml version="1.0" encoding="UTF-8"?>
<?xml-stylesheet type="text/xsl" href="configuration.xsl"?>
<!--
  Licensed under the Apache License, Version 2.0 (the "License");
  you may not use this file except in compliance with the License.
  You may obtain a copy of the License at

    http://www.apache.org/licenses/LICENSE-2.0

  Unless required by applicable law or agreed to in writing, software
  distributed under the License is distributed on an "AS IS" BASIS,
  WITHOUT WARRANTIES OR CONDITIONS OF ANY KIND, either express or implied.
  See the License for the specific language governing permissions and
  limitations under the License. See accompanying LICENSE file.
-->

<!-- Put site-specific property overrides in this file. -->

<configuration>
    <property>
    <name>dfs.replication</name>
    <value>1</value>
    </property>
</configuration>
3.4 修改hadoop-env.sh
hadoop-env.sh 在目录 ./hadoop-3.2.1/etc/hadoop 下
添加 jdk运行环境
export JAVA_HOME=/usr/lib/jdk/jdk1.8.0_201
4.安装 rsync 和 ssh
rsync: rsync是linux系统下的数据镜像备份工具。使用快速增量备份工具Remote Sync可以远程同步,支持本地复制,或者与其他SSH、rsync主机同步
ssh(安全外壳协议): Secure Shell的缩写,SSH 为建立在应用层基础上的安全协议;专为远程登陆会话和其他网络服务提供安全性的协议
4.1 安装
sudo apt-get install ssh rsync
4.2 配置ssh免密登陆
4.2.1 生成ssh的公钥/私钥
ssh-keygen -t dsa -f ~/.ssh/id_dsa
不输入密码,直接回车
4.2.2 设置公钥/私钥登录
cat ~/.ssh/id_dsa.pub >> ~/.ssh/authorized_keys
4.2.3 使用ssh登陆
ssh localhost
4.2.4 ssh localhost 需要输入密码问题处理
文件权限问题,执行
//用户权限
chmod 700 /home/user

//.ssh文件夹权限
chmod 700 ~/.ssh/

// ~/.ssh/authorized_keys 文件权限
chmod 600 ~/.ssh/authorized_keys
5.启动hadoop
1.格式化NameNode
在 ./hadoop/hadoop-3.2.1/bin 目录下执行
./hadoop namenode -format
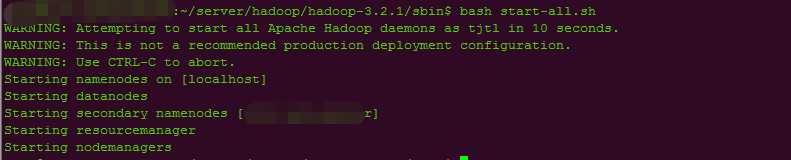
2.启动所有节点,包括NameNode,SecondaryNameNode, JobTracker, TaskTracker, DataNode
在 ./hadoop/hadoop-3.2.1/sbin 目录下执行
sh start-all.sh
2.1 执行报错 start-all.sh: 22: start-all.sh: Syntax error: "(" unexpected
bash start-all.sh
2.2 root 用户启动报错
2.2.1 错误 ERROR: Attempting to operate on hdfs namenode as root
在start-dfs.sh,stop-dfs.sh 中添加
#!/usr/bin/env bash

HDFS_DATANODE_USER=root
HADOOP_SECURE_DN_USER=hdfs
HDFS_NAMENODE_USER=root
HDFS_SECONDARYNAMENODE_USER=root
2.2.2 错误 ERROR: Attempting to operate on yarn resourcemanager as root
在 start-yarn.sh,stop-yarn.sh 中添加
#!/usr/bin/env bash

YARN_RESOURCEMANAGER_USER=root
HADOOP_SECURE_DN_USER=yarn
YARN_NODEMANAGER_USER=root
6.测试
1.将 /hadoop/hadoop-3.2.1 目录下 README.txt 文件拷贝到 /hadoop/hadoop-3.2.1/bin 目录下
cp README.txt ./bin/
2.创建hdfs目录
./hadoop fs -mkdir -p /test/data
3.将文件上传到Hadoop的分布式文件系统HDFS,重命名为test.txt
./hadoop fs -put README.txt /test/data/readme.txt
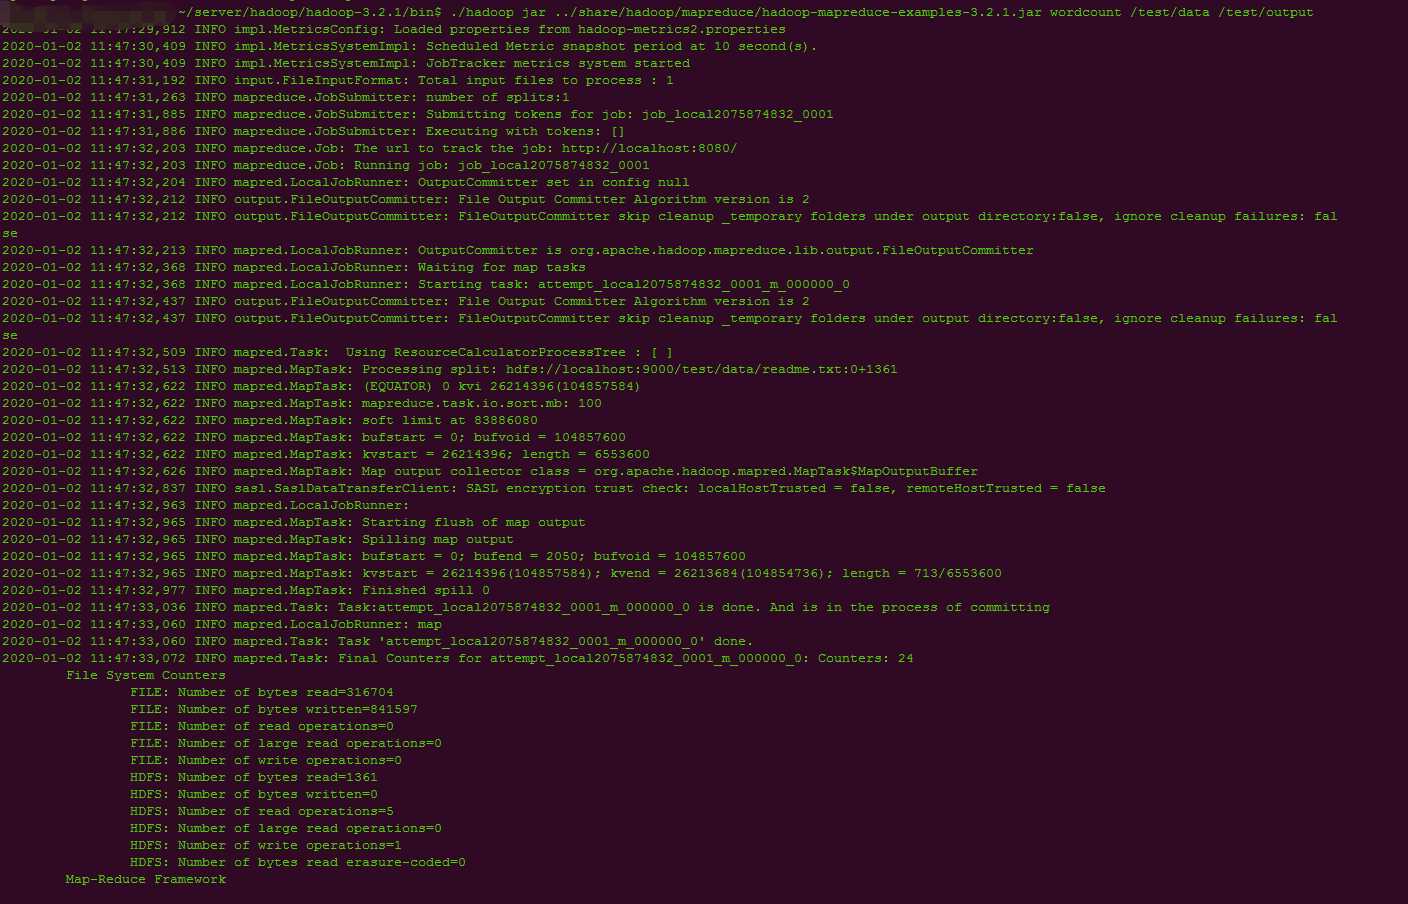
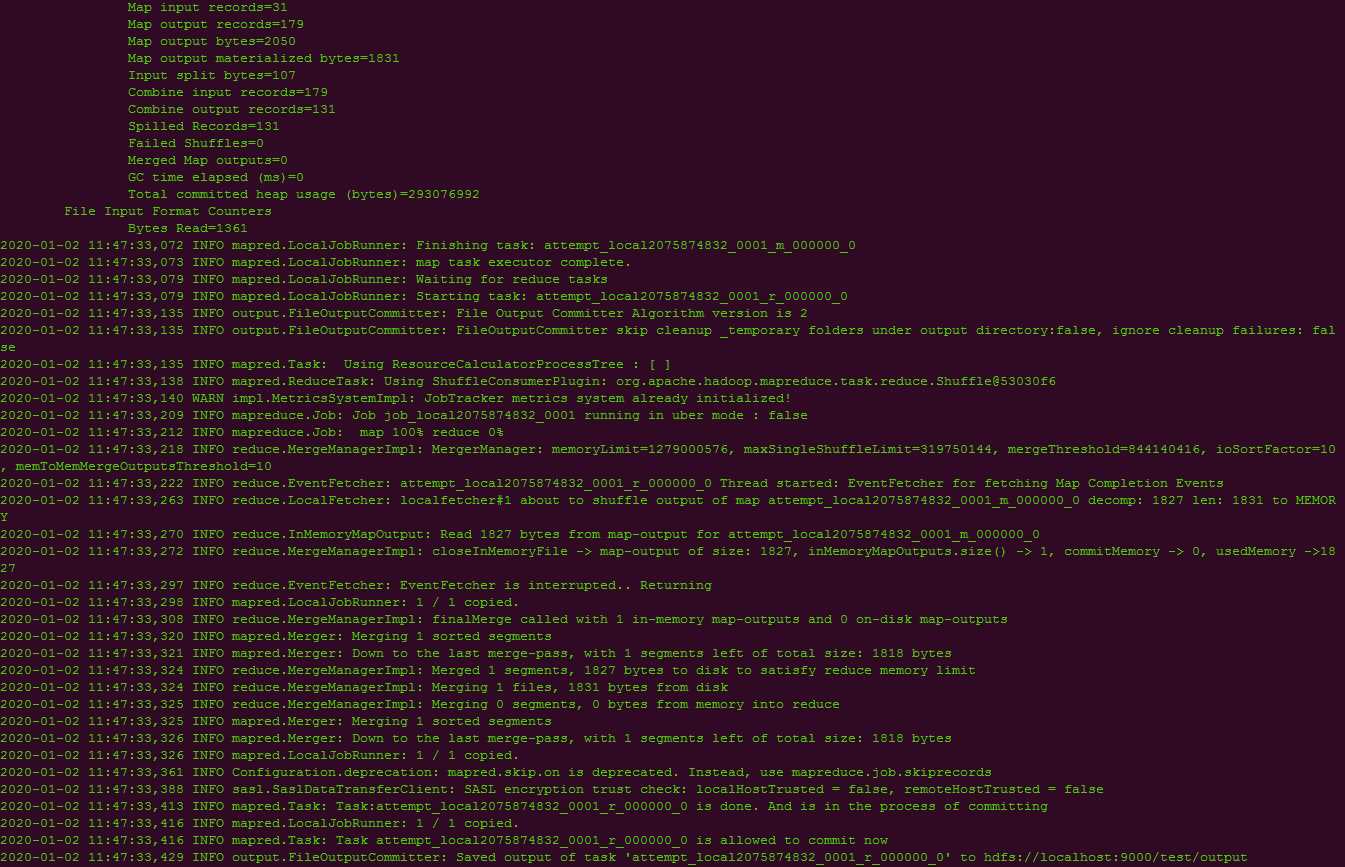
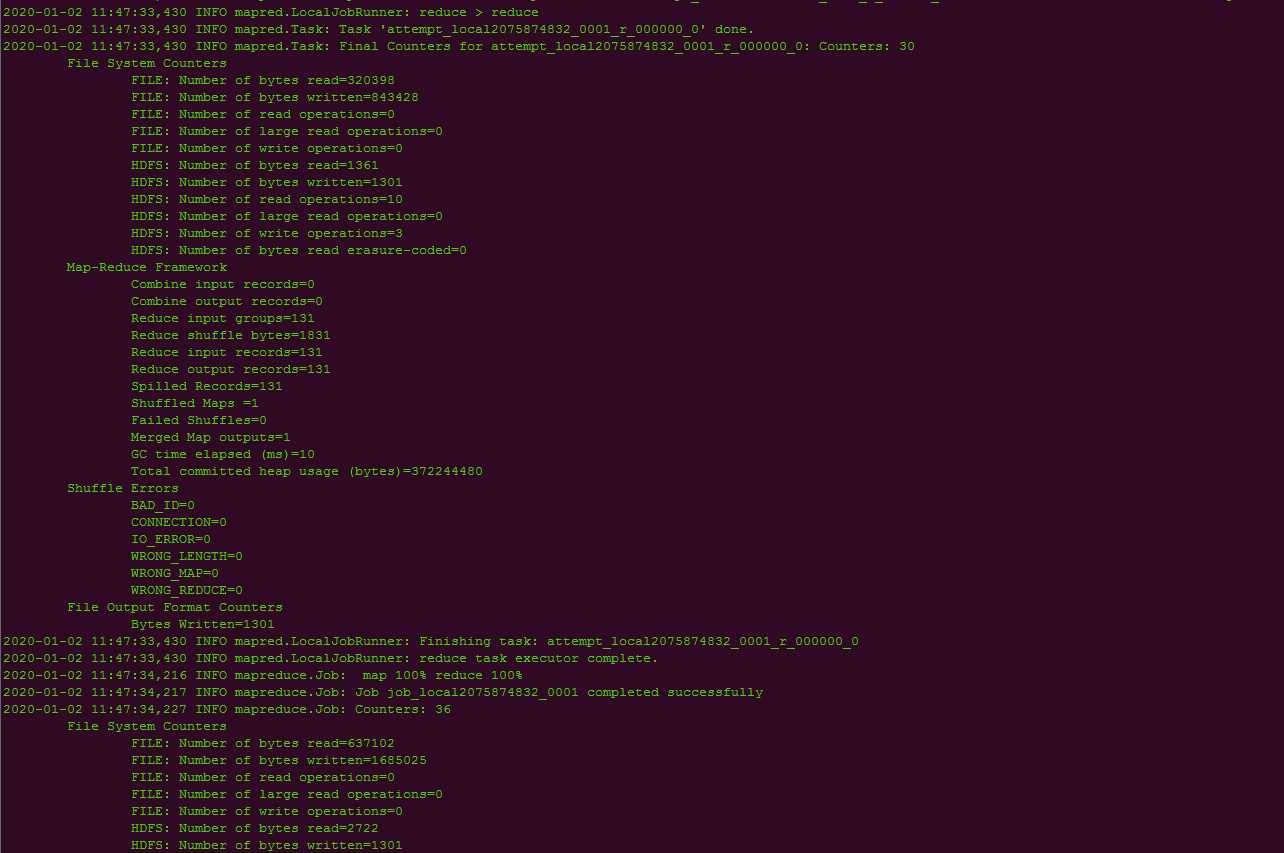
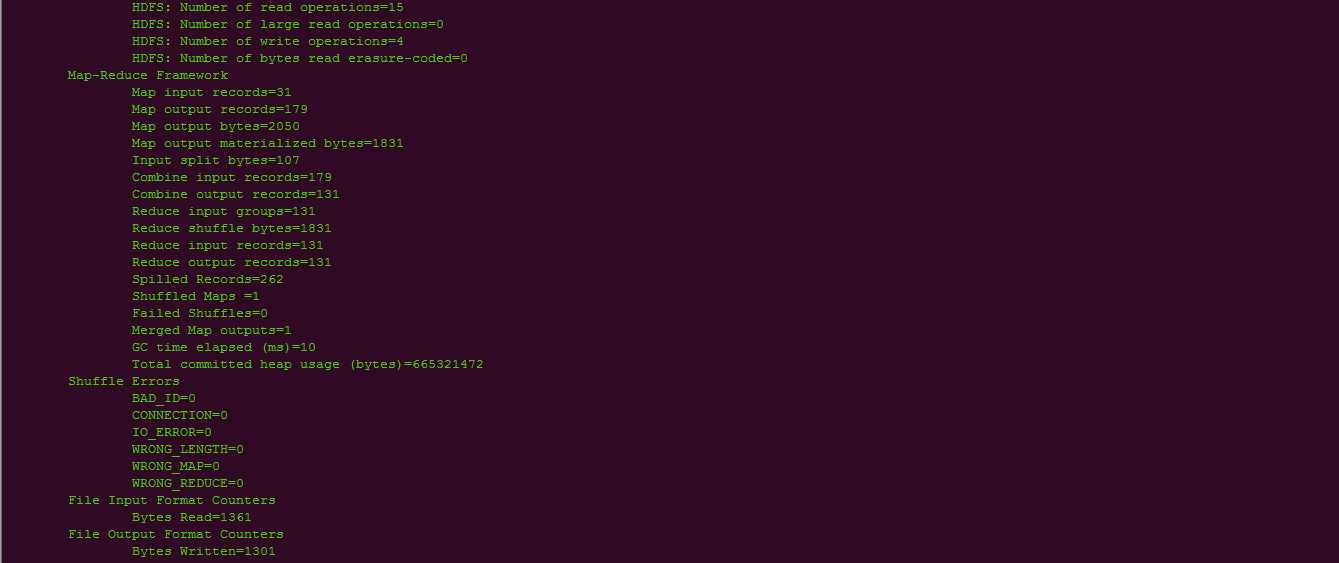
4.测试mapreduce
./hadoop jar ../share/hadoop/mapreduce/hadoop-mapreduce-examples-3.2.1.jar wordcount /test/data /test/output
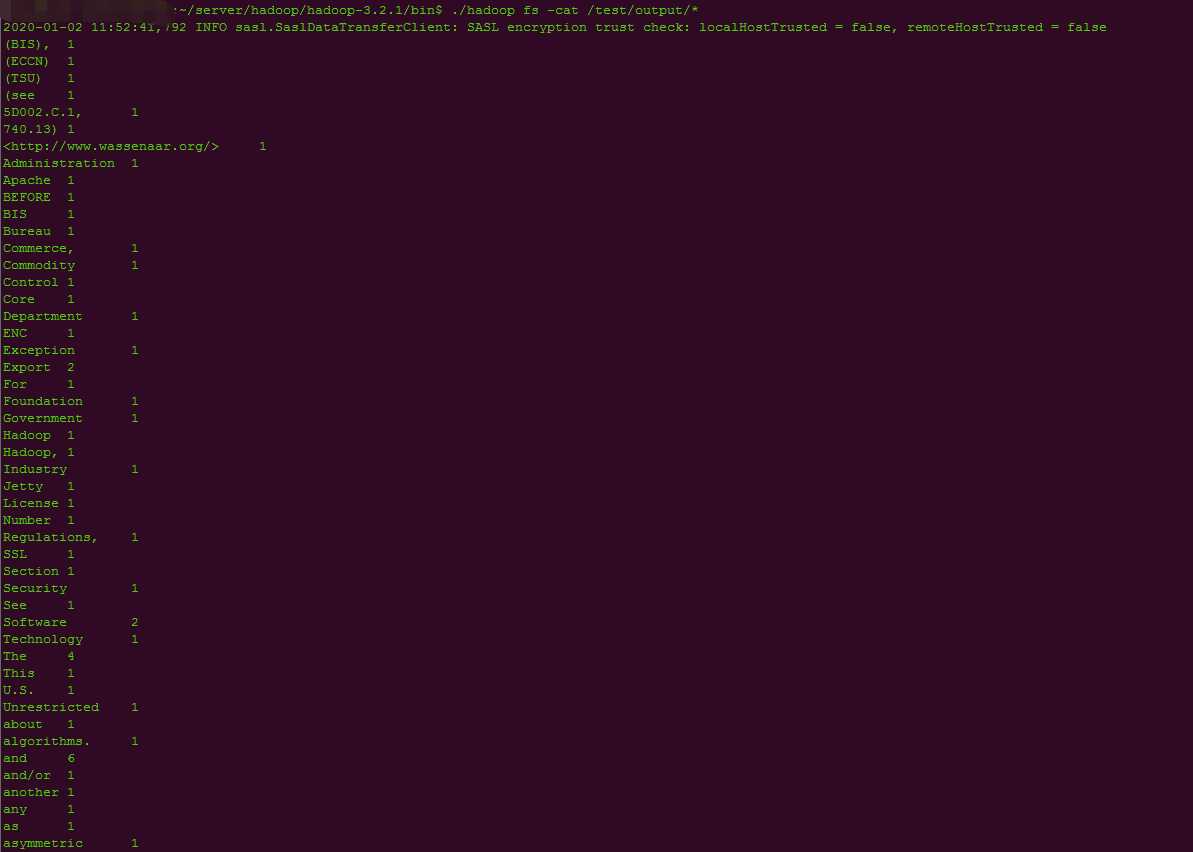
5.查看结果
./hadoop fs -cat /test/output/*
7.部署完成
原文:https://www.cnblogs.com/suphowe/p/12131894.html