索引
import wx
import numpy
from matplotlib.backends.backend_wxagg import FigureCanvasWxAgg as FigureCanvas
from matplotlib.figure import Figure

class Example(wx.Frame):

    def __init__(self, parent, title):
        super(Example, self).__init__(parent, title=title)
        self.Init_Panel()
        self.Init_Box()
        self.Init_Left()
        self.Init_Center()
        self.Init_Right()
        # 将三个垂直盒子添加到垂直盒子
        self.Boxh1.Add(self.LeftPanel,proportion = 1, border = 2,flag = wx.ALL | wx.EXPAND)
        self.Boxh1.Add(self.CenterPanel, proportion=4, border=2, flag=wx.ALL | wx.EXPAND)
        self.Boxh1.Add(self.RightPanel, proportion=1, border=2, flag=wx.ALL | wx.EXPAND)
        #将垂直盒子和主框架关联
        self.SetSizer(self.Boxh1)
        #显示主框架
        self.Show()

    #创建三个面板
    def Init_Panel(self):
        self.LeftPanel = wx.Panel(self)
        self.CenterPanel = wx.Panel(self)
        self.RightPanel = wx.Panel(self)

    #创建四个盒子
    #三个垂直盒子、一个水平盒子
    def Init_Box(self):
        #三个垂直盒子
        self.Boxv1 = wx.BoxSizer(wx.VERTICAL)
        self.Boxv2 = wx.BoxSizer(wx.VERTICAL)
        self.Boxv3 = wx.BoxSizer(wx.VERTICAL)
        #一个水平盒子
        self.Boxh1 = wx.BoxSizer(wx.HORIZONTAL)

    def Init_Left(self):

        # 创建一个wx.StaticBox对象。
        # 声明一个wx.StaticBoxSizer与创建的wx.StaticBox对象作为其参数。
        nm = wx.StaticBox(self.LeftPanel, -1, ‘参数输入‘)
        nmSizer = wx.StaticBoxSizer(nm, wx.VERTICAL)
        # 构建静态文本框
        modelname = wx.StaticText(self.LeftPanel, -1, "模块名称")
        # 在StaticBoxSizer添加文本框
        nmSizer.Add(modelname, 1, wx.EXPAND | wx.ALL, 1)
        # 创建下拉框
        self.languages = [‘NXP‘, ‘MSP430‘, ‘SMT32‘]
        self.combo1 = wx.ComboBox(self.LeftPanel, choices=self.languages, value=self.languages[0])
        # 在StaticBoxSizer盒子添加下拉框
        nmSizer.Add(self.combo1, 1, wx.EXPAND  | wx.ALL, 1)
        # 构建静态文本框
        modeltype = wx.StaticText(self.LeftPanel, -1, "模块型号")
        # 在StaticBoxSizer添加文本框
        nmSizer.Add(modeltype, 1, wx.EXPAND | wx.ALL, 1)
        # 创建下拉框
        self.languages = [‘0x123a‘, ‘0x3333‘, ‘0x1232‘]
        self.combo2 = wx.ComboBox(self.LeftPanel, choices=self.languages, value=self.languages[0])
        # 在StaticBoxSizer添加下拉框
        nmSizer.Add(self.combo2, 1, wx.EXPAND | wx.ALL, 1)
        # 在垂直盒子添加StaticBoxSizer
        self.Boxv1.Add(nmSizer,0, wx.EXPAND | wx.ALL,10)


        #创建RadioButton
        lblList = [‘线性网‘, ‘单环网‘, ‘双环网‘,‘双网冗余‘]
        self.rbox = wx.RadioBox(self.LeftPanel, label=‘组网类型‘, choices=lblList, majorDimension=4,style=wx.RA_SPECIFY_ROWS)
        # 在垂直盒子添加RadioButton
        self.Boxv1.Add(self.rbox,0, wx.EXPAND | wx.ALL,10)


        # 创建一个wx.StaticBox对象。
        # 声明一个wx.StaticBoxSizer与创建的wx.StaticBox对象作为其参数。
        nm1 = wx.StaticBox(self.LeftPanel, -1, ‘日志信息‘)
        nmSizer1 = wx.StaticBoxSizer(nm1, wx.VERTICAL)
        # 创建文本域
        self.multiText = wx.TextCtrl(self.LeftPanel, -1, style=wx.TE_MULTILINE)  # 创建一个文本控件
        self.multiText.SetInsertionPoint(0)  # 设置插入点
        nmSizer1.Add(self.multiText, 1, wx.EXPAND | wx.ALL, 10)
        #  在垂直盒子里添加StaticBoxSizer盒子
        self.Boxv1.Add(nmSizer1, 1, wx.EXPAND | wx.ALL, 10)

        #把垂直盒子与LeftPanel关联起来
        self.LeftPanel.SetSizer(self.Boxv1)


    def Init_Center(self):
        self.CenterPanel.SetBackgroundColour(‘white‘)
        scores = [89, 98, 70, 80, 60, 78, 85, 90]
        t_score = numpy.arange(1, len(scores) + 1, 1)
        s_score = numpy.array(scores)
        self.figure_score = Figure()
        self.figure_score.set_figheight(3.6)
        self.figure_score.set_figwidth(7.8)
        self.axes_score = self.figure_score.add_subplot(111)
        #画图
        self.axes_score.plot(t_score, s_score, ‘ro‘, t_score, s_score, ‘k‘)
        self.axes_score.set_title(u‘My Scores‘)
        self.axes_score.grid(True)
        self.axes_score.set_xlabel(‘T‘)
        self.axes_score.set_ylabel(‘score‘)
        #在self.CenterPanel上显示
        cannvas = FigureCanvas(self.CenterPanel, -1, self.figure_score)
        self.Boxv2.Add(cannvas, 1, wx.EXPAND | wx.ALL, 10)

        #创建notebook
        nb = wx.Notebook(self.CenterPanel, style=wx.NB_FIXEDWIDTH)
        page1 = PageOne(nb)
        page2 = PageTwo(nb)
        page3 = PageThree(nb)
        #在notebook中添加面板,第一个参数是面板,第二个参数是标签
        nb.AddPage(page1, "使用说明")
        nb.AddPage(page2, "选择检索")
        nb.AddPage(page3, "查看结果")
        self.Boxv2.Add(nb, 1, wx.EXPAND | wx.ALL, 10)
        self.CenterPanel.SetSizer(self.Boxv2)

    def Init_Right(self):
        self._btn1 = wx.Button(self.RightPanel, label=u‘Diag‘, size=(50, 50))
        self.Boxv3.Add(self._btn1, 0, wx.EXPAND | wx.ALL, 10)
        self._btn2 = wx.Button(self.RightPanel, label=u‘Trend‘, size=(50, 50))
        self.Boxv3.Add(self._btn2, 0, wx.EXPAND | wx.ALL, 10)
        self._btn3 = wx.Button(self.RightPanel, label=u‘About‘, size=(50, 50))
        self.Boxv3.Add(self._btn3, 0, wx.EXPAND | wx.ALL, 10)
        self.RightPanel.SetSizer(self.Boxv3)

#本质:创建了三个面板
###########################使用说明1######################################
class PageOne(wx.Panel):
    def __init__(self, parent):
        wx.Panel.__init__(self, parent)
        colour = [(160, 255, 204), (153, 204, 255), (151, 253, 225), ]
        self.SetBackgroundColour(colour[0])
        self.tx1 = wx.StaticText(self, -1, "使用说明", (355, 45),
                                    (100, -1), wx.ALIGN_CENTER)
        font = wx.Font(14, wx.SWISS, wx.NORMAL, wx.BOLD)
        self.tx1.SetFont(font)


###########################使用说明2######################################
class PageTwo(wx.Panel):
    def __init__(self, parent):
        wx.Panel.__init__(self, parent)
        colour = [(160, 255, 204), (153, 204, 255), (151, 253, 225), ]
        self.SetBackgroundColour(colour[1])
        self.tx2 = wx.StaticText(self, -1, "选择检索", (355, 45),
                                    (100, -1), wx.ALIGN_CENTER)
        font = wx.Font(14, wx.SWISS, wx.NORMAL, wx.BOLD)
        self.tx2.SetFont(font)


###########################使用说明3######################################
class PageThree(wx.Panel):
    def __init__(self, parent):
        wx.Panel.__init__(self, parent)
        colour = [(160, 255, 204), (153, 204, 255), (151, 253, 225), ]
        self.SetBackgroundColour(colour[2])
        self.tx3 = wx.StaticText(self, -1, "查看结果", (355, 45),
                                    (100, -1), wx.ALIGN_CENTER)
        font = wx.Font(14, wx.SWISS, wx.NORMAL, wx.BOLD)
        self.tx3.SetFont(font)

app = wx.App()
Example(None, title=‘布局实践‘)
app.MainLoop()
例程主要是Sizer布局应用。wx.BoxSizer的布局方向分为横向和纵向两种,并且可以在横向或纵向方向上包含子sizer以创建嵌套的布局。
LeftPanel、CenterPanel、RightPanel三个面板采用横向boxsizer布局。对应四个Box盒子,三个垂直盒子,一个水平盒子。
三个垂直盒子:
Boxv1布局LeftPanel
Boxv3布局CenterPanel
Boxv4布局RightPanel
一个水平盒子:
Boxh1布局三个垂直盒子
#创建三个面板
    def Init_Panel(self):
        self.LeftPanel = wx.Panel(self)
        self.CenterPanel = wx.Panel(self)
        self.RightPanel = wx.Panel(self)

    #创建四个盒子
    #三个垂直盒子、一个水平盒子
    def Init_Box(self):
        #三个垂直盒子
        self.Boxv1 = wx.BoxSizer(wx.VERTICAL)
        self.Boxv2 = wx.BoxSizer(wx.VERTICAL)
        self.Boxv3 = wx.BoxSizer(wx.VERTICAL)
        #一个水平盒子
        self.Boxh1 = wx.BoxSizer(wx.HORIZONTAL)
在水平盒子里布局三个垂直盒子
        # 将三个垂直盒子添加到垂直盒子
        self.Boxh1.Add(self.LeftPanel,proportion = 1, border = 2,flag = wx.ALL | wx.EXPAND)
        self.Boxh1.Add(self.CenterPanel, proportion=4, border=2, flag=wx.ALL | wx.EXPAND)
        self.Boxh1.Add(self.RightPanel, proportion=1, border=2, flag=wx.ALL | wx.EXPAND)
两个主要的参数:
border:边框像素。
proportion:占空间的比率。
注意点:
1.创建控件,需要与之关联的面板
例如:modelname = wx.StaticText(self.LeftPanel, -1, "模块名称"),第一个参数为相关联面板。
2.一个盒子布局完,需要与面板关联起来
例如:self.LeftPanel.SetSizer(self.Boxv1)
3.整个盒子布局完,需要与主框架关联起来,例如:
self.SetSizer(self.Boxh1)
页面切换使用notebook使用,官方文档:https://wxpython.org/Phoenix/docs/html/wx.Notebook.html#wx.Notebook.SetPageImage
程序:
        #创建notebook
        nb = wx.Notebook(self.CenterPanel, style=wx.NB_FIXEDWIDTH)
        page1 = PageOne(nb)
        page2 = PageTwo(nb)
        page3 = PageThree(nb)
        #在notebook中添加面板,第一个参数是面板,第二个参数是标签
        nb.AddPage(page1, "使用说明")
        nb.AddPage(page2, "选择检索")
        nb.AddPage(page3, "查看结果")
#本质:创建了三个面板
###########################使用说明1######################################
class PageOne(wx.Panel):
    def __init__(self, parent):
        wx.Panel.__init__(self, parent)
        colour = [(160, 255, 204), (153, 204, 255), (151, 253, 225), ]
        self.SetBackgroundColour(colour[0])
        self.tx1 = wx.StaticText(self, -1, "使用说明", (355, 45),
                                    (100, -1), wx.ALIGN_CENTER)
        font = wx.Font(14, wx.SWISS, wx.NORMAL, wx.BOLD)
        self.tx1.SetFont(font)


###########################使用说明2######################################
class PageTwo(wx.Panel):
    def __init__(self, parent):
        wx.Panel.__init__(self, parent)
        colour = [(160, 255, 204), (153, 204, 255), (151, 253, 225), ]
        self.SetBackgroundColour(colour[1])
        self.tx2 = wx.StaticText(self, -1, "选择检索", (355, 45),
                                    (100, -1), wx.ALIGN_CENTER)
        font = wx.Font(14, wx.SWISS, wx.NORMAL, wx.BOLD)
        self.tx2.SetFont(font)


###########################使用说明3######################################
class PageThree(wx.Panel):
    def __init__(self, parent):
        wx.Panel.__init__(self, parent)
        colour = [(160, 255, 204), (153, 204, 255), (151, 253, 225), ]
        self.SetBackgroundColour(colour[2])
        self.tx3 = wx.StaticText(self, -1, "查看结果", (355, 45),
                                    (100, -1), wx.ALIGN_CENTER)
        font = wx.Font(14, wx.SWISS, wx.NORMAL, wx.BOLD)
        self.tx3.SetFont(font)
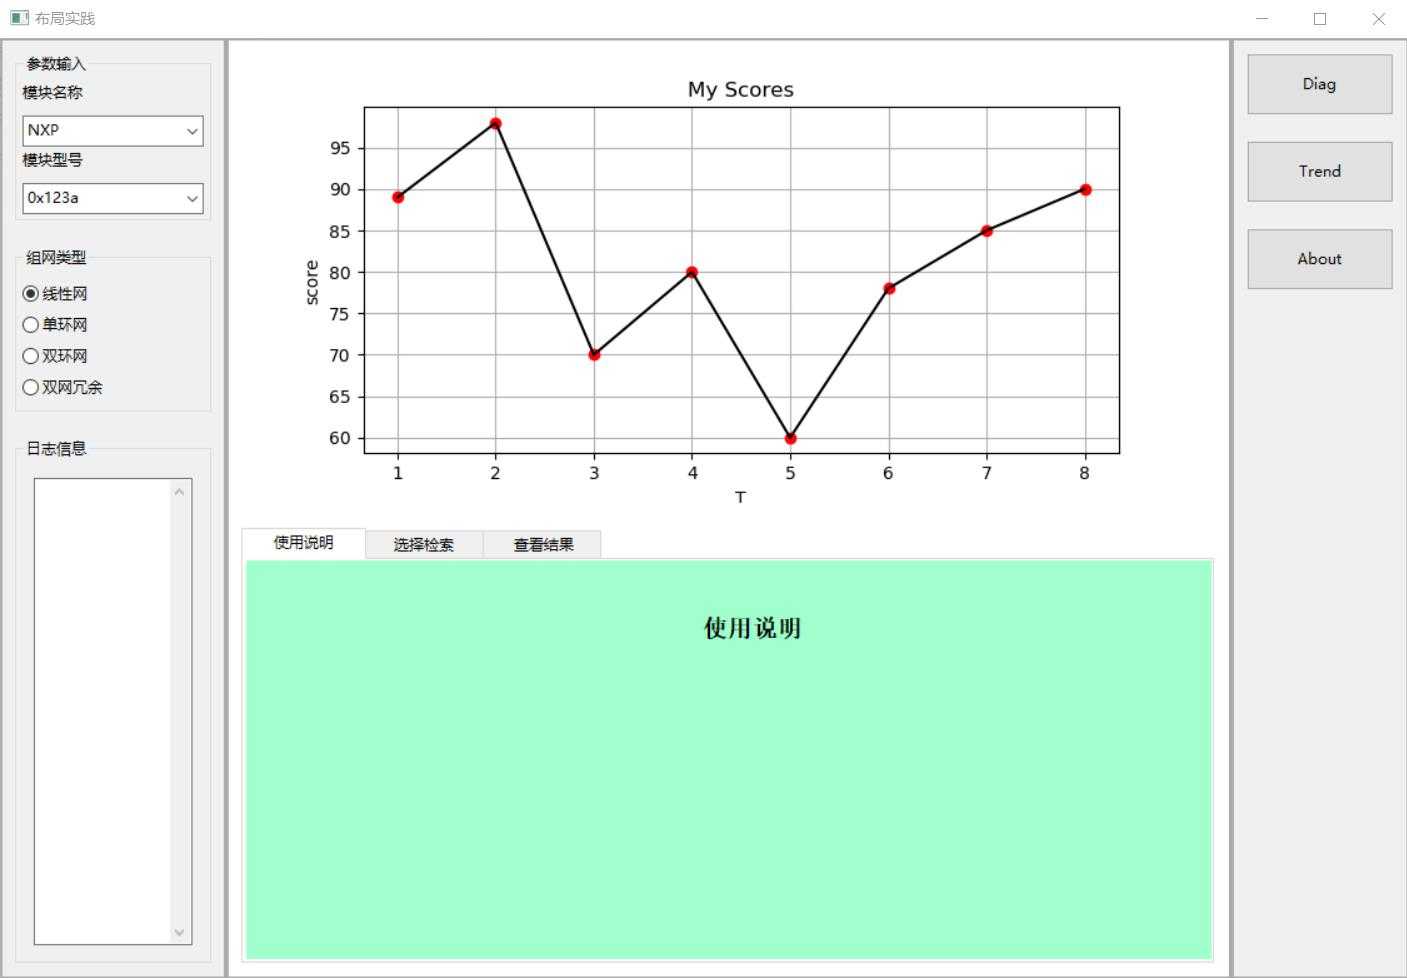
Matplotlib的常见对象Figure,FigureCanvas,Axes,给出最简单的例程:
     scores = [89, 98, 70, 80, 60, 78, 85, 90]
        t_score = numpy.arange(1, len(scores) + 1, 1)
        s_score = numpy.array(scores)
        self.figure_score = Figure()
        self.figure_score.set_figheight(3.6)
        self.figure_score.set_figwidth(7.8)
        self.axes_score = self.figure_score.add_subplot(111)
        #画图
        self.axes_score.plot(t_score, s_score, ‘ro‘, t_score, s_score, ‘k‘)
        self.axes_score.set_title(u‘My Scores‘)
        self.axes_score.grid(True)
        self.axes_score.set_xlabel(‘T‘)
        self.axes_score.set_ylabel(‘score‘)
        #在self.CenterPanel上显示
        cannvas = FigureCanvas(self.CenterPanel, -1, self.figure_score)
refer:https://zhuanlan.zhihu.com/p/38277709
wxpython笔记:wxPython的布局管理实践【嵌入matplotlib、页面切换】
原文:https://www.cnblogs.com/-wenli/p/12149850.html