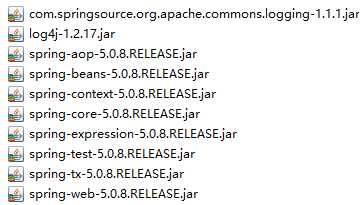
1、需要导入spring的核心的jar包。
2、在web.xml中配置监听器和配置文件的路径
<listener>
   <listener-class>org.springframework.web.context.ContextLoaderListener</listener-class>
</listener>

<context-param>
   <param-name>contextConfigLocation</param-name>
   <param-value>classpath:spring/application.xml</param-value>
</context-param>
3、在配置文件中,开启注解开发和包的扫描
<!-- 开启注解开发 -->
<context:annotation-config/>

<!-- 在类中写了注解。还需要进行包的扫描找到 -->
<context:component-scan base-package="dao"></context:component-scan>
4、配置好后,就可以进行项目的测试了
如下面创建测试的文件 (这里的项目名称是textSpring)
(1)创建测试类
@Component("test")
public class test {

    public String test() {
        return "我是一个测试的例子";
    }
}
(2)创建测试的servlet类
@WebServlet("/textspring")
public class testspring extends HttpServlet {

    protected void doGet(HttpServletRequest request, HttpServletResponse response) throws ServletException, IOException {

        //获取WebApplicationContext
        WebApplicationContext wac = WebApplicationContextUtils.getWebApplicationContext(getServletContext());
        //通过getBean的方法进行获取
        test bean = (testways) wac.getBean("test");
        String test = bean.test();

        System.out.println(test);
    }
}
然后打开浏览器输入网址http://localhost:8080/textSpring/text
原文:https://www.cnblogs.com/huangcan1688/p/12181380.html