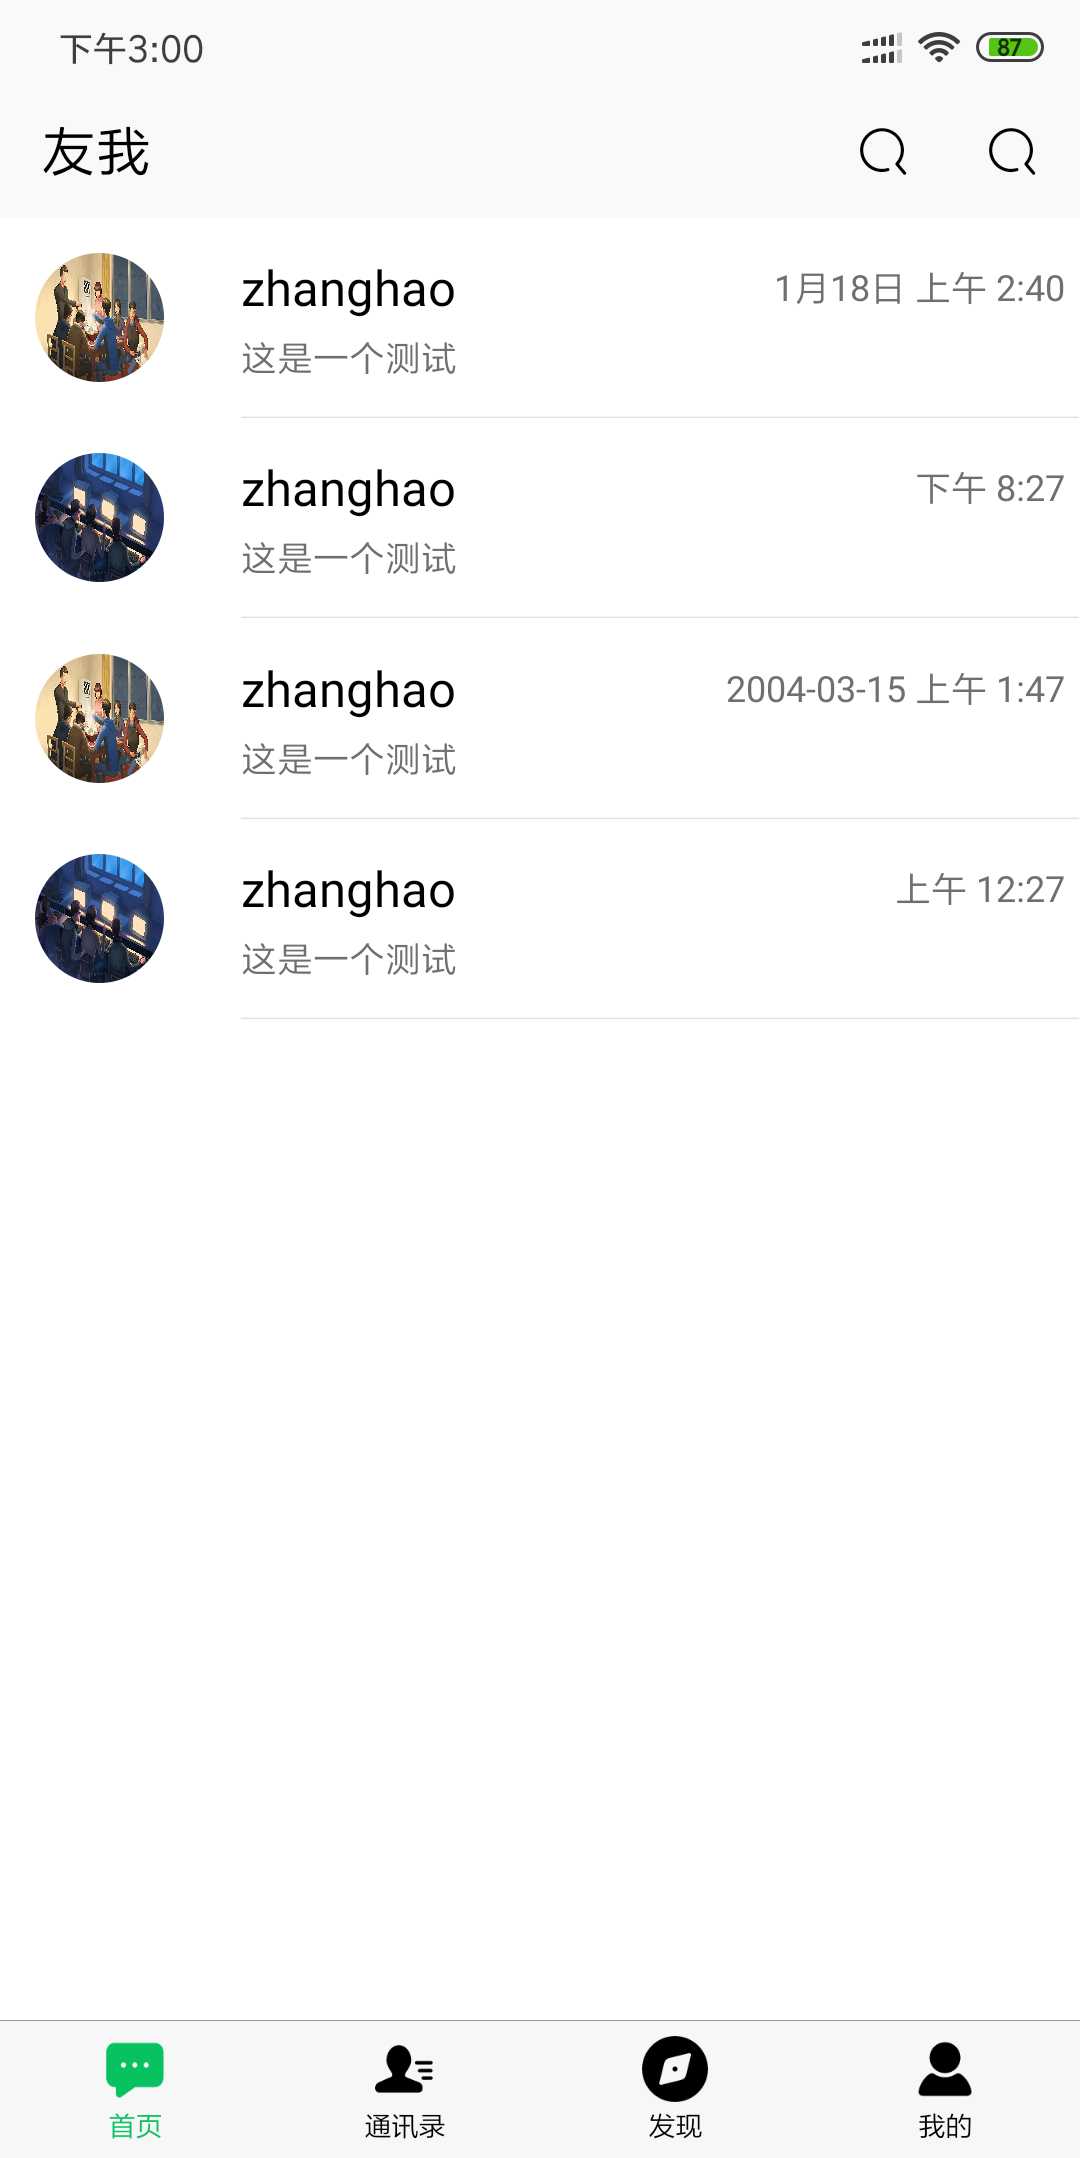
实现完导航栏后,接着把聊天列表页面做完,完成效果如下:
分析页面,可以将每一个对话封装成一个组件。头像在其余的页面也需要用到,也可以将它封装成一个公共组件;
1. 头像组件 h-avatar.vue
<template>
	<image :src="src" :style="getSize" mode="widthFix" class="rounded-circle"></image>
</template>

<script>
	export default {
		props: {
			size: {
				type: [String, Number],
				default: 90
			},
			src: {
				type: String,
			}
		},
		computed: {
			getSize() {
				return `height: ${this.size}rpx;width: ${this.size}rpx;`
			}
		}
	}
</script>
2. 聊天列表组件 h-media-list.vue
<template>
    <view class="flex align-center justify-between">
        <!-- 头像 -->
        <view style="height: 140rpx; width: 140rpx;" class="flex justify-center align-center">
            <h-avatar :src="item.src"></h-avatar>
        </view>

        <!-- 聊天列表 -->
        <view class="flex flex-column flex-1 ml-3 border-bottom justify-center" style="height: 140rpx;">
            <view class="flex justify-between align-center">
                <text class="font-lg" style="font-size: 36rpx;font-weight: 300;">{{item.nickName}}</text>
                <!-- 运用过滤器格式化时间 -->
                <text class="m-1 text-gray" style="font-size: 26rpx;">{{item.time | formatTime}}</text>
            </view>
            <text style="font-size: 26rpx;" class="mt-1 text-gray">{{item.content}}</text>
        </view>
    </view>
</template>

<script>
    import hAvatar from ‘@/components/free-ui/h-avatar.vue‘
    import $Time from ‘@/common/free-lib/time.js‘

    export default {
        props: {
            item: {
                type: Object,
            }
        },
        components: {
            hAvatar
        },
        data() {
            return {

            }
        },
        filters: {
            formatTime(value) {
                return $Time.gettime(value)
            }
        },
    }
</script>
对于右侧的人性化时间, 我们引入一个时间格式化的库,时间方式用时间戳,然后通过一个过滤器实现时间的显示。
3. 在index.vue中引用
<view class="flex flex-column">
    <block v-for="(item, index) in chatList" :key="index">
        <h-media-list :item="item"></h-media-list>
    </block>
</view>
原文:https://www.cnblogs.com/zhanghaoblog/p/12210011.html