LayoutCreator插件可以快速帮助生成xml布局中的代码,但是有以下自动生成规则:
需要生成的xml
<?xml version="1.0" encoding="utf-8"?>
<androidx.constraintlayout.widget.ConstraintLayout xmlns:android="http://schemas.android.com/apk/res/android"
    xmlns:app="http://schemas.android.com/apk/res-auto"
    xmlns:tools="http://schemas.android.com/tools"
    android:layout_width="match_parent"
    android:layout_height="match_parent"
    tools:context=".MyLayoutDemoActivity">

    <Button
        android:id="@+id/button1"
        android:layout_width="0dp"
        android:layout_height="wrap_content"
        android:text="1"
        app:layout_constraintBottom_toTopOf="@+id/textView"
        app:layout_constraintEnd_toEndOf="parent"
        app:layout_constraintStart_toStartOf="parent"
        app:layout_constraintTop_toTopOf="parent" />


    <TextView
        android:id="@+id/textView"
        android:layout_width="0dp"
        android:layout_height="wrap_content"
        android:text="content"
        android:gravity="center"
        app:layout_constraintTop_toBottomOf="@id/button1"
        app:layout_constraintLeft_toLeftOf="parent"
        app:layout_constraintRight_toRightOf="parent" />

</androidx.constraintlayout.widget.ConstraintLayout>
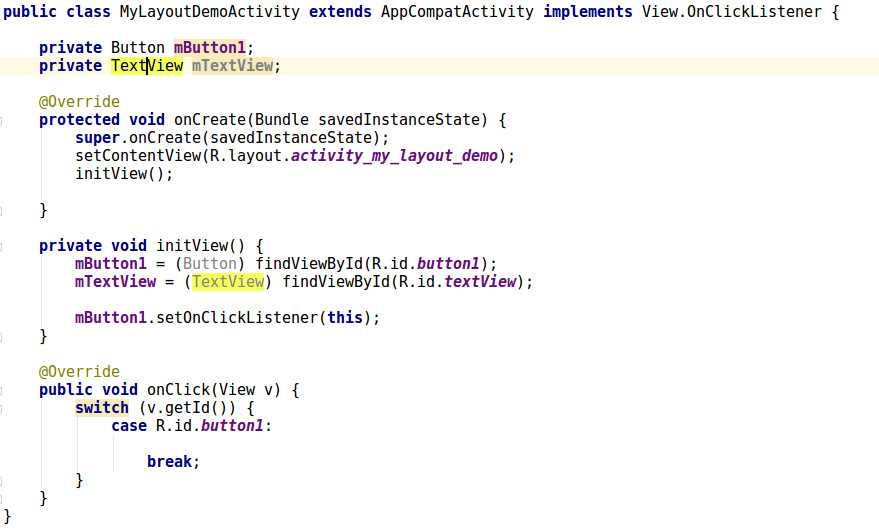
自动生成的代码
在Android studio 的菜单栏找到 File > Settings 点击
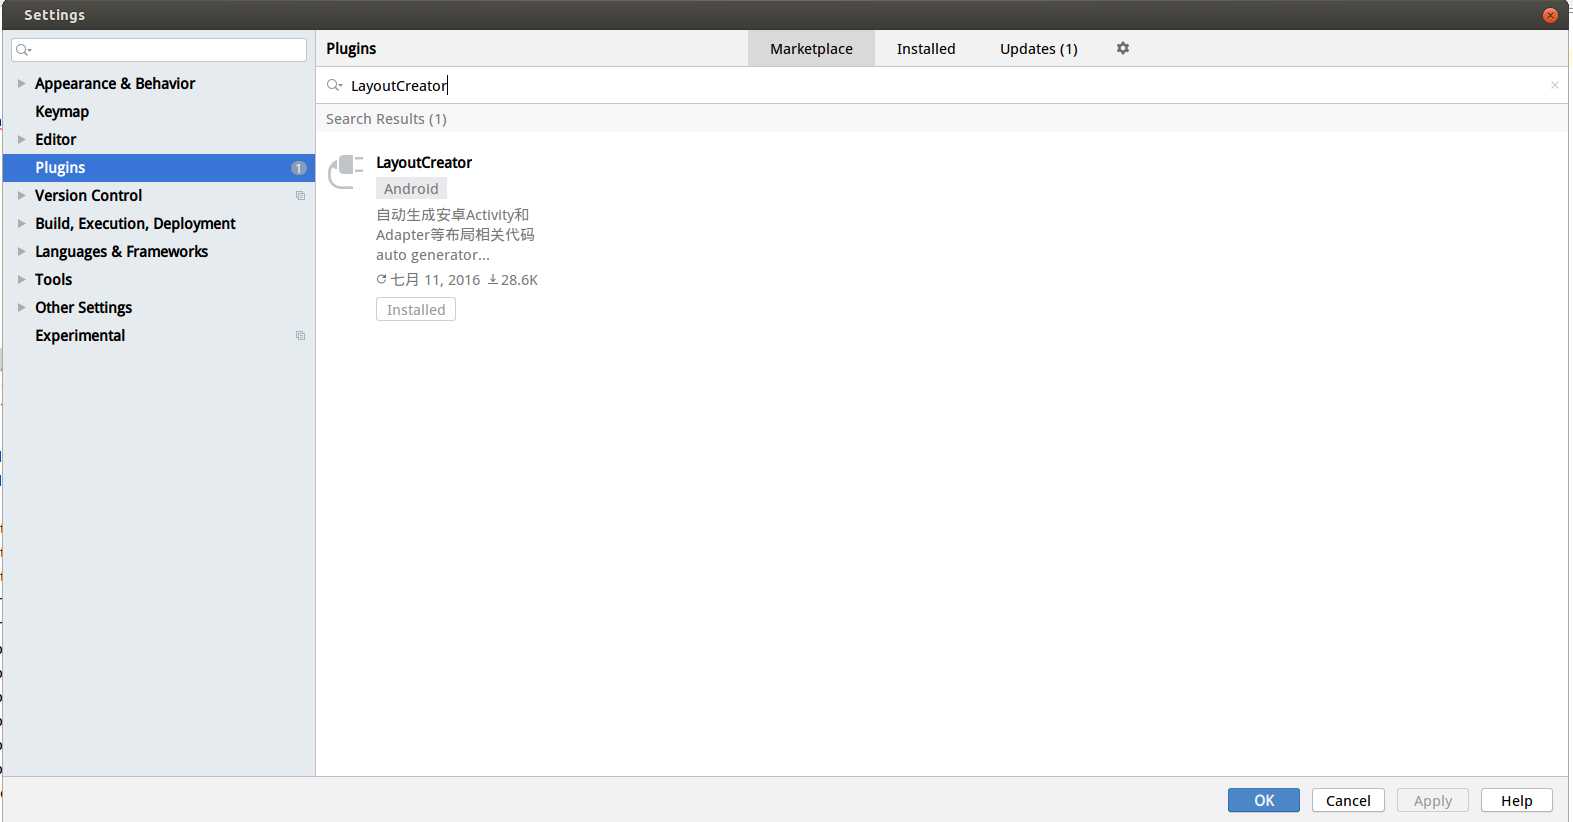
找到Plugins , 在搜索栏输入LayoutCreator 回车搜索,然后在点击安装 LayoutCreator,安装完成后需要重启Android studio
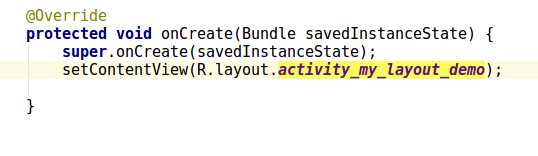
1.将鼠标点击到指定Activity的Java文件的R.layout.xxxxx的布局代码上
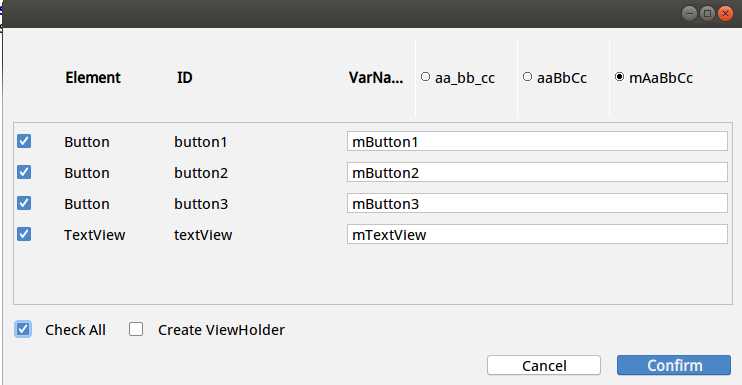
2.在Android studio 菜单栏点击 code 找到 LayoutCreator 点击,就可以进入创建页面了,选择你需要的命名与需要生成的View在点击 Confirm
1.将鼠标点击到指定Activity的Java文件的R.layout.xxxxx的布局代码上
2.直接A/t + Insert 按键,找到LayoutCreator 点击
end
AndroidStudio 添加LayoutCreator插件_自动生成指定布局代码
原文:https://www.cnblogs.com/guanxinjing/p/12213324.html