在Visual Studio 中的NuGet管理器中可以下载安装,也可以直接在NuGet控制台输入下面的指令安装:
|
1
|
Install-Package HslCommunication |
如果需要教程:Nuget安装教程:http://www.cnblogs.com/dathlin/p/7705014.html
组件的完整信息和API介绍参照:http://www.cnblogs.com/dathlin/p/7703805.html 组件的使用限制,更新日志,都在该页面里面。
本库的demo源代码地址:https://github.com/dathlin/HslCommunication
好了,我们开始一步步的说明。如何进行创建功能复杂的web api接口的。先简单的创建一个服务器对象
private HttpServer httpServer; // 当前的Web服务器,支持web api来通信的方式
private void Start( )
{
// 启动web的服务器
try
{
this.httpServer = new HttpServer( );
this.httpServer.Start( 8000 );
}
catch (Exception ex)
{
Console.WriteLine( "Web服务器加载失败!" + ex.Message );
}
}
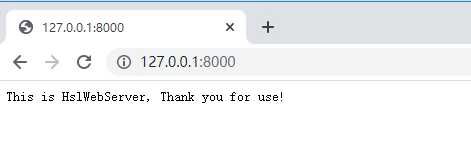
// 调用start方法之后,我们打开浏览器,输入 http://127.0.0.1:8000 就可以看到如下的文本 "This is HslWebServer, Thank you for use!"
// After calling the start method, we open the browser and enter http://127.0.0.1:8000 to see the following text: "This is HslWebServer, Thank you for use!"
此时我们打开网页看看
通常来说,基本的实例化,返回固定的数据并不能满足我们的需求,我们需要返回自定义的数据,有一个委托,我们需要自己指定方法.
private HttpServer httpServer; // 当前的Web服务器,支持web api来通信的方式
private void Start( )
{
// 启动web的服务器
try
{
this.httpServer = new HttpServer( );
this.httpServer.HandleRequestFunc = HandleRequest;
this.httpServer.Start( 8000 );
}
catch (Exception ex)
{
Console.WriteLine( "Web服务器加载失败!" + ex.Message );
}
}
private string HandleRequest( HttpListenerRequest request, HttpListenerResponse response, string data )
{
if (request.HttpMethod == "GET")
{
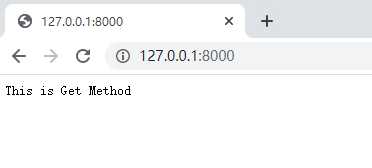
return "This is Get Method";
}
else if (request.HttpMethod == "POST")
{
return "This is Post Method";
}
else
{
return string.Empty;
}
}
我们用浏览器测试到结果如下
如果我们要测试POST操作,我们这时候就就需借助一个软件了,POSTMAN软件,如下所示
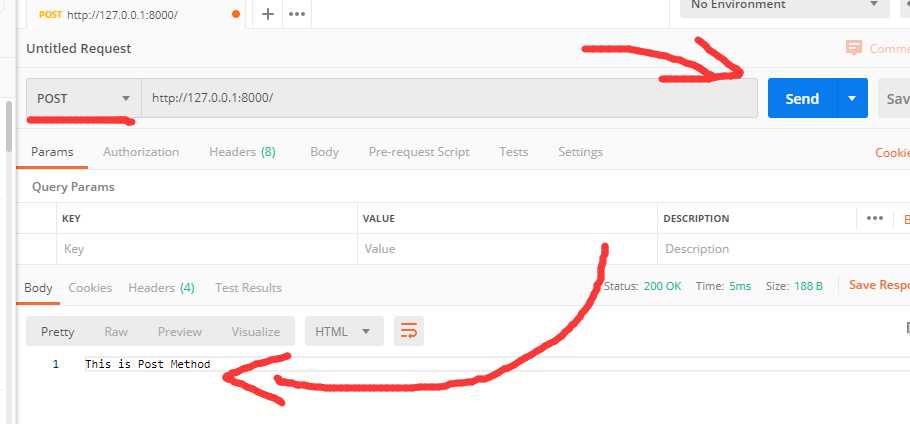
ok,返回了我们所需的数据了,现在我们更深入一步。决定区分地址
private string HandleRequest( HttpListenerRequest request, HttpListenerResponse response, string data )
{
    if (request.HttpMethod == "GET")
    {
        if (request.RawUrl == "/GetA")
        {
            return "This is GetA Method";
        }
        else if (request.RawUrl == "/GetB")
        {
            return "This is GetB Method";
        }
        else
        {
            return "This is Notsupported Method";
        }
    }
    else if (request.HttpMethod == "POST")
    {
        if (request.RawUrl == "/PostA")
        {
            Console.WriteLine( data );   // data 就是post上来的数据信息
            return "OK";
        }
        return "This is Post Method";
    }
    else
    {
        return string.Empty;
    }
}
现在就可以使用地址了
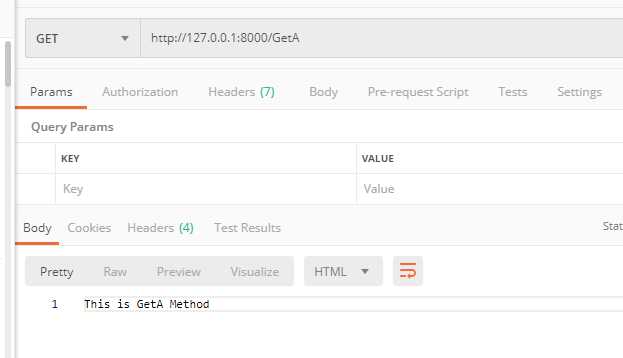
POST的情况也是类似的。
到这里为止,已经可以实现很多高级的功能了,但是我们还需要更高级的功能,比如实现安全验证,加入账户名密码的验证,可以这么代码
private string HandleRequest( HttpListenerRequest request, HttpListenerResponse response, string data )
{
    // 下面的对授权验证增加用户名和密码的操作,当使用浏览器登录的时候,会自动弹出输入用户名及密码的窗口
    // The following operation for adding a username and password for authorization verification will automatically pop up a window for
    // entering the username and password when logging in with a browser.
    string[] values = request.Headers.GetValues( "Authorization" );
    if (values == null || values.Length < 1 || string.IsNullOrEmpty( values[0] ))
    {
        response.StatusCode = 401;
        response.AddHeader( "WWW-Authenticate", "Basic realm=\"Secure Area\"" );
        return "";
    }

    string base64String = values[0].Split( new char[] { ‘ ‘ }, StringSplitOptions.RemoveEmptyEntries )[1];
    string accountString = Encoding.UTF8.GetString( Convert.FromBase64String( base64String ) );
    string[] account = accountString.Split( new char[] { ‘:‘ }, StringSplitOptions.RemoveEmptyEntries );
    if (account.Length < 2)
    {
        response.StatusCode = 401;
        response.AddHeader( "WWW-Authenticate", "Basic realm=\"Secure Area\"" );
        return "";
    }

    // 此处假定用户名和密码限定了 admin 123456
    if (!(account[0] == "admin" && account[1] == "123456"))
    {
        response.StatusCode = 401;
        response.AddHeader( "WWW-Authenticate", "Basic realm=\"Secure Area\"" );
        return "";
    }

    if (request.HttpMethod == "GET")
    {
        if (request.RawUrl == "/GetA")
        {
            return "This is GetA Method";
        }
        else if (request.RawUrl == "/GetB")
        {
            return "This is GetB Method";
        }
        else
        {
            return "This is Notsupported Method";
        }
    }
    else if (request.HttpMethod == "POST")
    {
        if (request.RawUrl == "/PostA")
        {
            Console.WriteLine( data );   // data 就是post上来的数据信息
            return "OK";
        }
        return "This is Post Method";
    }
    else
    {
        return string.Empty;
    }
}
当我们使用浏览器的时候,就会自动提示输入用户名和密码
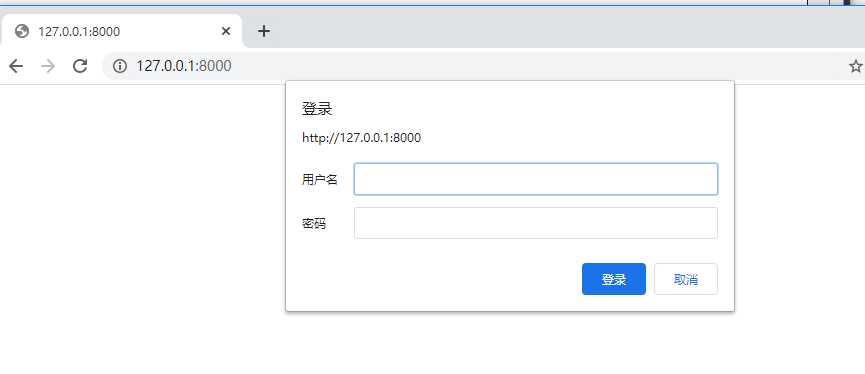
在这里就输入上面的用户名和密码,就可以登录了。就可以正常的访问。如果使用POSTMAN的情况的话。这么操作
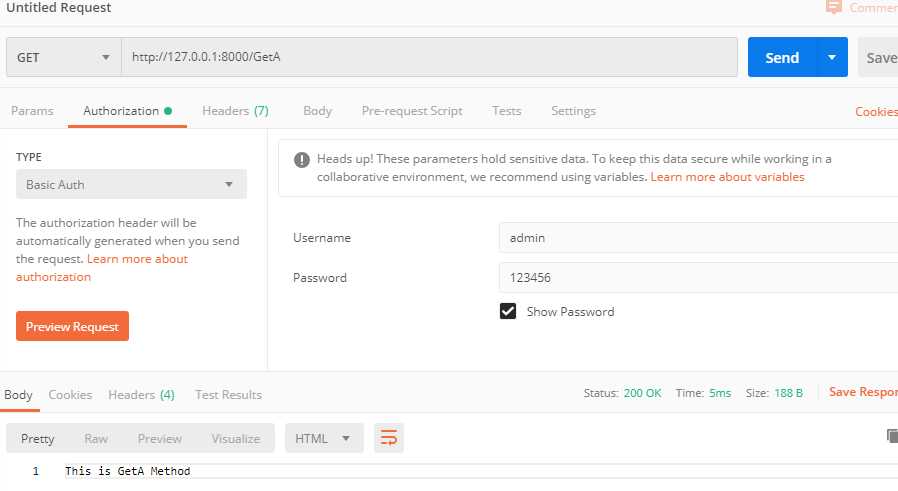
需要将基本的信息填入,才能进行基本的请求。
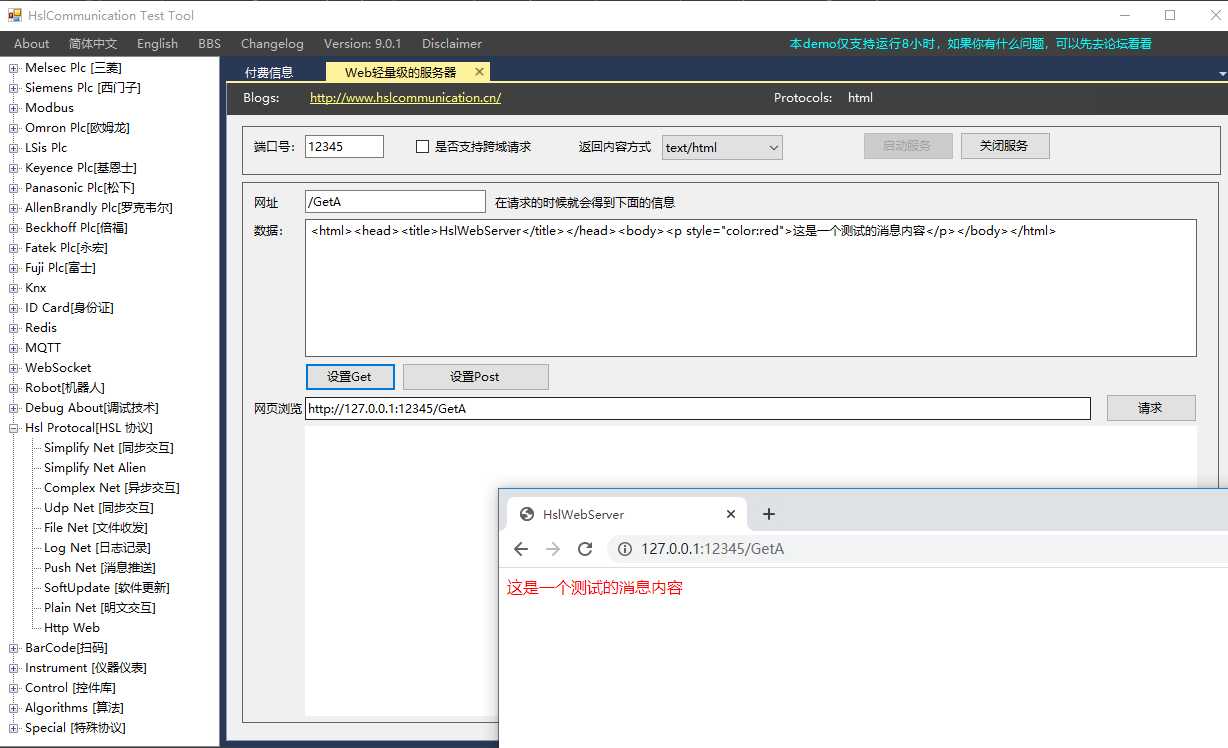
如果需要返回基本的html信息,可以如下操作
复制private string HandleRequest( HttpListenerRequest request, HttpListenerResponse response, string data )
{
    if (request.HttpMethod == "GET")
    {
        if (request.RawUrl == "/GetA") // 当浏览器浏览一个网页的时候,输入 http://127.0.0.1:6000/GetA 会显示网络内容
        {
            response.AddHeader( "Content-type", $"Content-Type: text/html; charset=utf-8" );
            return "<html><head><title>HslWebServer</title></head><body><p style=\"color: red\">这是一个测试的消息内容</p></body></html>";
        }
        else
        {
            return "This is Notsupported Method";
        }
    }
    else if (request.HttpMethod == "POST")
    {
        return "This is Post Method";
    }
    else
    {
        return string.Empty;
    }
}
结果如下
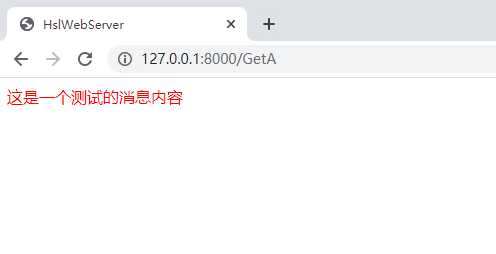
你写出的API,就可以被任意的第三方程序所调用了,而不用管对方的平台,语言。
C# webapi服务器,创建自定义的,简单的web服务器,供远程接口调用
原文:https://www.cnblogs.com/dathlin/p/12335933.html