今天跟大家分享的是第一种模式,客户端模式
上一章我们讲过,客户端模式是跟用户无关的,只是通过获取token,得到授权,进而请求API资源而已。
下面我们就详细讲述,如何实现客户端模式。
在这里,我们需要新建3个项目,身份认证的服务端、Api资源站、客户端。
以下项目均在Net Core上开发。
一、身份认证服务端
我们新建一个ASP.NET Core MVC项目,命名 ServerDemo
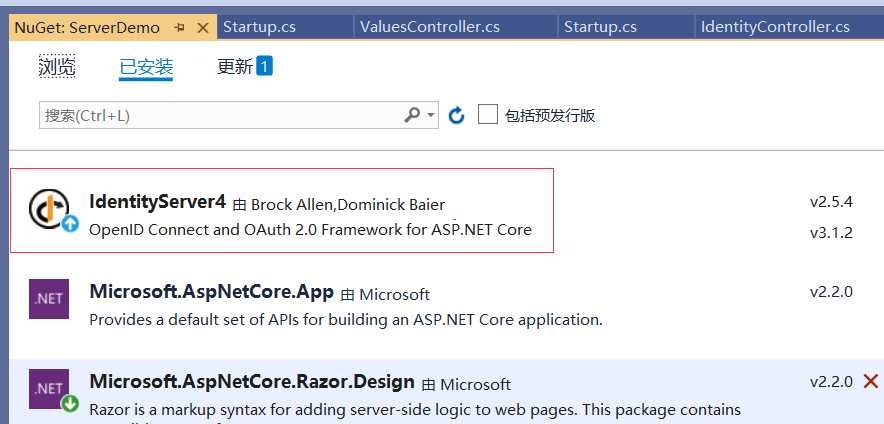
从nuget上,引入IdentityServer4的安装包
在根目录下,新建一个配置类 Config.cs
   public class Config
    {
        //定义身份资源
        public static IEnumerable<IdentityResource> GetIdentityResources()
        {
            return new List<IdentityResource>() {
            new IdentityResources.OpenId(),
            new IdentityResources.Profile(),
            };
        }

        //定义Api资源

        public static IEnumerable<ApiResource>GetApiResources()
        {
            return new List<ApiResource>
            {
                new ApiResource("api1","测试Api") //定义Api站点的name和显示名称,这个name必须唯一,作为站点资源识别,在Api站点上也需要指定这个name,必须相等,表示请求这个Api站点
            };
        }

        //定义客户端授权类型

        public static IEnumerable<Client> GetClients()
        {
            return new List<Client> {
                //第一个,客户端模式Client Credentials
                new Client{
                       ClientId="CredentialsClient", //客户端Id,必须且唯一
                       AllowedGrantTypes=GrantTypes.ClientCredentials, //指定为客户端授权模式
                       ClientSecrets={
                    new Secret("111111".Sha256()) //自定义密码,客户端请求时,密码传参数,必须与这个密码一致
                    },
                       AllowedScopes={ "api1"}//设置允许授权请求的范围,表示这个客户端Id可请求的资源范围,若不在范围内,请求会被拒绝。
                },
            };
        }


    }
在这个配置类里面,我们定义了3个方法
第一个是身份资源信息,因客户端模式下,与用户无关,所以这个在客户端模式下,没有也没关系,这里只是与其他模式同个项目,写一块了。
第二个是Api资源,主要陈列API站点的name和显示名称,主要是name,必须唯一。
第三个是客户端,陈列所有客户端标识,授权方式、密码和允许请求的资源范围。
接下来,我们需要在Startup.cs文件中进行注入。
    public class Startup
    {
        public Startup(IConfiguration configuration)
        {
            Configuration = configuration;
        }

        public IConfiguration Configuration { get; }

        // This method gets called by the runtime. Use this method to add services to the container.
        public void ConfigureServices(IServiceCollection services)
        {
            services.Configure<CookiePolicyOptions>(options =>
            {
                // This lambda determines whether user consent for non-essential cookies is needed for a given request.
                options.CheckConsentNeeded = context => true;
                options.MinimumSameSitePolicy = SameSiteMode.None;
            });

            //配置IdentityServer4服务
            services.AddIdentityServer()
                .AddDeveloperSigningCredential() //客户端授权时,必须增加这行,不然客户端会出现keyset missing的错误
                    .AddInMemoryApiResources(Config.GetApiResources())
                    .AddInMemoryIdentityResources(Config.GetIdentityResources())
                    .AddInMemoryClients(Config.GetClients())
                    ;


            services.AddMvc().SetCompatibilityVersion(CompatibilityVersion.Version_2_2);
        }

        // This method gets called by the runtime. Use this method to configure the HTTP request pipeline.
        public void Configure(IApplicationBuilder app, IHostingEnvironment env)
        {
            if (env.IsDevelopment())
            {
                app.UseDeveloperExceptionPage();
            }
            else
            {
                app.UseExceptionHandler("/Home/Error");
                // The default HSTS value is 30 days. You may want to change this for production scenarios, see https://aka.ms/aspnetcore-hsts.
                app.UseHsts();
            }

            app.UseHttpsRedirection();
            app.UseStaticFiles();
            app.UseCookiePolicy();
            //使用IdS中间件
            app.UseIdentityServer();

            app.UseMvc(routes =>
            {
                routes.MapRoute(
                    name: "default",
                    template: "{controller=Home}/{action=Index}/{id?}");
            });
        }
    }
主要是下面2个
//配置IdentityServer4服务
            services.AddIdentityServer()
                .AddDeveloperSigningCredential() //客户端授权时,必须增加这行,不然客户端会出现keyset missing的错误
                    .AddInMemoryApiResources(Config.GetApiResources()) //加载定义的Api资源
                    .AddInMemoryIdentityResources(Config.GetIdentityResources())//加载定义的身份资源
                    .AddInMemoryClients(Config.GetClients())//加载定义的客户端
                    ;
   //使用IdS中间件
            app.UseIdentityServer();
自此,我们就完成了服务端的开发。
但有一点需要注意的是AddInMemoryApiResources是存储内存里面的,若是要自定义存储的介质,比如redis、数据库等中间件上,则可以对Memory进行重载定义,再注入即可。
在id4的官网文档上有写,一时找不到哪个页面上,大家自己去找哈,https://identityserver4.readthedocs.io/en/latest/topics/signin.html#cookie-authentication
原文:https://www.cnblogs.com/fei686868/p/12356046.html