一、安装Vmware Workstation
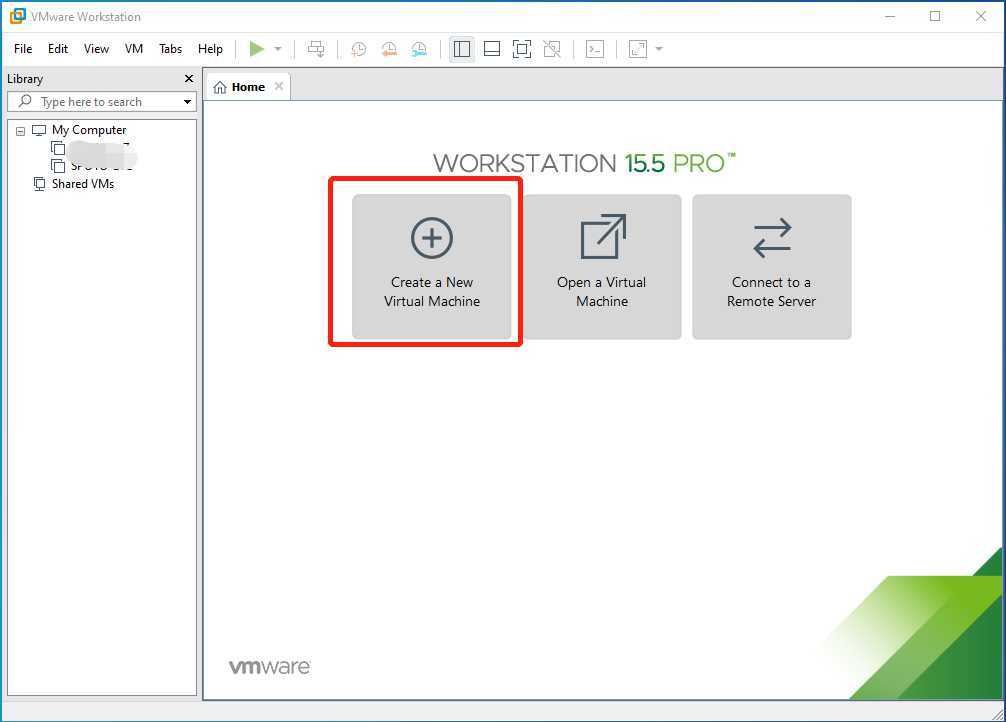
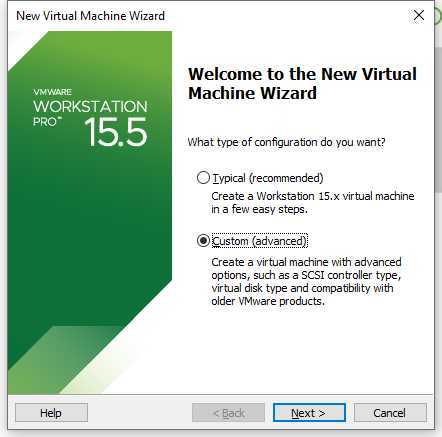
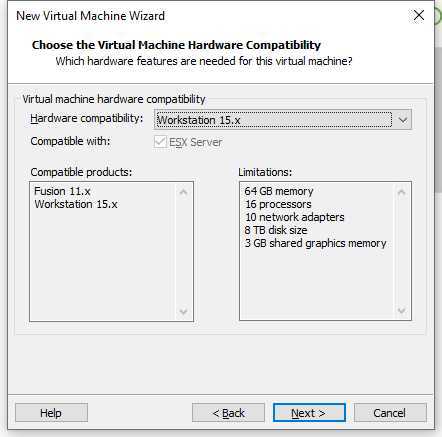
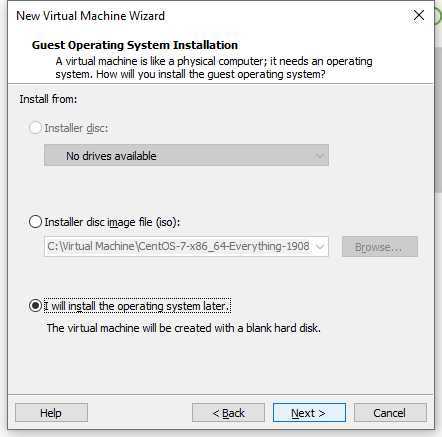
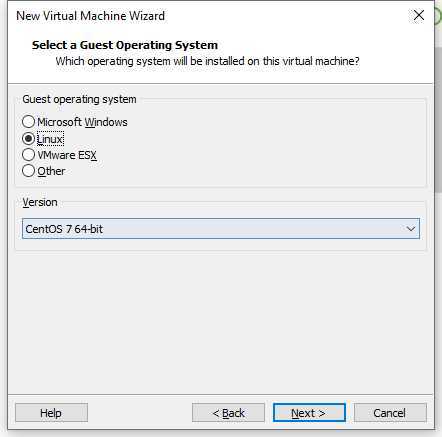
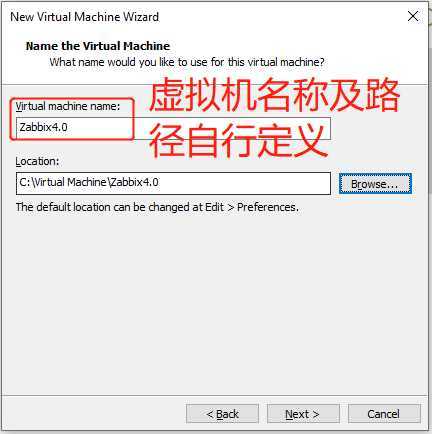
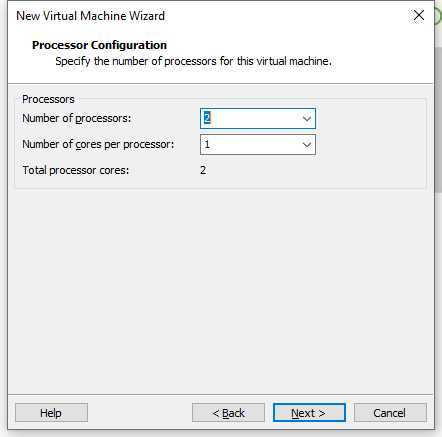
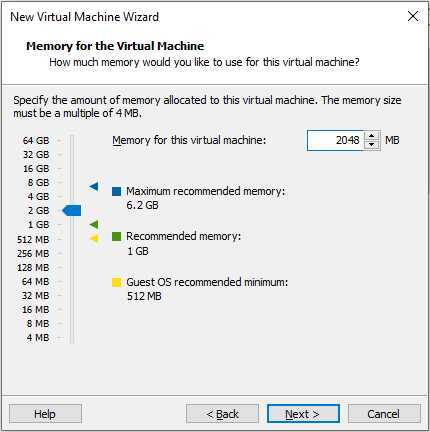
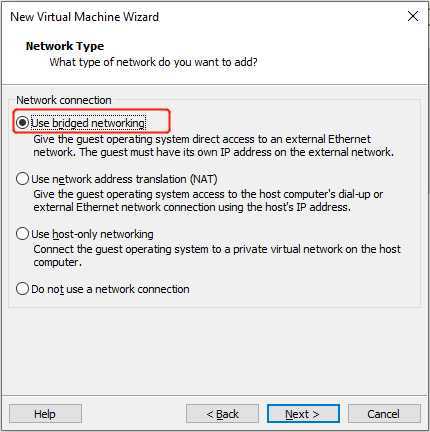
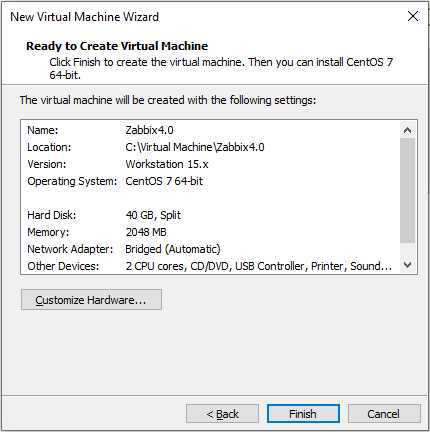
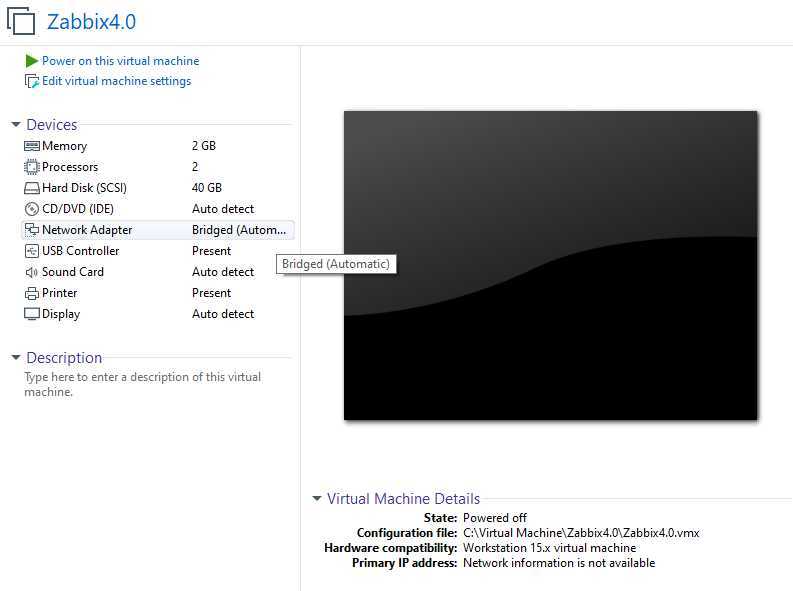
二、在Vmware中创建CentOS7虚拟机

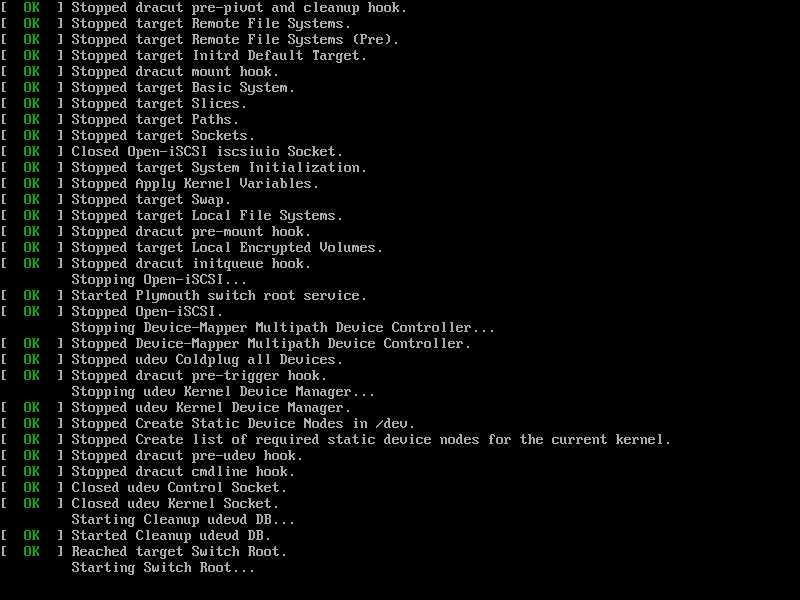
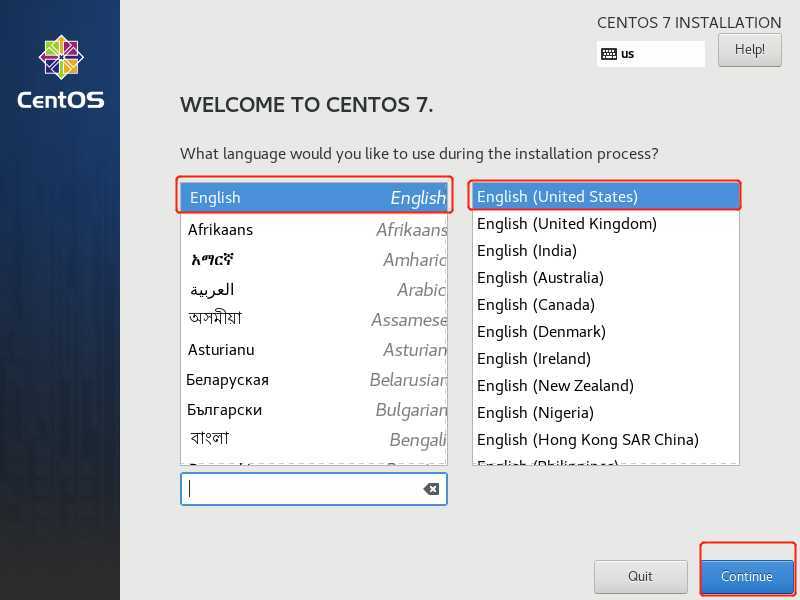
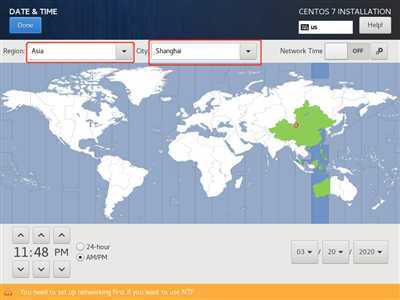
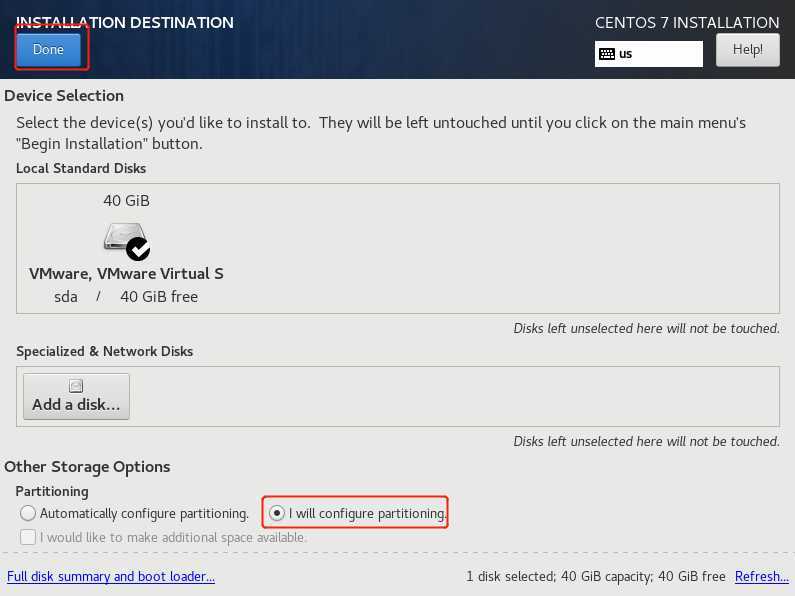
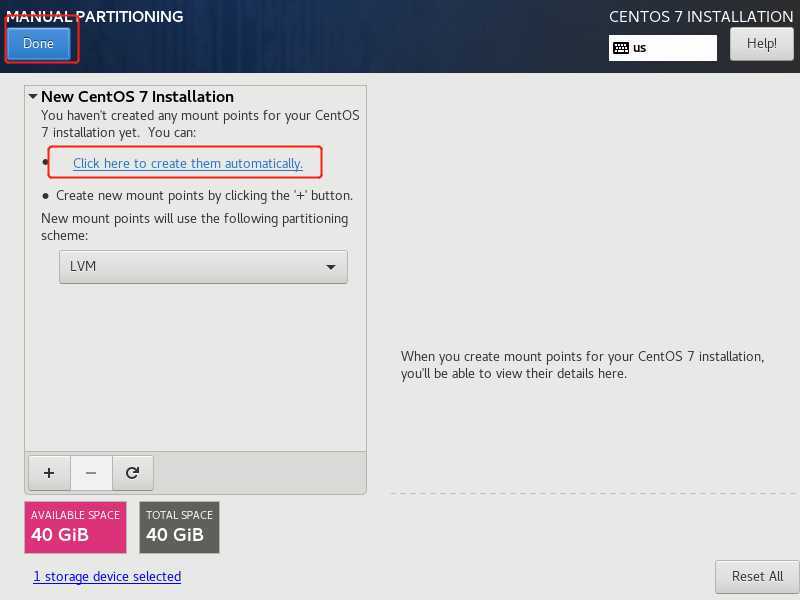
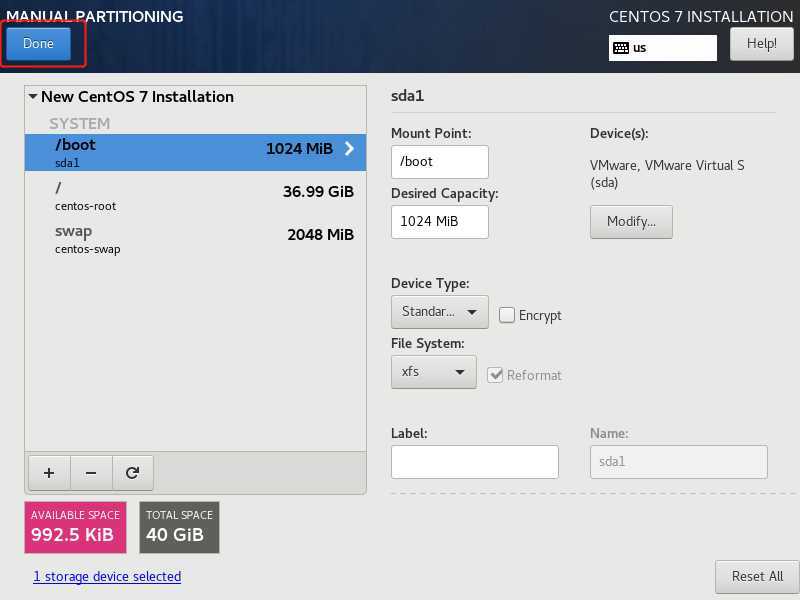
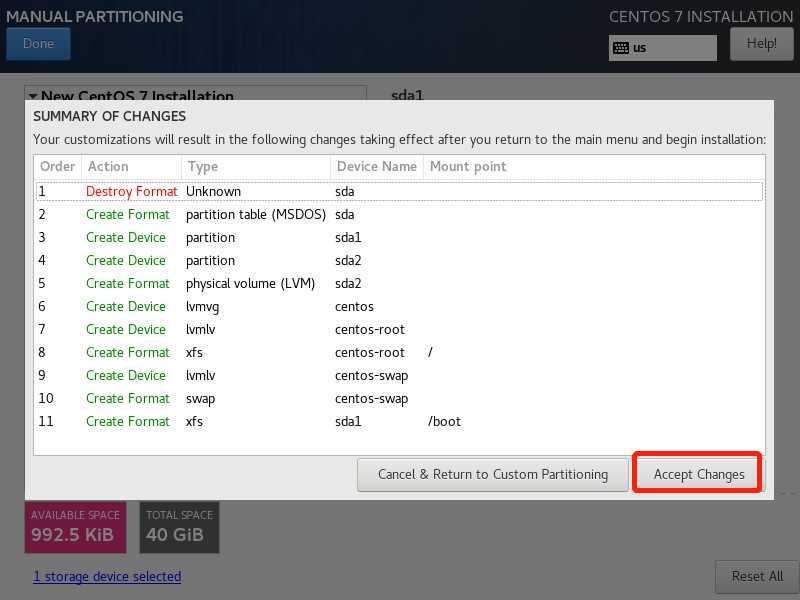
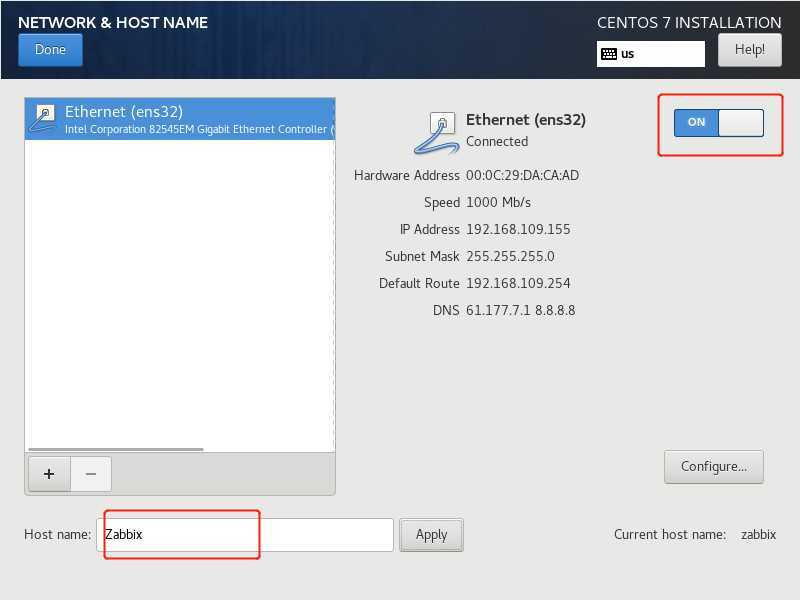
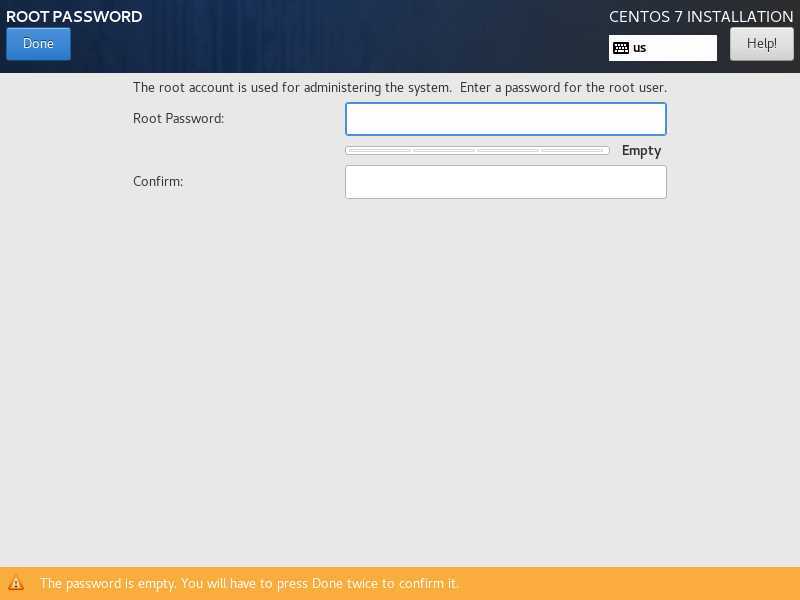
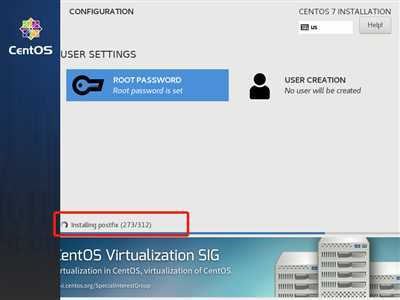
三、安装CentOS 7
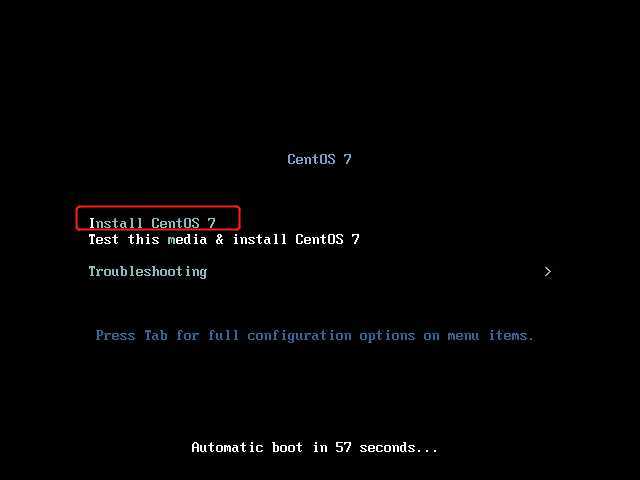
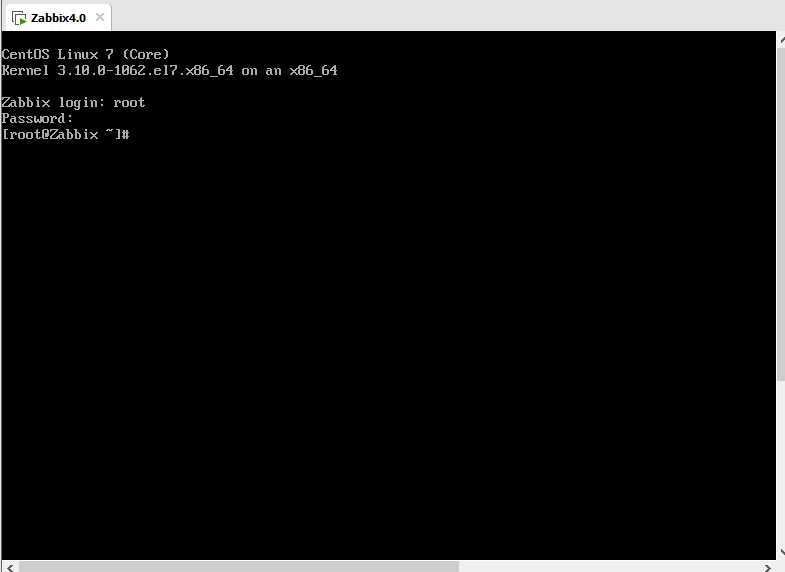
四、安装完成后重启进入命令行
五、最小化安装完成后注意事项
- 修改网卡IP地址并固定
- 1 [root@Zabbix ~]# vi /etc/sysconfig/network-scripts/ifcfg-ens33
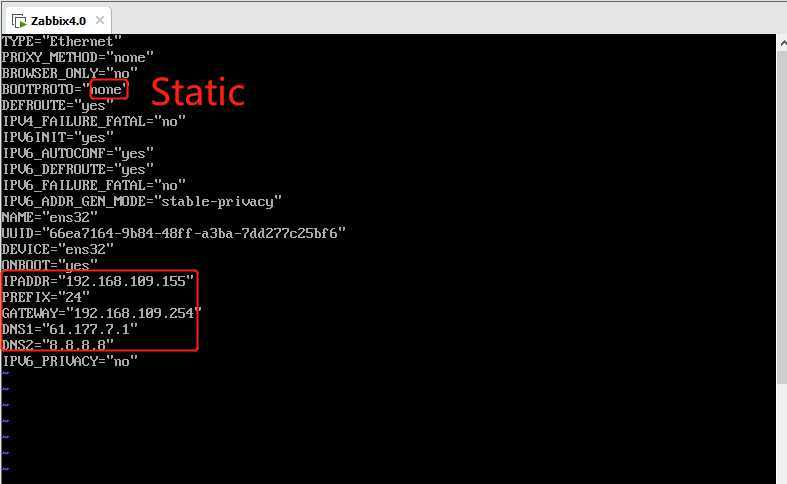
- 点击i键进入编辑模式->修改完成后点击esc退出编辑模式->输入:wq!回车保存退出
- systemctl stop firewalld
- systemctl disable firewalld 关闭防火墙
- yum install -y net-tools 安装ifconfig工具
- yum install bash-completion -y 命令不能补全解决方法
- yum -y update 升级系统组件到最新版
Vmware 最小化安装CentOS 7
原文:https://www.cnblogs.com/travis-li/p/12532296.html