父组件:
<template>
  <div id="parent">
    <child></child>
  </div>
</template>

<script>
import child from ‘./components/child‘
export default {
  name: ‘parent‘,
  components: {
    child
  },
  beforeCreate() {
    console.log(‘I am parents beforeCreated‘);
  },
  created() {
    console.log(‘I am parents created‘);
  },
  beforeMount() {
    console.log(‘I am parents beforeMount‘);
  },
  mounted() {
    console.log(‘I am parents mounted‘);
  }
}
</script>
子组件:
<template>
  <div class="child">
    child
  </div>
</template>

<script>
export default {
  name: ‘child‘,
  beforeCreate() {
    console.log(‘I am child beforeCreated‘);
  },
  created() {
    console.log(‘I am child created‘);
  },
  beforeMount() {
    console.log(‘I am child beforeMount‘);
  },
  mounted() {
    console.log(‘I am child mounted‘);
  }
}
</script>
执行结果:
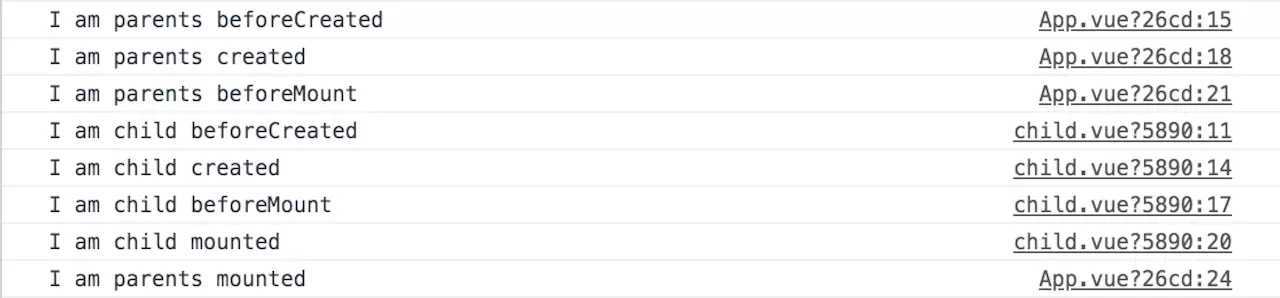
我们从而可以得出父子组件的执行顺序为:
注意:
原文:https://www.cnblogs.com/magicg/p/12739567.html