1.添加依赖(可能下载包的时候会遇到和其他包有冲突的问题,将版本降低就可以完美解决)
<!-- swagger依赖-->
        <dependency>
            <groupId>io.springfox</groupId>
            <artifactId>springfox-swagger2</artifactId>
            <version>2.7.0</version>
        </dependency>
        <dependency>
            <groupId>io.springfox</groupId>
            <artifactId>springfox-swagger-ui</artifactId>
            <version>2.7.0</version>
        </dependency>
2..创建Swagger配置类:
import org.springframework.context.annotation.Bean;
import org.springframework.context.annotation.Configuration;
import springfox.documentation.builders.ApiInfoBuilder;
import springfox.documentation.builders.PathSelectors;
import springfox.documentation.builders.RequestHandlerSelectors;
import springfox.documentation.service.ApiInfo;
import springfox.documentation.spi.DocumentationType;
import springfox.documentation.spring.web.plugins.Docket;
import springfox.documentation.swagger2.annotations.EnableSwagger2;

@Configuration
@EnableSwagger2
public class SwaggerConfig {

    @Bean
    public Docket createRestApi() {
        return new Docket(DocumentationType.SWAGGER_2)
                .apiInfo(apiInfo())
                .select()
                .apis(RequestHandlerSelectors.basePackage("指向controller所在包的位置"))
                .paths(PathSelectors.any())
                .build();
    }
    private ApiInfo apiInfo() {
        return new ApiInfoBuilder()
                .title("SpringBoot利用Swagger构建API文档")
                .description("使用RestFul风格")
                .termsOfServiceUrl("链接")
                .version("version 1.0")
                .build();
    }
}
3.在启动类中加入@EnableSwagger2注解
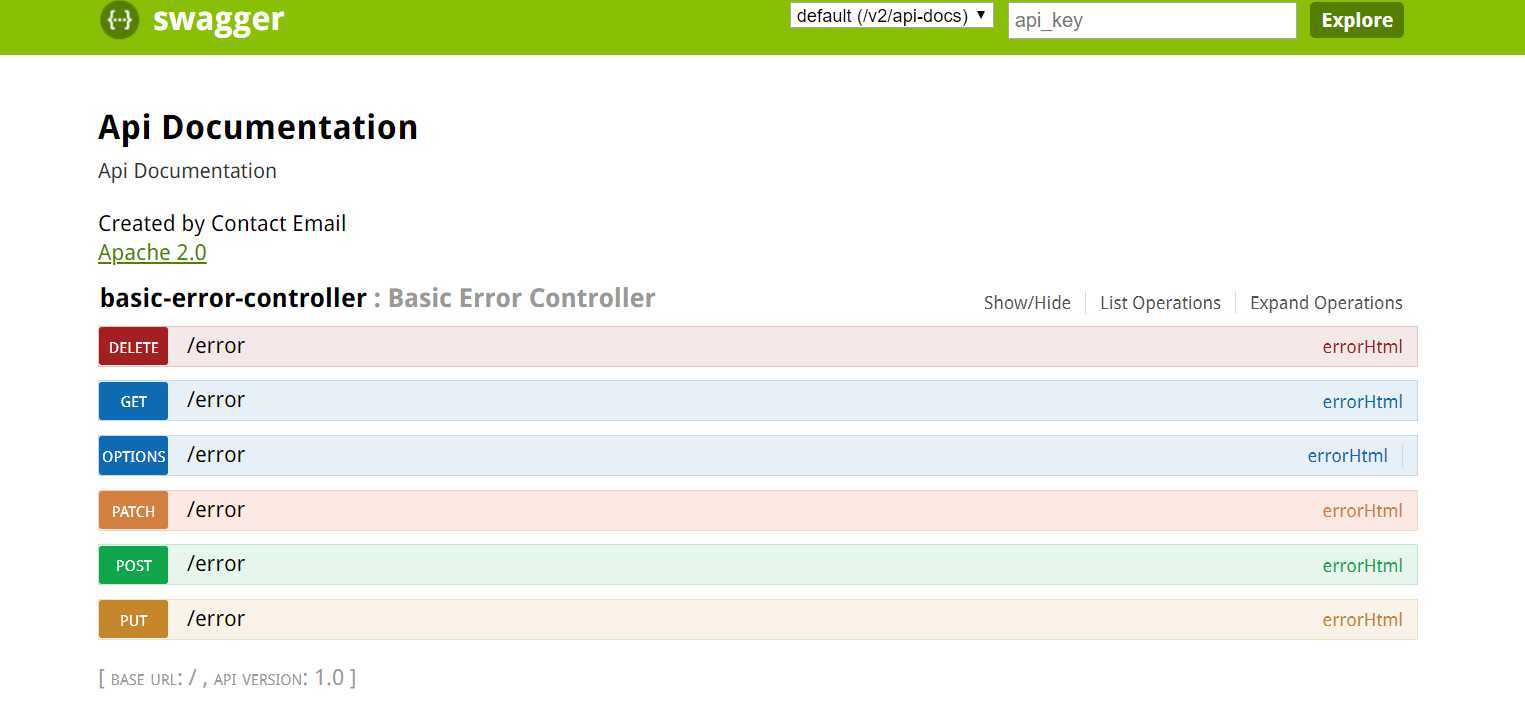
访问路径:http://localhost:端口号/服务名/swagger-ui.html#/
原文:https://www.cnblogs.com/maoxy/p/12766511.html