实战1 : 在centos7 上搭建Jumpserver 跳板机/堡垒机
实战2 使用Jumpserver 管理 王者荣耀 数万台 游戏服务器
34 。1 Jumpserver
jumpserver-package.zip 把安装包安装到 /opt/ 63 上
上
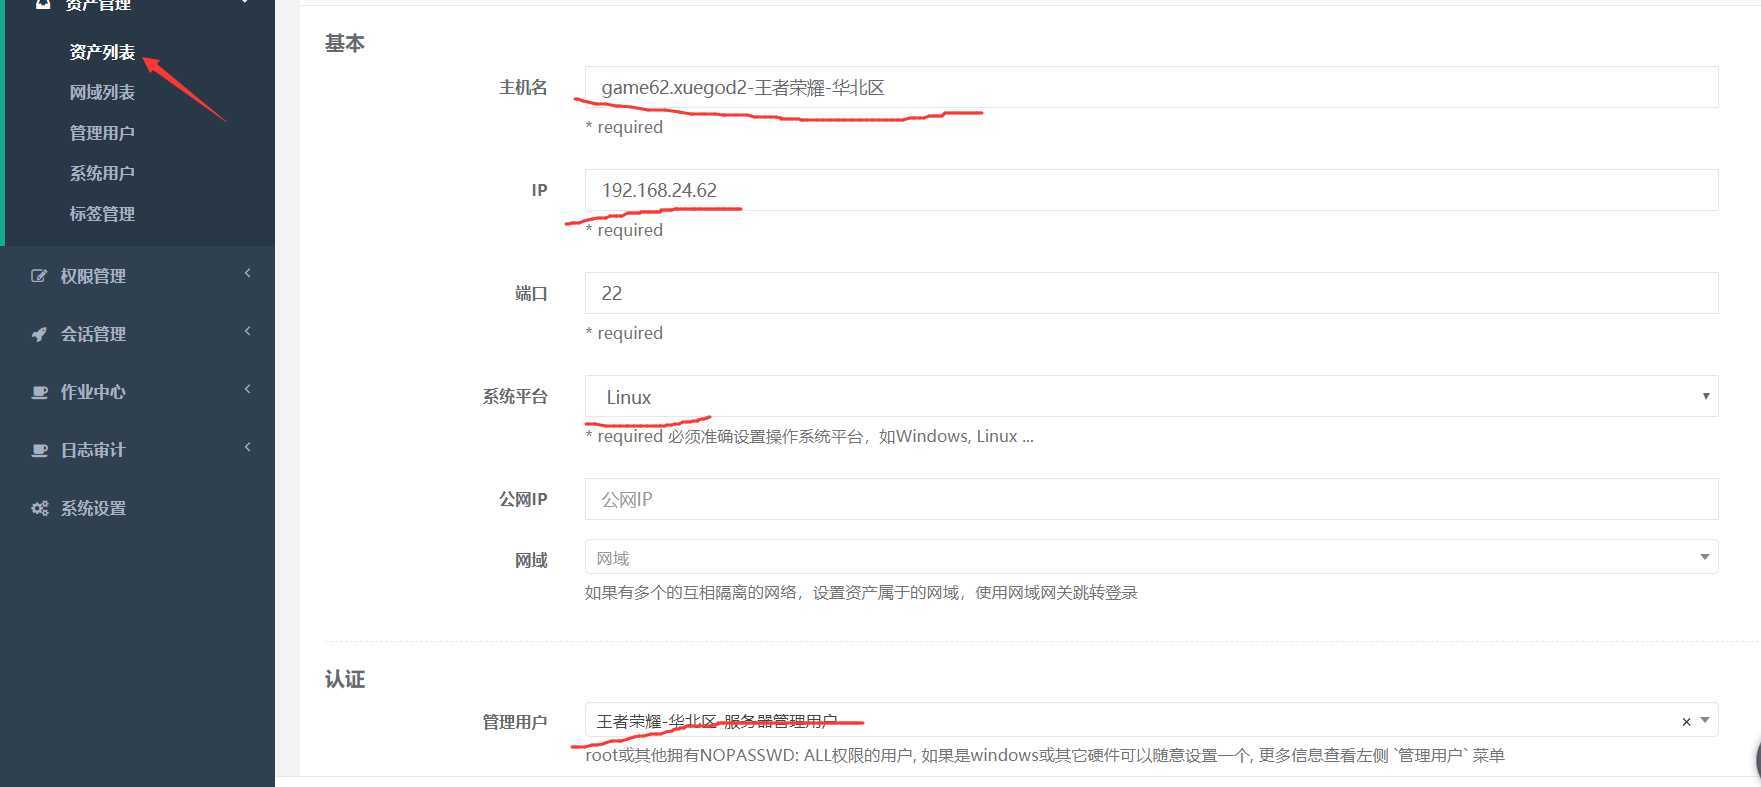
62 是当做被管理的资源
[root@xuegod3 opt]# setenforce 0
systemctl stop firewalld
systemctl disable firewalld
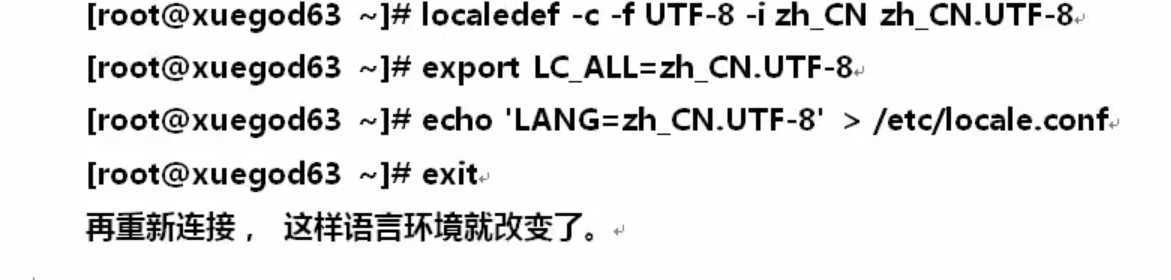
[root@xuegod3 opt]# cat /etc/locale.conf 查看字符集
LANG="zh_CN.UTF-8"
如果不是中文环境的话
可以这样设置
1 安装依赖包
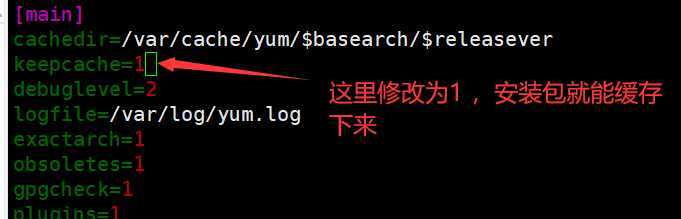
注意 :安装前 可以开启缓存功能,把软件包下载下来,方便后期使用
vim /etc/yum.conf
2 ) yum -y install wget sqlite-devel xz gcc automake zlib-devel openssl-devel epel-release git
解压
unzip jumpserver-package.zip 
[root@xuegod3 jumpserver-package]# tar -xf Python-3.6.1.tar.xz
[root@xuegod3 jumpserver-package]# ls
coco jumpserver luna.tar.gz Python-3.6.1 Python-3.6.1.tar.xz python-package
[root@xuegod3 jumpserver-package]# cd Python-3.6.1/
3 ) 开始编译python
[root@xuegod3 Python-3.6.1]# ./configure && make -j 4 && make install
[root@xuegod3 opt]# python3 -m venv py3
[root@xuegod3 opt]# python3 -m venv py3
[root@xuegod3 opt]# source /opt/py3/bin/activate
(py3) [root@xuegod3 opt]#
(py3) [root@xuegod3 opt]# python -V
Python 3.6.1
看到下面的提示代表成功,以后运行Jumpserver 都要运行以上source 命令 ,以下命令所有命令在该虚拟机环境中运行
34.2.1 安装Jumpserver 1.0.0
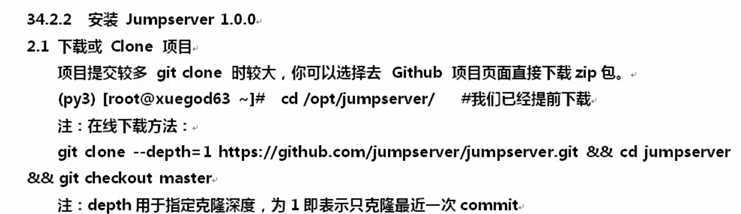
(py3) [root@xuegod3 jumpserver-package]# cd jumpserver/
(py3) [root@xuegod3 jumpserver]# cd requirements/
(py3) [root@xuegod3 requirements]# ls
deb_requirements.txt issues.txt mac_requirements.txt requirements.txt rpm_requirements.txt
2.2 里面是我们所需要的rpm 包
(py3) [root@xuegod3 requirements]# cat rpm_requirements.txt
libtiff-devel libjpeg-devel libzip-devel freetype-devel lcms2-devel libwebp-devel tcl-devel tk-devel sshpass openldap-devel mysql-devel libffi-devel openssh-clients
yum install -y ` cat rpm_requirements.txt `
或者 yum install -y $(cat rpm_requirements.txt )
2.3 安装Python 依赖库 把依赖包移动/opt/
cd /opt/python-package/
(py3) [root@xuegod3 python-package]# pip install ./* 
2.4 Redis 安装 ,
yum install -y redis
启动redis
systemctl enable redis ; systemctl start redis
2.5 安装mysql
yum install mariadb mariadb-devel mariadb-server -y
systemctl start mariadb; systemctl enable mariadb
2.6 创建数据库Jumpserver 并授权
MariaDB [(none)]> create database jumpserver default charset ‘utf8‘;
Query OK, 1 row affected (0.00 sec)
MariaDB [(none)]> grant all on jumpserver.* to ‘jumpserver‘@‘127.0.0.1‘ identified by ‘123456‘;
MariaDB [(none)]> flush privileges ;
Query OK, 0 rows affected (0.00 sec)
(py3) [root@xuegod3 jumpserver]# cp config_example.py config.py
(py3) [root@xuegod3 jumpserver]# vim config.py 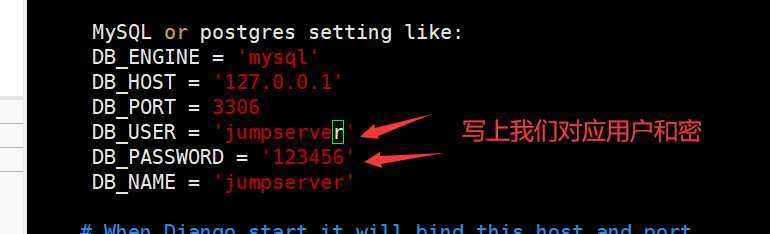
(py3) [root@xuegod3 jumpserver]# cd utils/
(py3) [root@xuegod3 utils]# ls
clean_migrations.sh export_fake_data.sh load_fake_data.sh make_migrations.sh redis.conf
进行初始化
(py3) [root@xuegod3 utils]# bash make_migrations.sh
source /opt/py3/bin/activate [root@xuegod3 jumpserver-package]# source /opt/py3/bin/activate
(py3) [root@xuegod3 jumpserver-package]# ls
coco jumpserver luna.tar.gz Python-3.6.1 Python-3.6.1.tar.xz
(py3) [root@xuegod3 jumpserver-package]# cd jumpserver/
(py3) [root@xuegod3 jumpserver]# ls
apps config_example.py config.py data docs jms LICENSE logs __pycache__ README.md requirements run_server.py tmp utils
(py3) [root@xuegod3 jumpserver]# chmod +x jms
开始启动
./jms start all -d
如果启动失败后,在此启动一下
0 static files copied to ‘/opt/jumpserver-package/jumpserver/data/static‘, 310 unmodified.
celery is running: 30925
beat is running: 30929
gunicorn is running: 31062
celery is running: 30925
beat is running: 30929
启动服务的脚本 使用方式:/jms start | stop| status| restart all | 后台运行请添加-d 参数
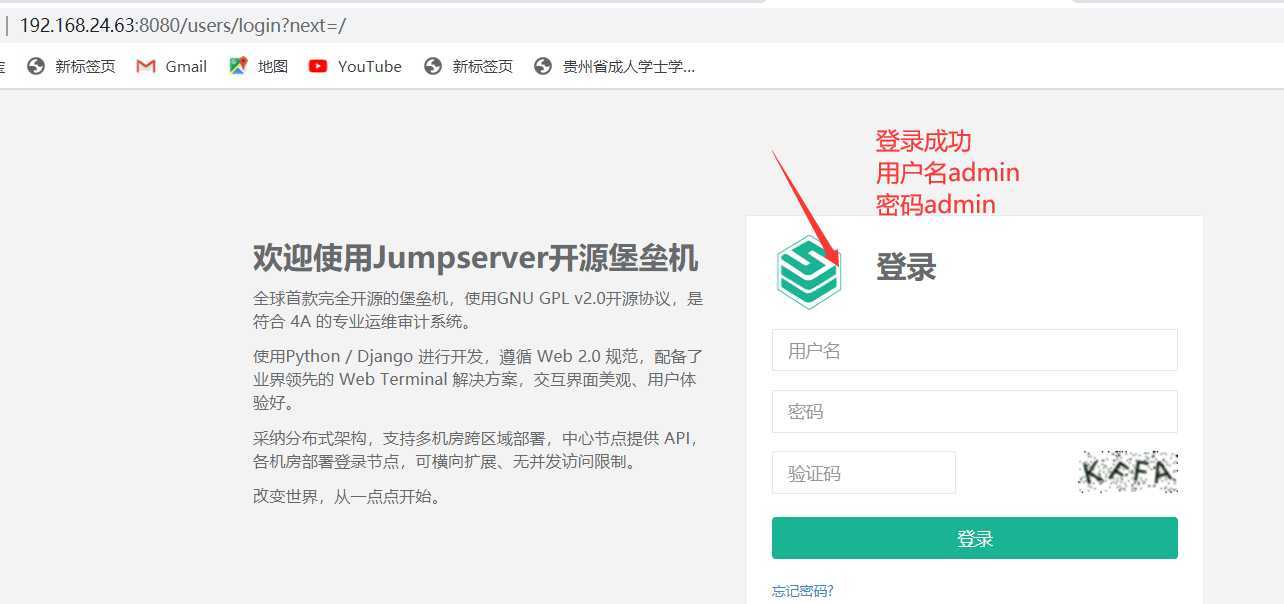
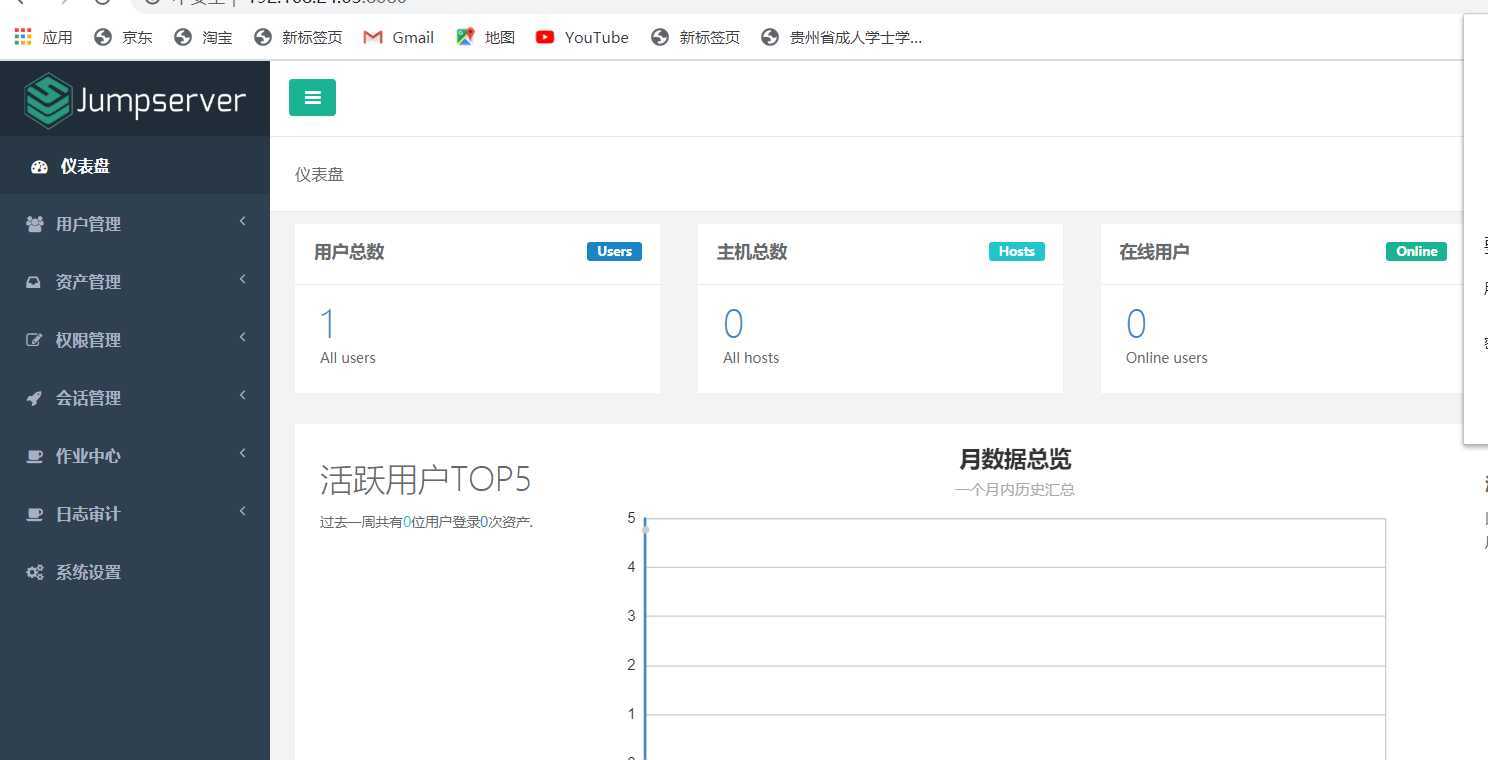
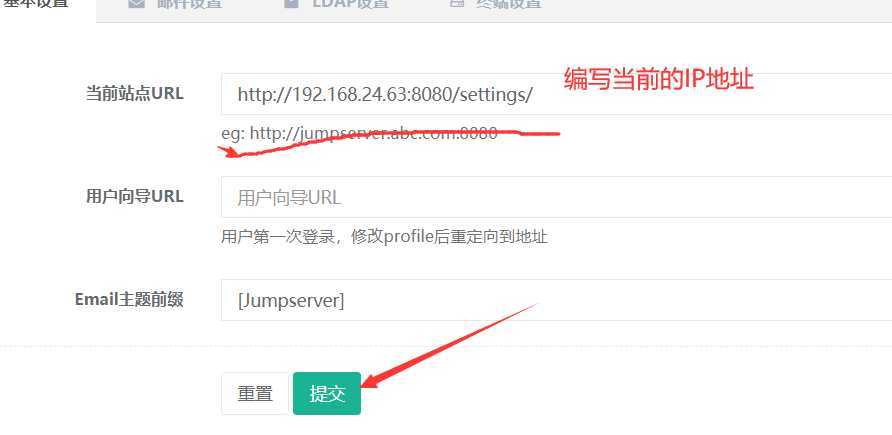
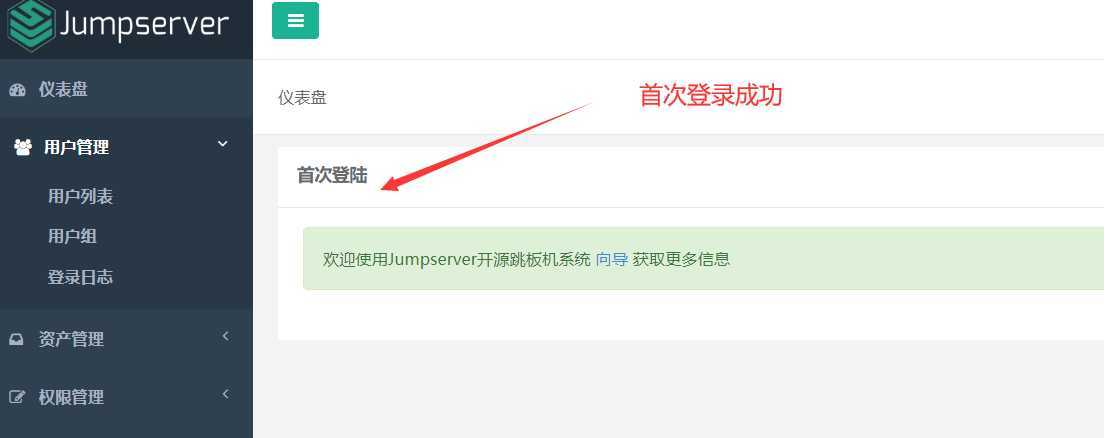
访问 http://192.168.24.63:8080/ 用户admin 密码admin
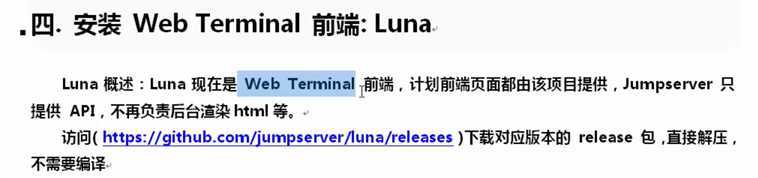
接下我们要安装luna 和coco
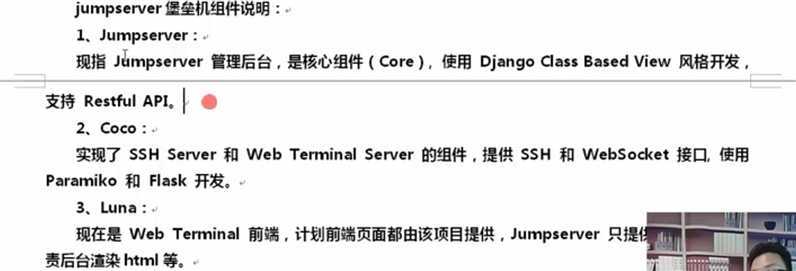
coco 概述,coco实现了SSH Server 和web Terminal Server 的组件,提供SSH 和webSocket 接口,使用Paramiko 和flask 开发
py3) [root@xuegod3 opt]# cd jumpserver-package/coco/
(py3) [root@xuegod3 coco]# ls
coco cocod conf_example.py LICENSE logo.txt README.md requirements run_server.py
(py3) [root@xuegod3 coco]# cd requirements/
(py3) [root@xuegod3 requirements]# yum install -y $(cat rpm_requirements.txt)
(py3) [root@xuegod3 jumpserver-package]# cd coco/
(py3) [root@xuegod3 coco]# cd requirements/
(py3) [root@xuegod3 requirements]# ls
requirements.txt rpm_requirements.txt
pip install -r requirements.txt 安装
pip install -r requirements.txt
修改配置文件
(py3) [root@xuegod3 requirements]# cd ../
(py3) [root@xuegod3 coco]# ls
coco cocod conf_example.py LICENSE logo.txt README.md requirements run_server.py
(py3) [root@xuegod3 coco]# cp conf_example.py conf.py
(py3) [root@xuegod3 coco]# chmod +x cocod
(py3) [root@xuegod3 coco]# vim conf.py
后台运行
(py3) [root@xuegod3 coco]# ./cocod start -d
Start coco process
tar -xf luna.tar.gz
(py3) [root@xuegod3 jumpserver-package]# cd luna/

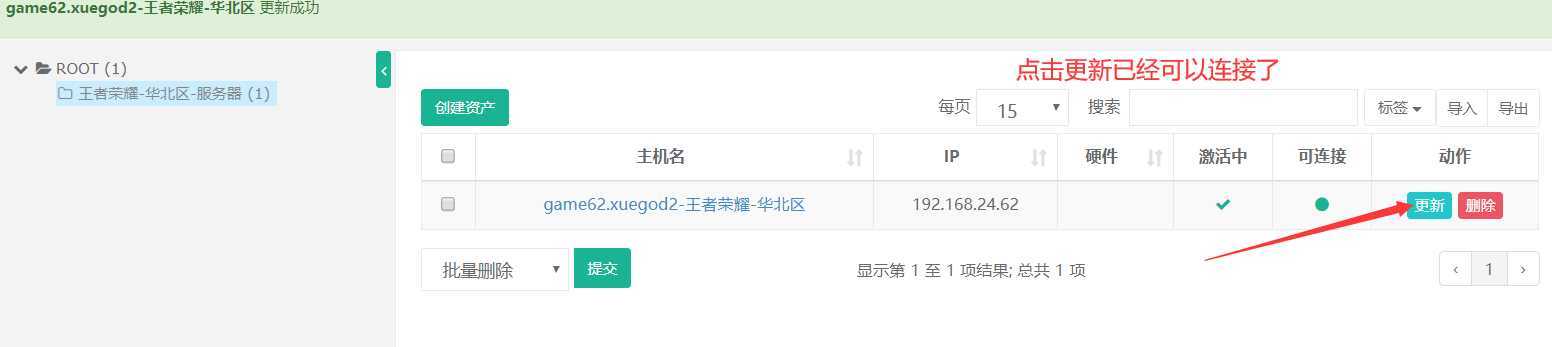
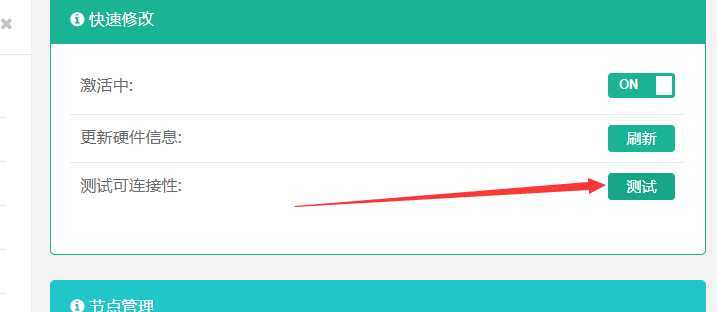
端口已经激活

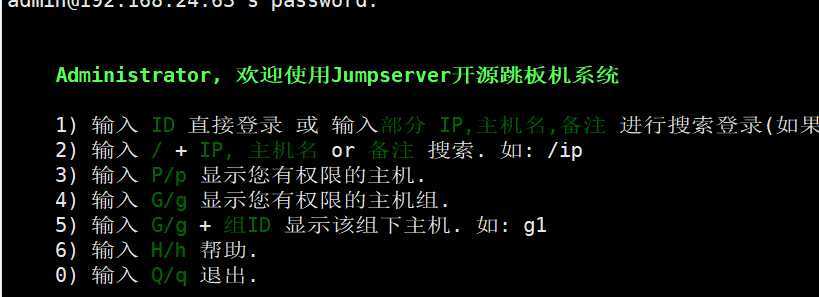
当然也可以使用终端来登录
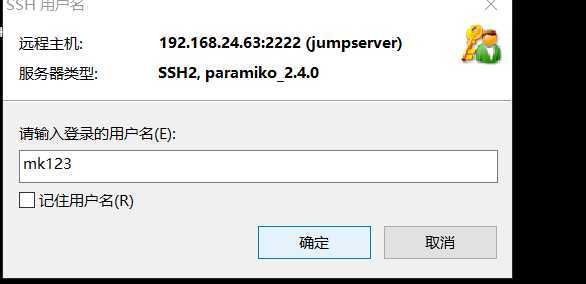
(py3) [root@xuegod3 luna]# ssh -p 2222 admin@192.168.24.63

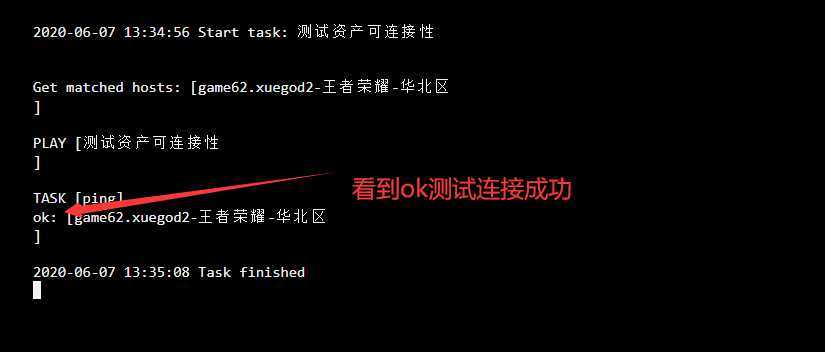
手动测试前启动服务
[root@xuegod3 jumpserver-package]# source /opt/py3/bin/activate
(py3) [root@xuegod3 jumpserver-package]# /opt/jumpserver-package/jumpserver/jms restart all -d
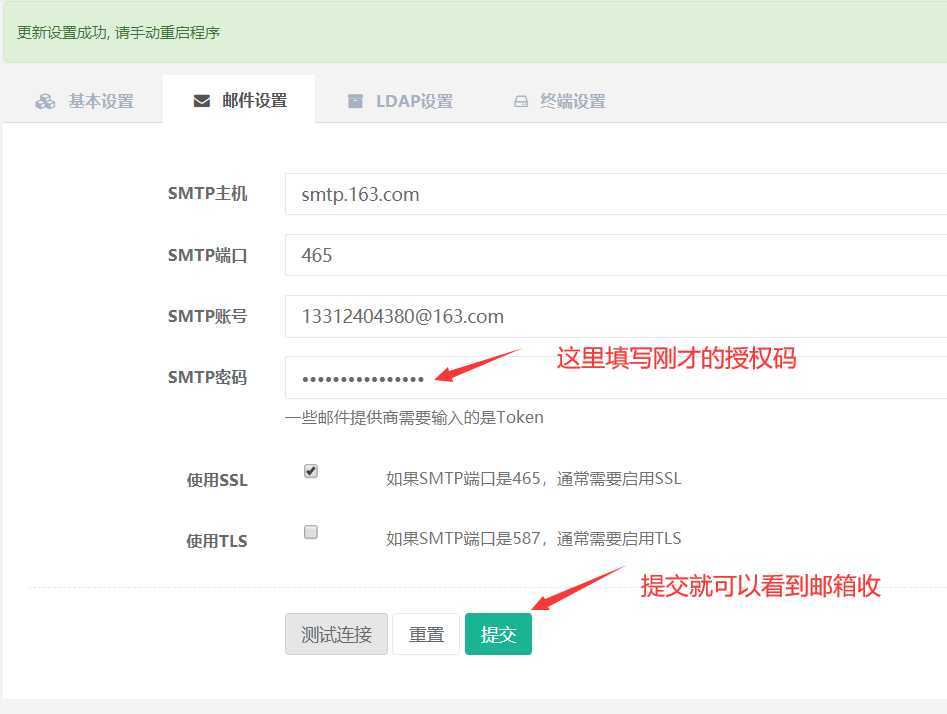
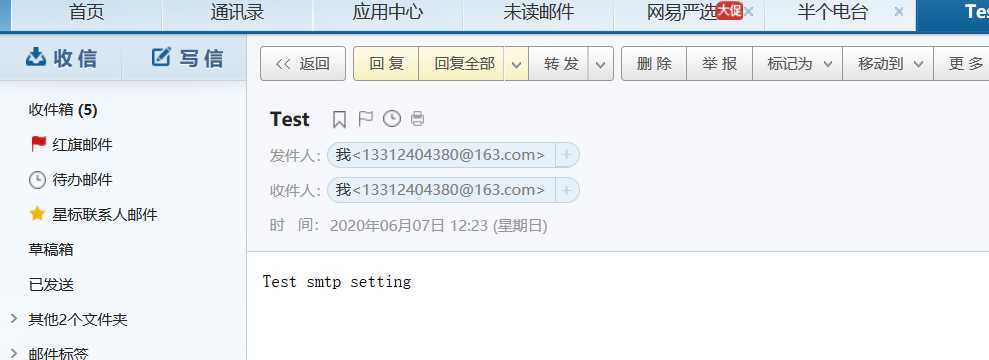
这里我们看到已经有邮箱了
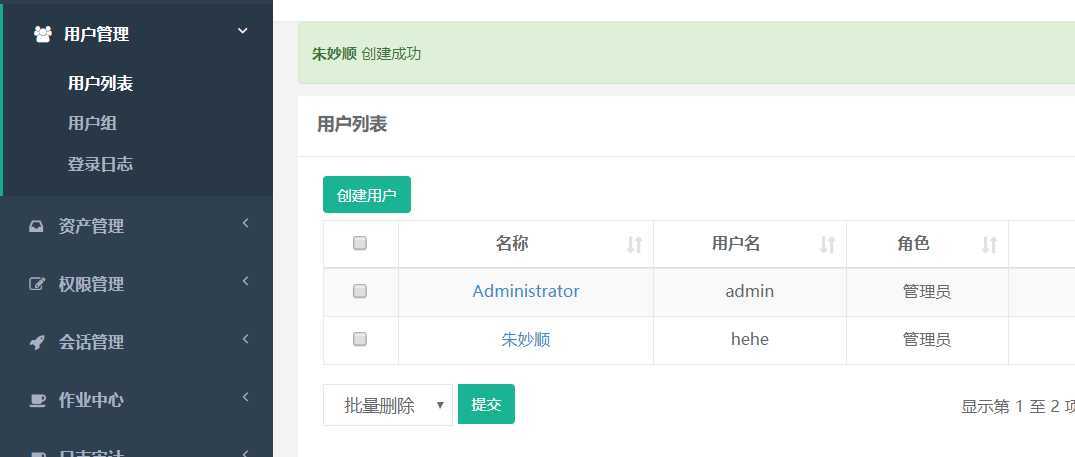
然后自己生成公钥
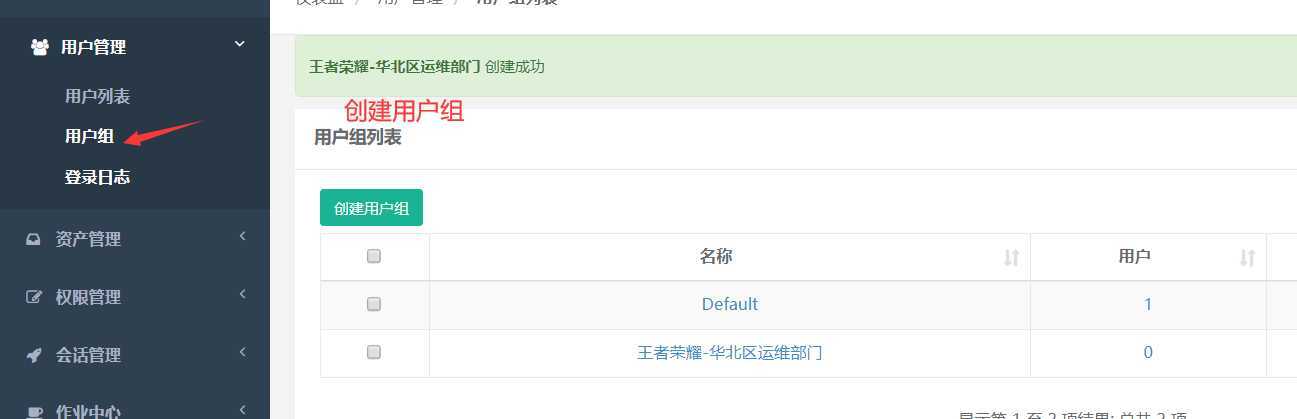
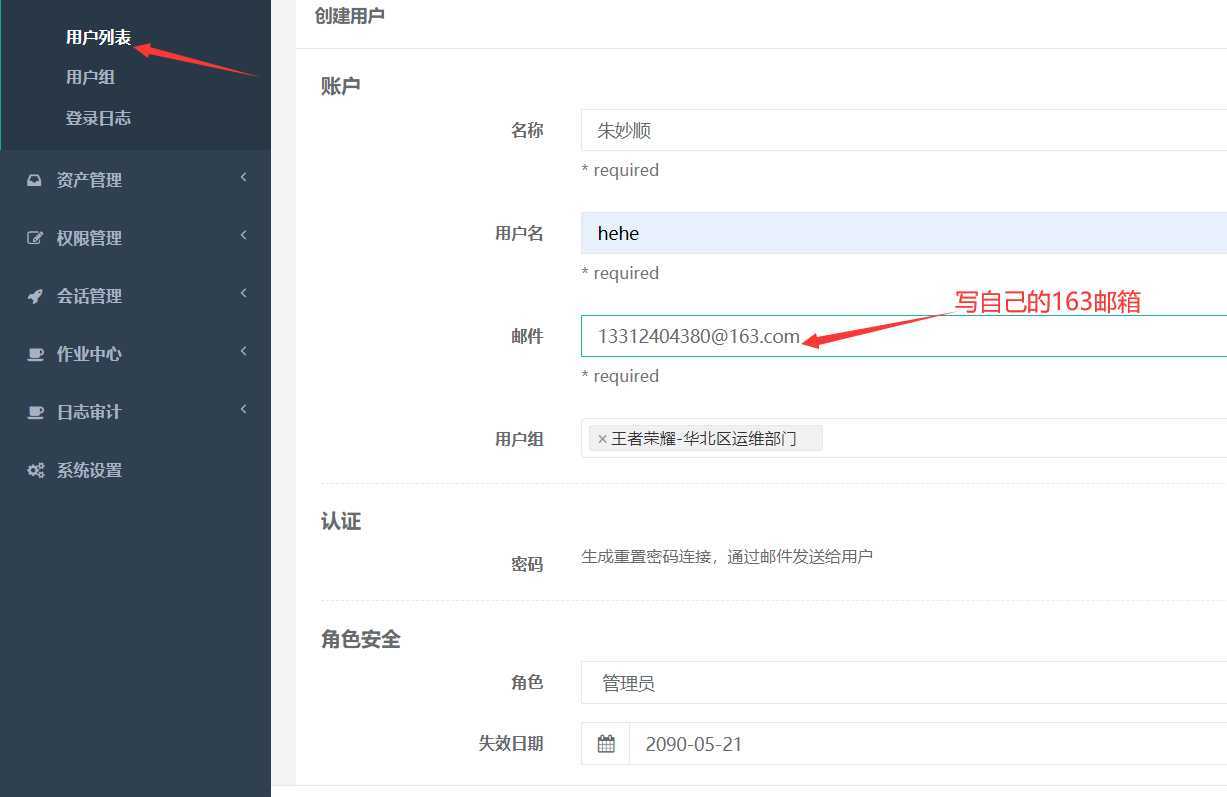
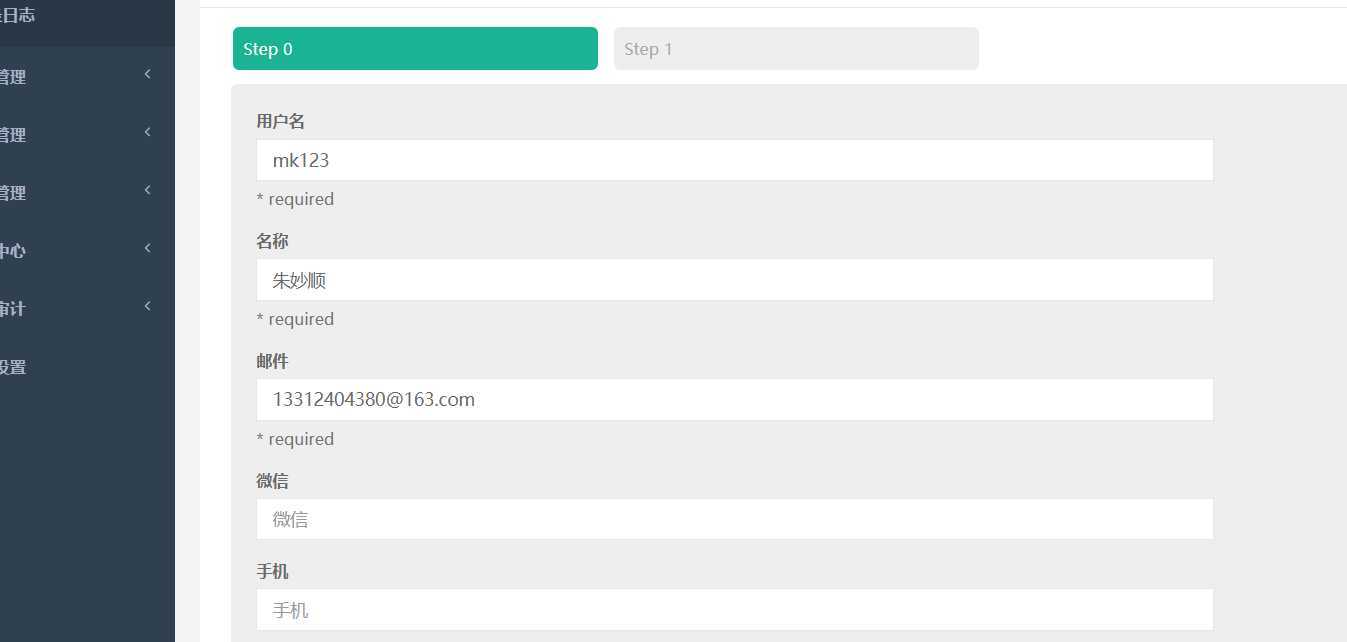
创建用户
(py3) [root@xuegod3 luna]# useradd mk123
(py3) [root@xuegod3 luna]# echo admin | passwd --stdin mk123
更改用户 mk123 的密码 。
passwd:所有的身份验证令牌已经成功更新。
(py3) [root@xuegod3 luna]# su - mk123
[mk123@xuegod3 ~]$
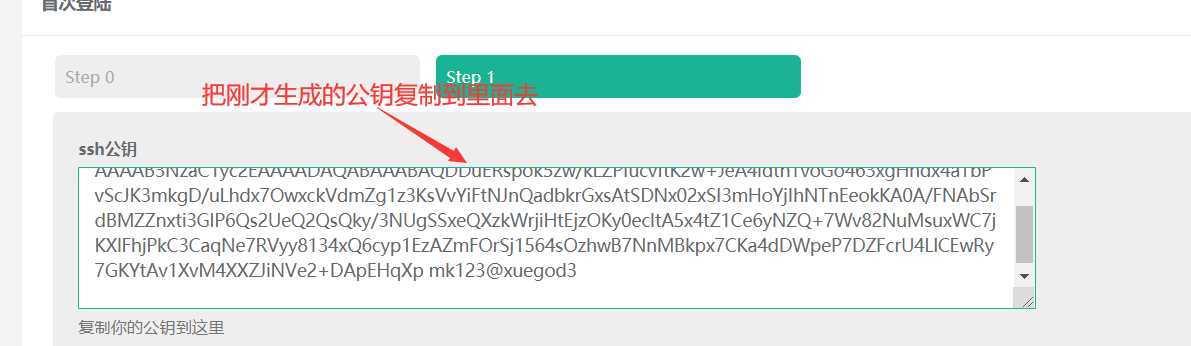
ssh-keygen

复制里面的公钥到
设置用户里面
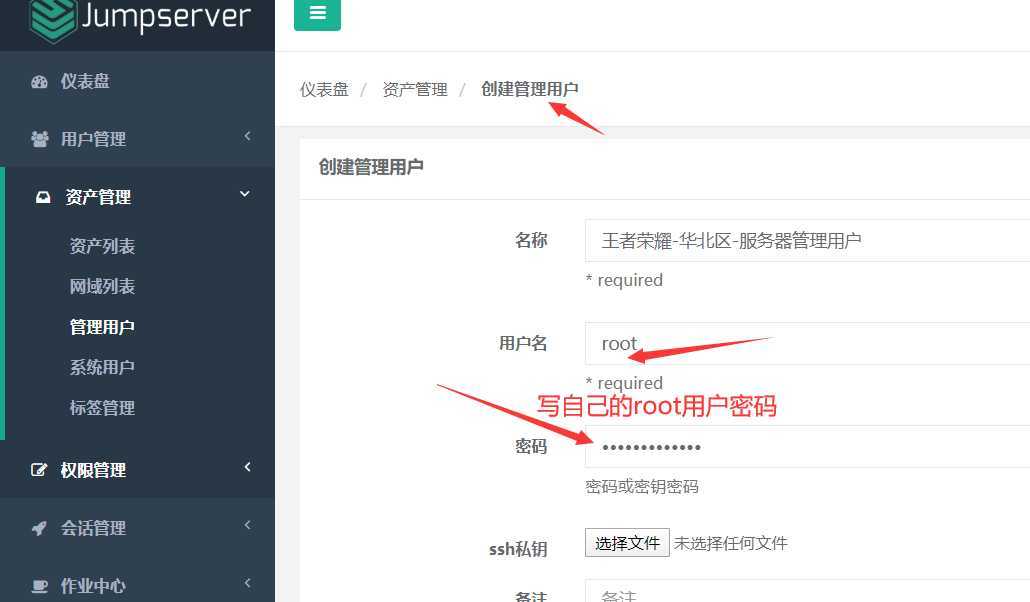
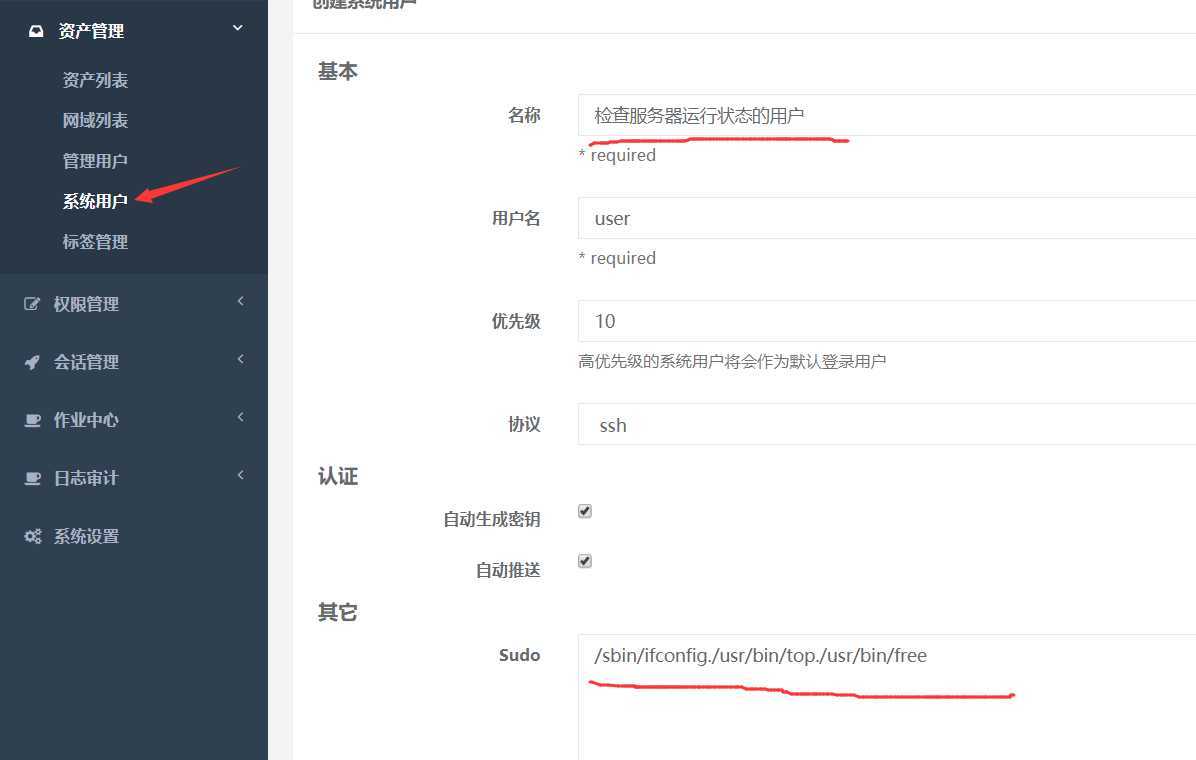
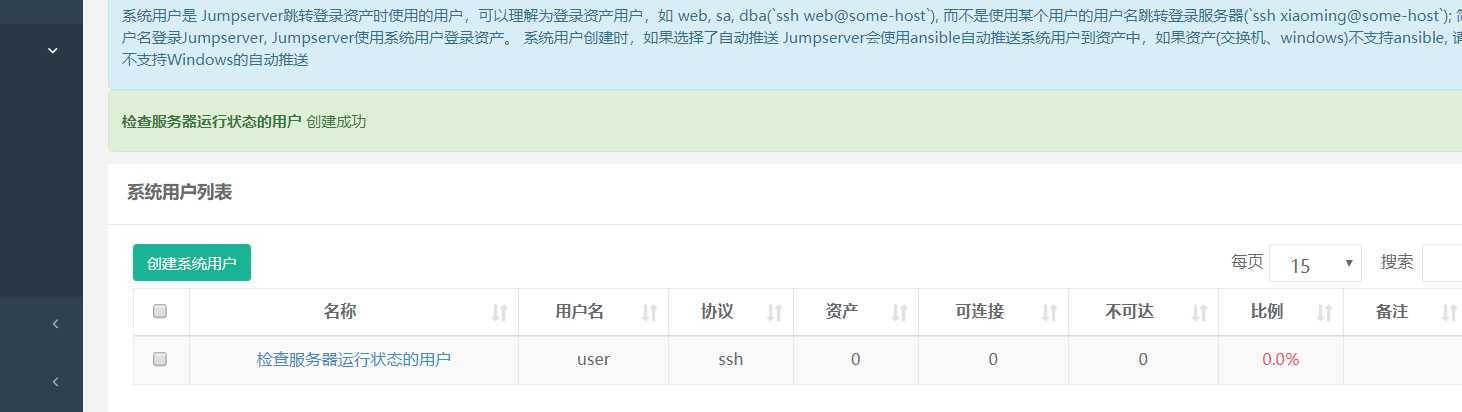
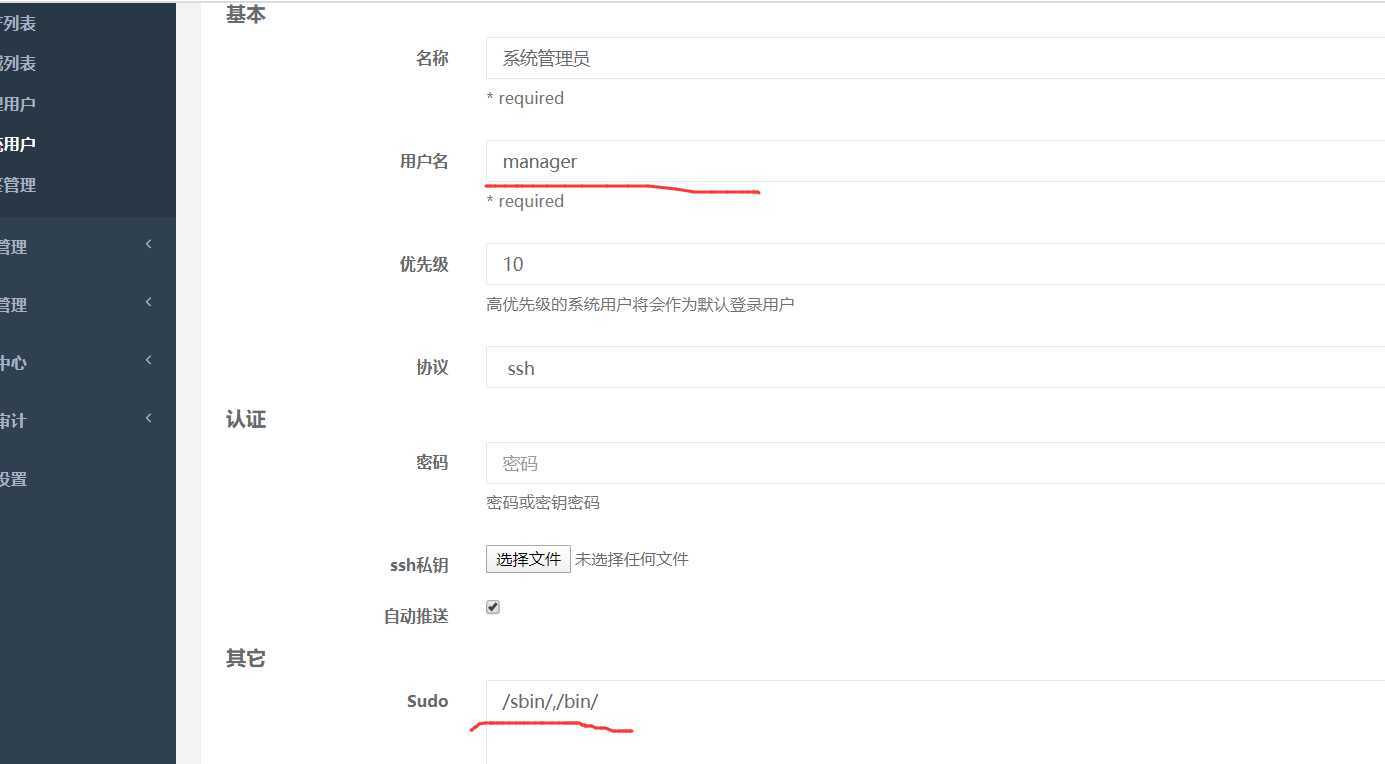
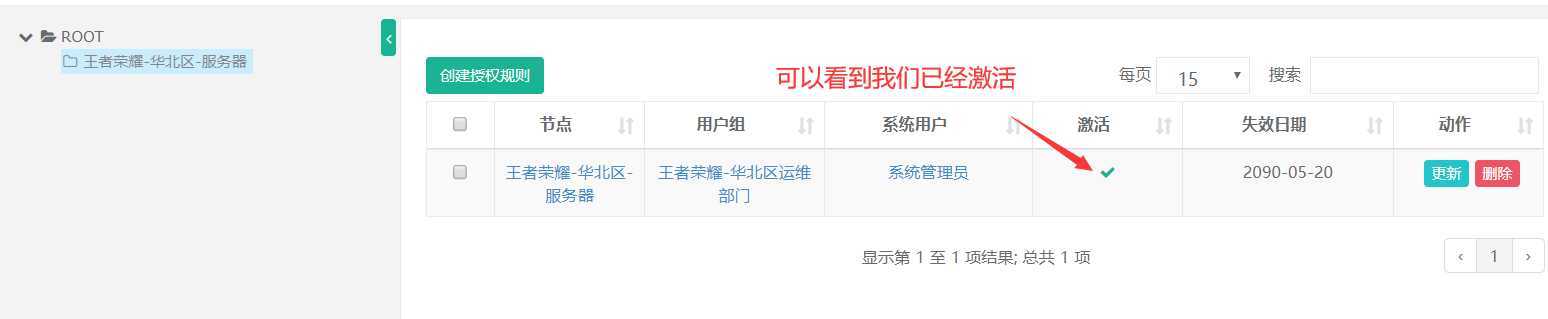
创建系统用户


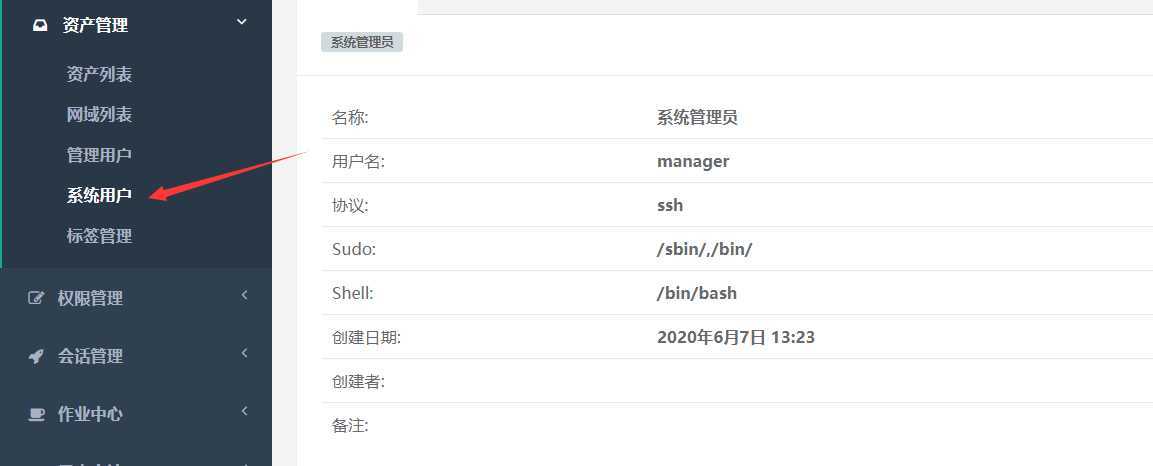
vim /etc/passwd

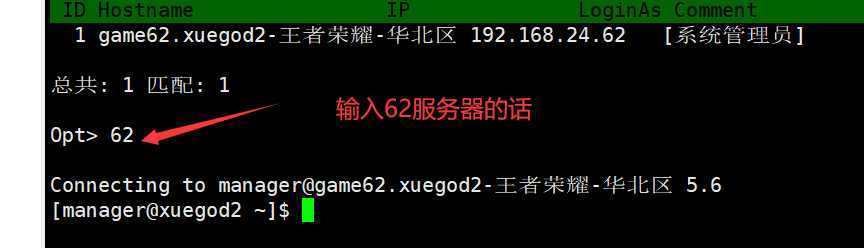
在63服务器上登录62 服务器
可以看到有以下manager 用户
(py3) [root@xuegod3 luna]# ssh 192.168.24.62
root@192.168.24.62‘s password:
Last login: Sun Jun 7 13:41:35 2020 from 192.168.24.63
[root@xuegod2 ~]# tail /etc/passwd -n 5
xuegod:x:1000:1000:xuegod:/home/xuegod:/bin/bash
mysql:x:27:27:MySQL Server:/var/lib/mysql:/bin/false
apache:x:48:48:Apache:/usr/share/httpd:/sbin/nologin
kill:x:1001:1001::/home/kill:/bin/bash
manager:x:1002:1002::/home/manager:/bin/bash

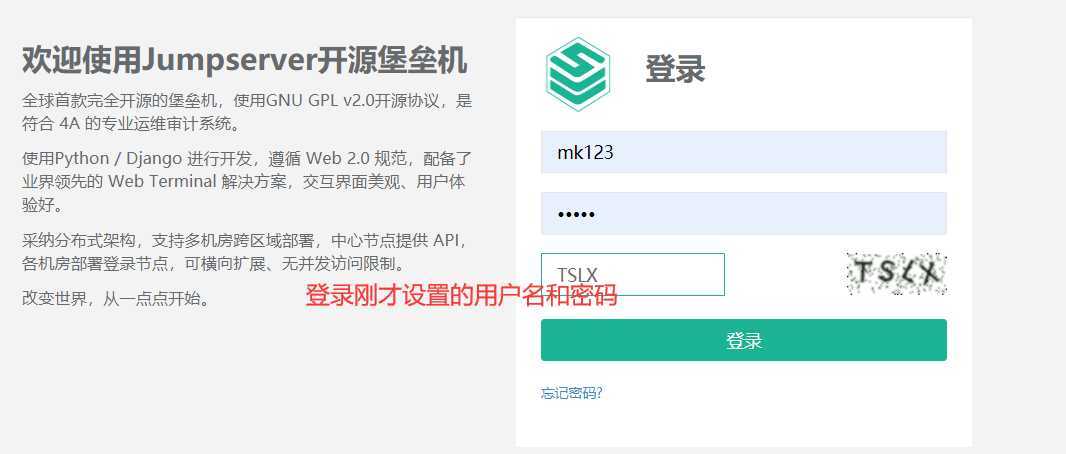
6.1 登录jumpserver
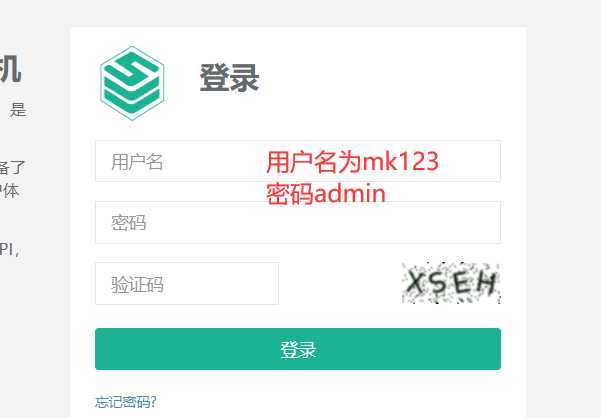

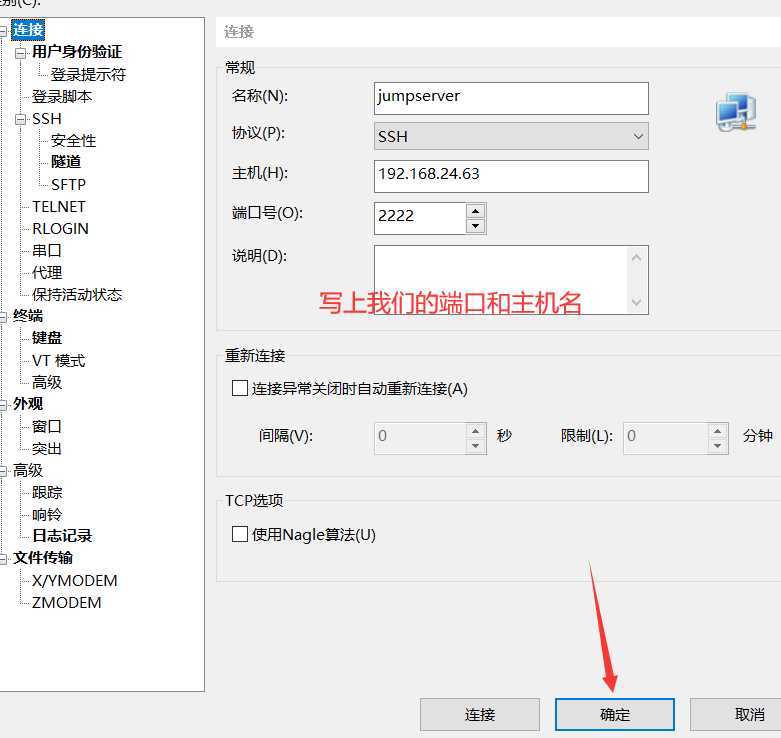
也可以使用xshell 连接

原文:https://www.cnblogs.com/zhumiaoshun/p/13060502.html