最开始接触Oauth的时候,是阮一峰老师的博客,http://www.ruanyifeng.com/blog/2019/04/oauth-grant-types.html
可以说是通俗易懂的,但是如果用Java语言实现这个规范,那真的太难了,好在SpringCloud 提供了Oauth2的实现,但是问题真的是太多了,还无法在生产环境使用,经过自己的不懈努力,终于实现了一个比DEMO要好一个级别的DEMO。
本人能力有限,如果错误,请提出来告知,三人行必有我师。
带着这个疑问,我开始看SpringCloud官方文档,https://spring.io/projects/spring-cloud-security#overview
![]() :"
:"  ".
".
我在百度上开始找啊找.
这文章写的太好了,我操作了一遍问题解决了,感谢作者.

CNMD,我操作了一遍,浪费了1小时,脑瓜子要炸了.


什么是授权码呢?
参考蜻蜓的这个案例
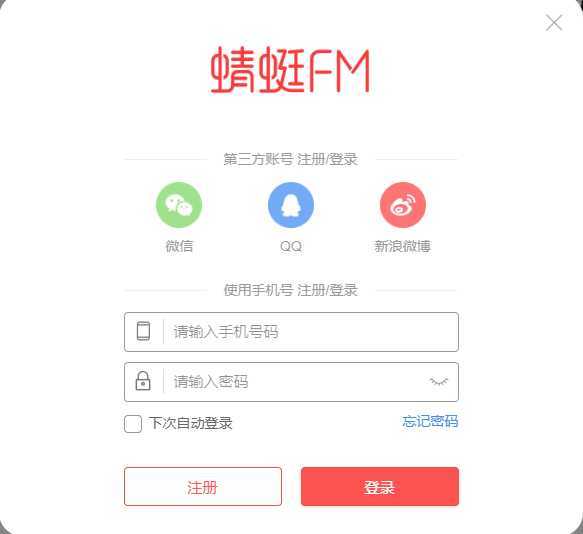
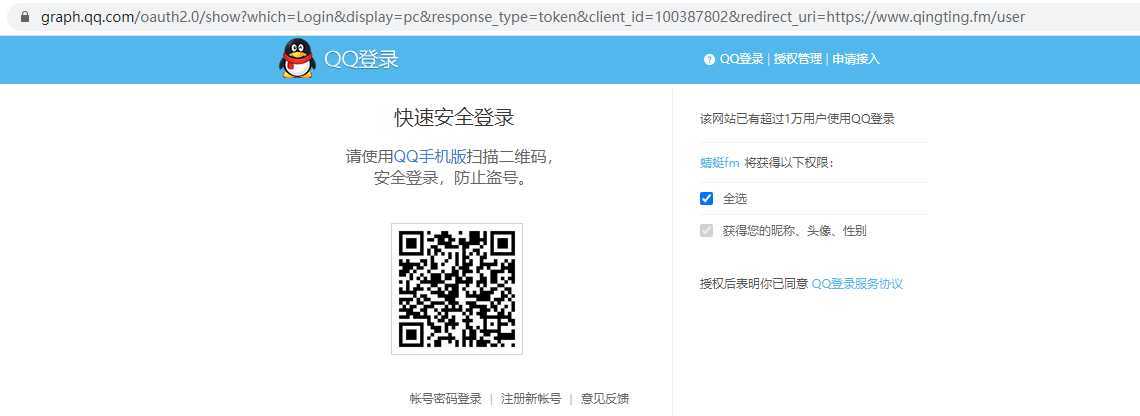
当我们点击QQ的时候,会跳转到QQ的认证服务器,之后让你用QQ登录成功后,把权限(全部,或者获取昵称等)赋给蜻蜓这个第三方应用。
通过查看Oauth2的规范我们知道
Oauth2包括几个部分
1,客户端,相当于第三方应用蜻蜓
2,认证服务器,腾讯的登录认证系统
3,授权服务器,腾讯的授权系统
4,资源服务器,腾讯存储用户相关信息的系统
实现授权码这种模式我们要做什么事情呢?
第一,编写Oauth2客户端代码配置Oauth2服务器端配置
第二,在Oauth2服务器上申请接入(申请接入意味着服务器端会给客户端一个clientId,一个clientSecret)
以Github为例,我们实现这个授权码模式的客户端
创建一个SpringCloud项目

引入如下两个pom即可
<dependency>
   <groupId>org.springframework.boot</groupId>
   <artifactId>spring-boot-starter-web</artifactId>
</dependency>
<dependency>
   <groupId>org.springframework.cloud</groupId>
   <artifactId>spring-cloud-starter-oauth2</artifactId>
</dependency>
在配置文件中配置Github服务器的相关信息
application.properties
security.oauth2.client.clientId=
security.oauth2.client.clientSecret=
security.oauth2.client.accessTokenUri=https://github.com/login/oauth/access_token
security.oauth2.client.userAuthorizationUri=https://github.com/login/oauth/authorize
security.oauth2.client.clientAuthenticationScheme=form
security.oauth2.resource.userInfoUri=https://api.github.com/user
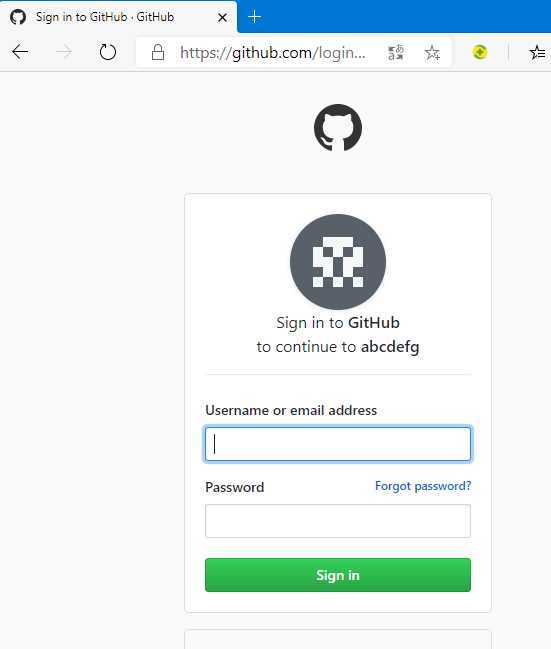
登录到github
打开下面的网址
https://github.com/settings/developers
点击新建App
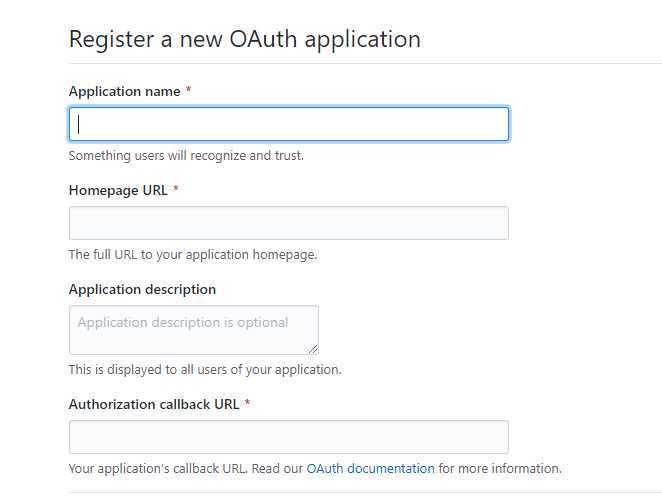
前三个随便填写,第四个必须填写正确
spring.application.name=client
server.servlet.context-path=/client
server.address=192.168.0.110
server.port=50000
上面的配置对应如下的URL
http://192.168.0.110:50000/client/login

编写如下类
import org.springframework.boot.autoconfigure.security.oauth2.client.EnableOAuth2Sso;
import org.springframework.context.annotation.Configuration;
import org.springframework.security.config.annotation.web.builders.HttpSecurity;
import org.springframework.security.config.annotation.web.configuration.EnableWebSecurity;
import org.springframework.security.config.annotation.web.configuration.WebSecurityConfigurerAdapter;

@Configuration
@EnableWebSecurity
@EnableOAuth2Sso
public class Oauth2WebSecurityConfig extends WebSecurityConfigurerAdapter {
    @Override
    protected void configure(HttpSecurity http) throws Exception {
        http.csrf().disable();
        http.authorizeRequests().antMatchers("/login", "/login/", "/api/**").permitAll().anyRequest().authenticated();
    }
}

接口测试类
import org.springframework.beans.factory.annotation.Autowired;
import org.springframework.http.ResponseEntity;
import org.springframework.security.core.Authentication;
import org.springframework.security.core.context.SecurityContextHolder;
import org.springframework.web.bind.annotation.GetMapping;
import org.springframework.web.bind.annotation.RequestParam;
import org.springframework.web.bind.annotation.RestController;

import java.util.HashMap;
import java.util.Map;

/**
 * @author admin
 */
@RestController
public class UserController {

    @GetMapping("/order")
    public String getOrder(String json) {
        Authentication authentication = SecurityContextHolder.getContext().getAuthentication();
        return "order id : " + json;
    }

}
启动SpringCloud应用
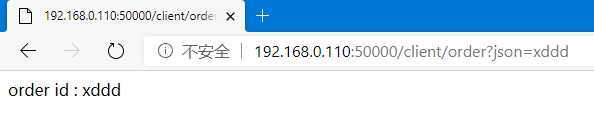
http://192.168.0.110:50000/client/order?json=xddd
登录后等待授权
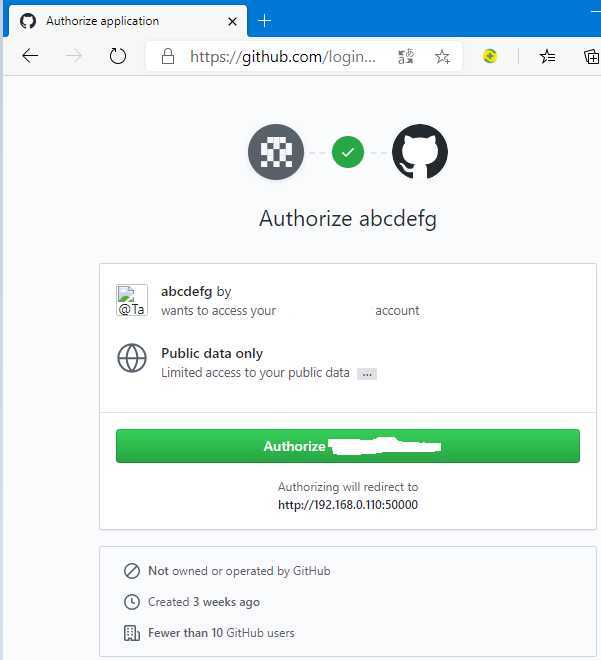
点击授权后,会跳转到/order接口
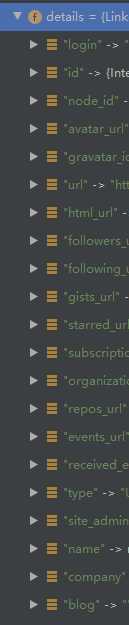
可以DEBUG 从下面的对象中获取github用户相关的信息,例如用户账号信息,头像,昵称等
Authentication authentication = SecurityContextHolder.getContext().getAuthentication();
可以看到接口可以访问到了
注意:
有时候githu接口会超时等问题导致失败,可能是个人账号不稳定
security.oauth2.resource.userInfoUri=https://api.github.com/user
oauth2作为客户端引入后,默认的 spring.security 已经没有作用了
下一步,自己实现Oauth2 服务器端,完全不是普通DEMO级别的,全网唯一的DEMO
世界上最好的SpringCloud Oauth2 DEMO教程1
原文:https://www.cnblogs.com/qnmlgbb/p/13091724.html