首先下载nginx -1.9.9tar gz 压缩包到Windows
yum install lrzsz -y 安装上传下载的包
然后上传到linux里
创建一个脚本nginx.sh
#bin/bash
yum -y install gcc gcc-c++ vim tree make cmake autoconf
yum -y install openssl openssl-devel openssl-clients curl curl-devel
yum -y install wget rsync expect readline readline-devel bison bison-devel
yum -y install pcre pcre-devel zlib-devel zlib freetype freetype-devel man
yum -y install lrzsz tar iostat bc zip unzip lvm2 sysstat
yum -y install gd-devel
yum -y install openssl openssl-devel
#user
useradd nginx -s /sbin/nologin -M
cd /etc/tools
tar xf nginx-1.9.9.tar.gz
cd nginx-1.9.9
./configure \
--prefix=/opt/lnmp_zabbix/nginx \
--user=nginx \
--group=nginx \
--conf-path=/opt/lnmp_zabbix/nginx/conf/nginx.conf \
--error-log-path=/opt/lnmp_zabbix/nginx/log/error.log \
--http-log-path=/opt/lnmp_zabbix/nginx/log/access.log \
--http-client-body-temp-path=/opt/lnmp_zabbix/nginx/client/ \
--http-proxy-temp-path=/opt/lnmp_zabbix/nginx/proxy/ \
--http-fastcgi-temp-path=/opt/lnmp_zabbix/nginx/fcgi/ \
--http-uwsgi-temp-path=/opt/lnmp_zabbix/nginx/uwsgi \
--http-scgi-temp-path=/opt/lnmp_zabbix/nginx/scgi --with-pcre \
--with-http_ssl_module \
--with-http_flv_module \
--with-http_gzip_static_module \
--with-http_stub_status_module \
--with-http_realip_module \
--pid-path=/opt/lnmp_zabbix/nginx/nginx.pid \
--with-file-aio --with-http_image_filter_module \
--with-stream
make && make install
然后加执行权限chmod +x nginx.sh
然后运行ngiux:./nginx.sh
完成后echo $? 查看运行完的状态
查看语法
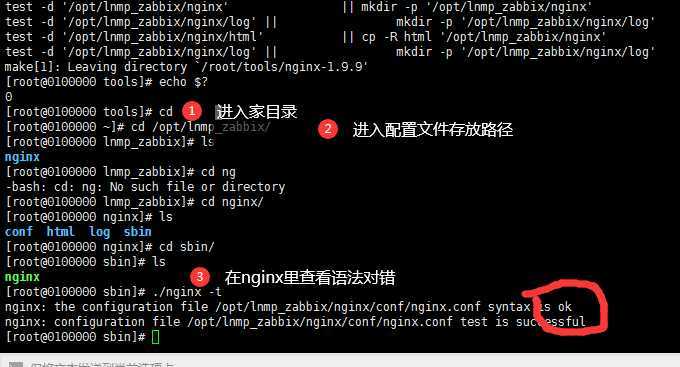
启动
./nginx
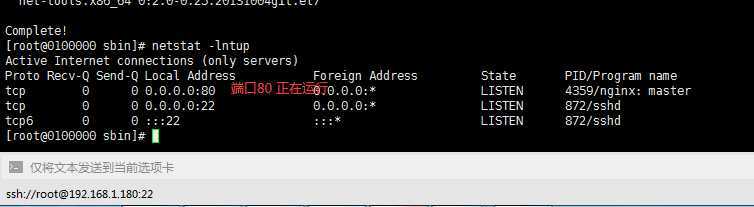
安装查看进程工具yum install -y net-tools
查看进程 netstat -lntup
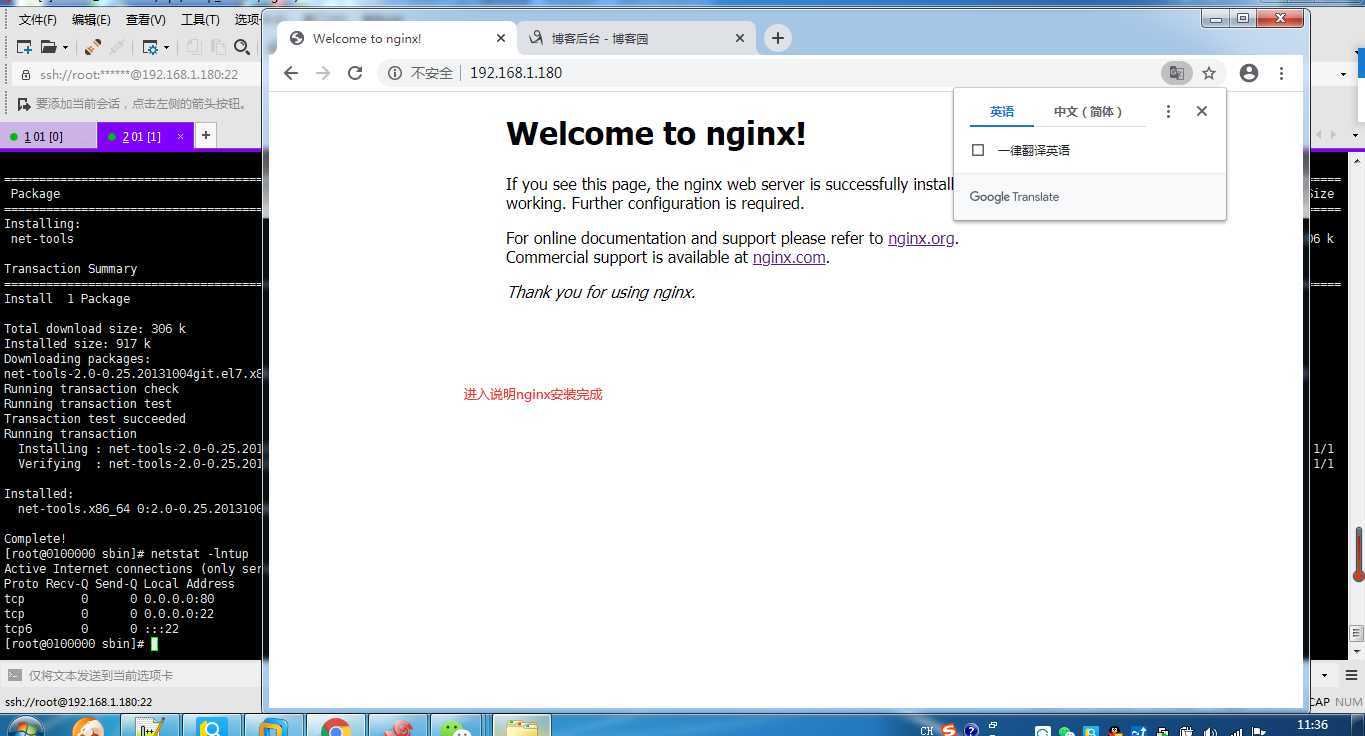
进入 网页输入IP
原文:https://www.cnblogs.com/yun9678/p/13140091.html