实验前准备:
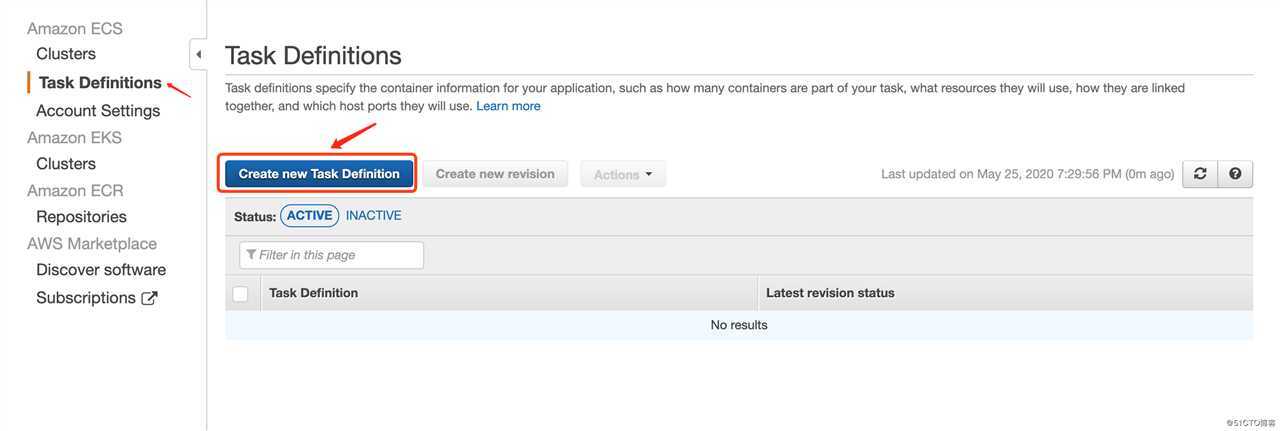
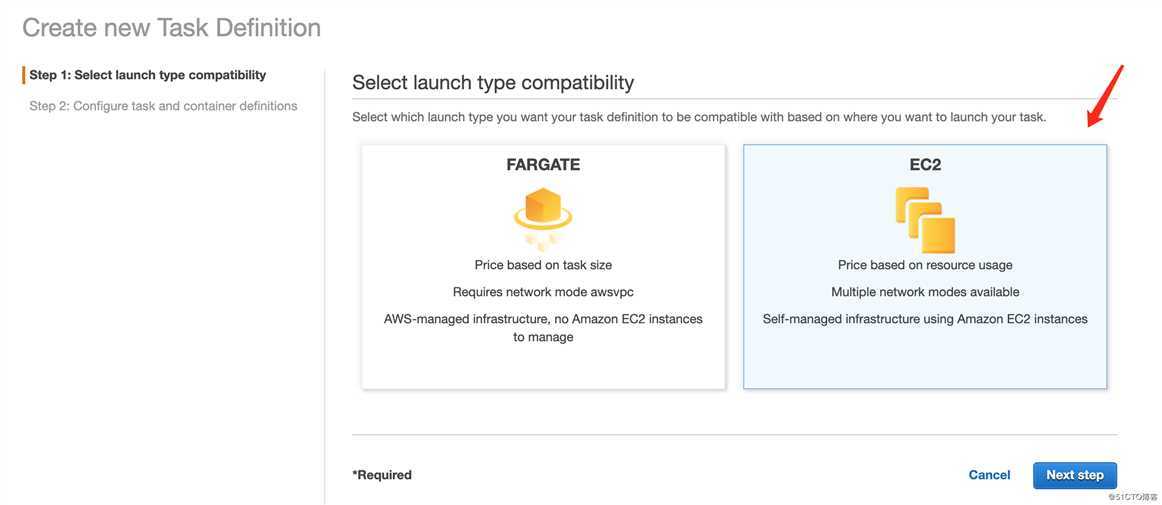
进入到ECS服务,创建Task Definitions:
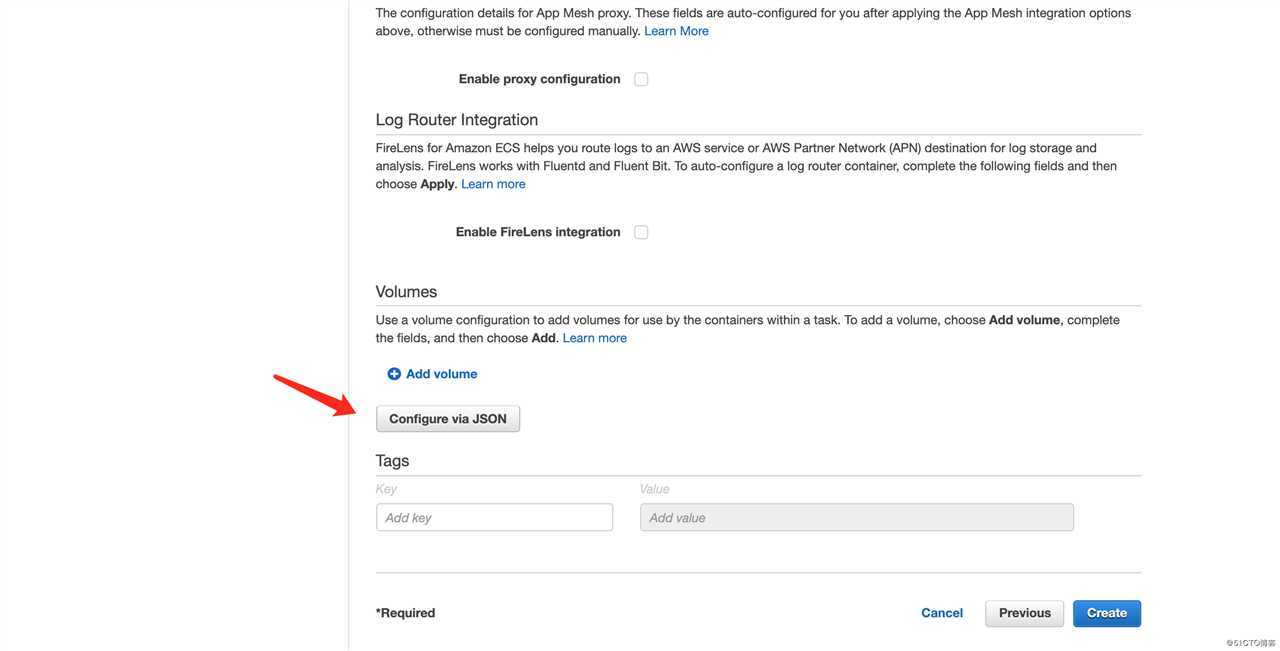
{
  "family": "myContainer",
  "containerDefinitions": [
    {
      "volumesFrom": [],
      "portMappings": [
        {
          "hostPort": 80,
          "containerPort": 80
        }
      ],
      "command": null,
      "environment": [],
      "essential": true,
      "entryPoint": null,
      "links": [],
      "mountPoints": [
        {
          "containerPath": "/usr/local/apache2/htdocs",
          "sourceVolume": "my-vol",
          "readOnly": null
        }
      ],
      "memory": 300,
      "name": "simple-app",
      "cpu": 10,
      "image": "httpd:2.4"
    },
    {
      "volumesFrom": [
        {
          "readOnly": null,
          "sourceContainer": "simple-app"
        }
      ],
      "portMappings": [],
      "command": [
        "/bin/sh -c \"while true; do echo ‘<html> <head> <title>Amazon ECS Sample App</title> <style>body {margin-top: 40px; background-color: #333;} </style> </head><body> <div style=color:white;text-align:center> <h1>Amazon ECS Sample App</h1> <h2>Congratulations!</h2> <p>Your application is now running on a container in Amazon ECS.</p>‘ > top; /bin/date > date ; echo ‘</div></body></html>‘ > bottom; cat top date bottom > /usr/local/apache2/htdocs/index.html ; sleep 1; done\""
      ],
      "environment": [],
      "essential": false,
      "entryPoint": [
        "sh",
        "-c"
      ],
      "links": [],
      "mountPoints": [],
      "memory": 200,
      "name": "busybox",
      "cpu": 10,
      "image": "busybox"
    }
  ],
  "volumes": [
    {
      "host": {
        "sourcePath": null
      },
      "name": "my-vol"
    }
  ]
}
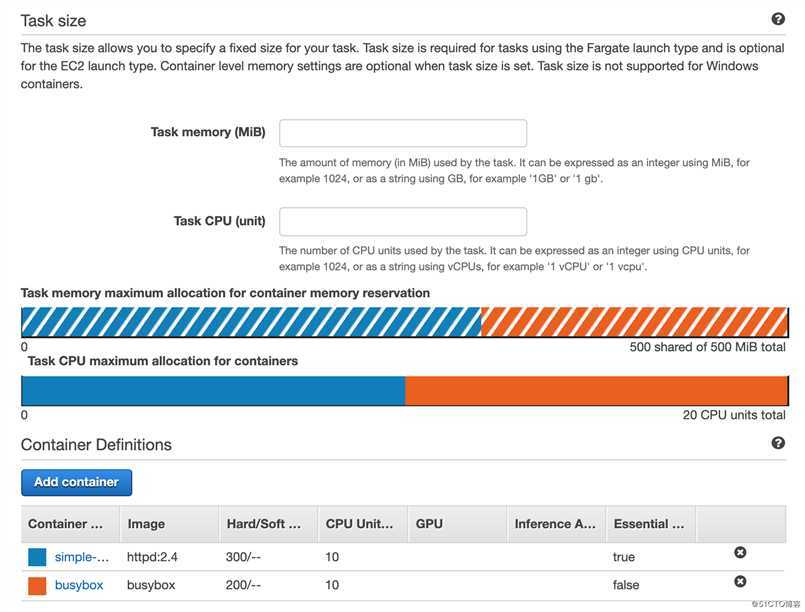
导入之后,回头看Task Definition Name为:myContainer。然后Task size等信息也定义好了。
创建完成后:

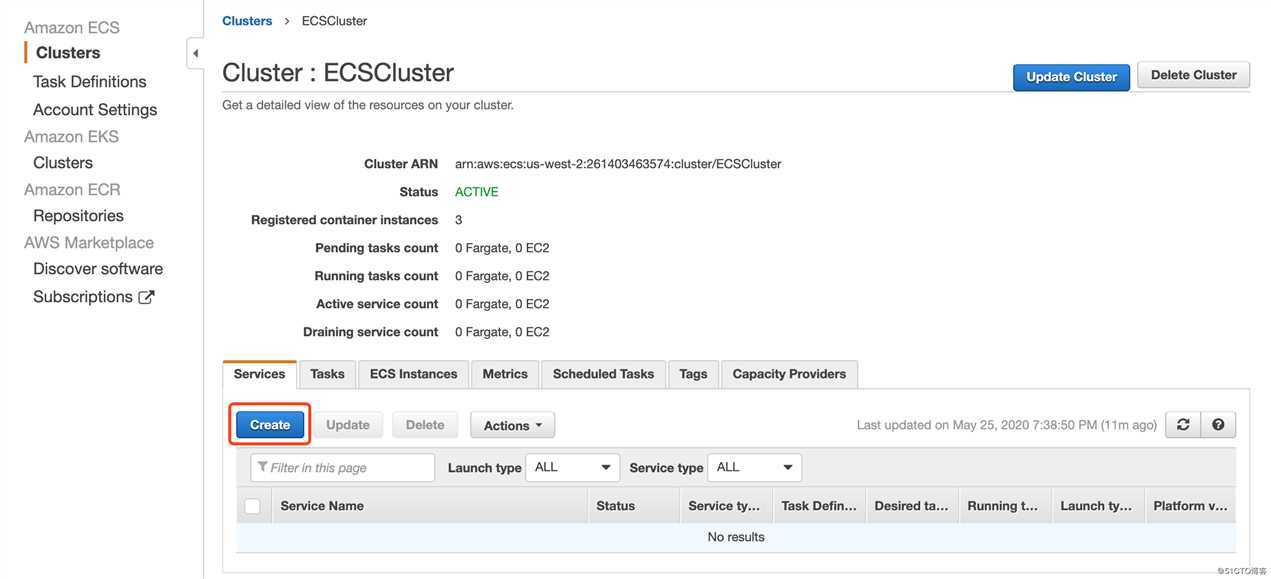
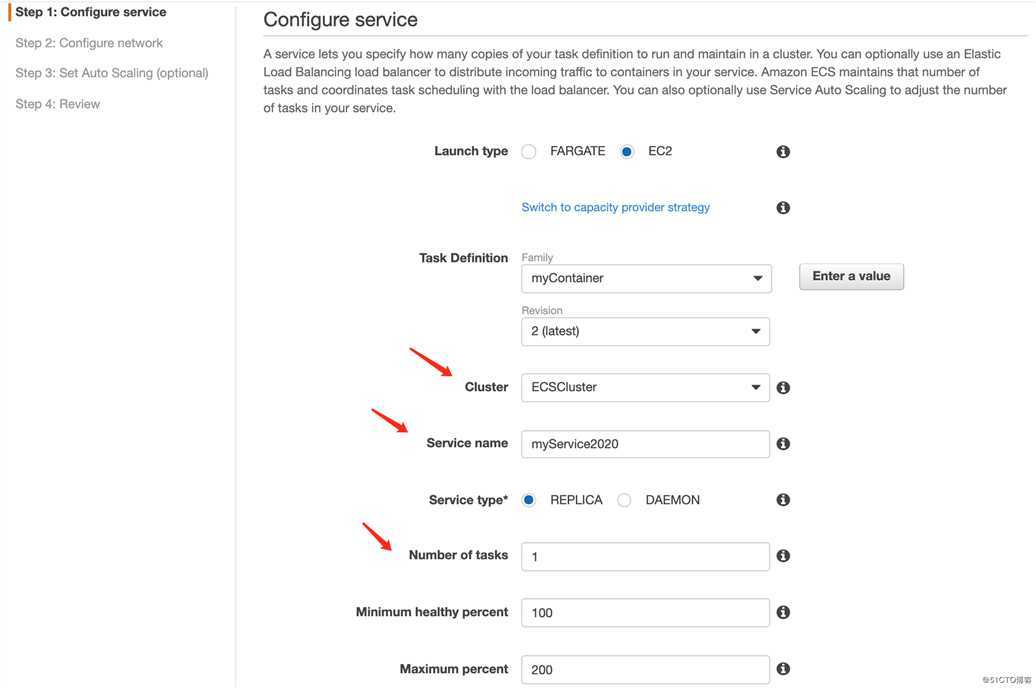
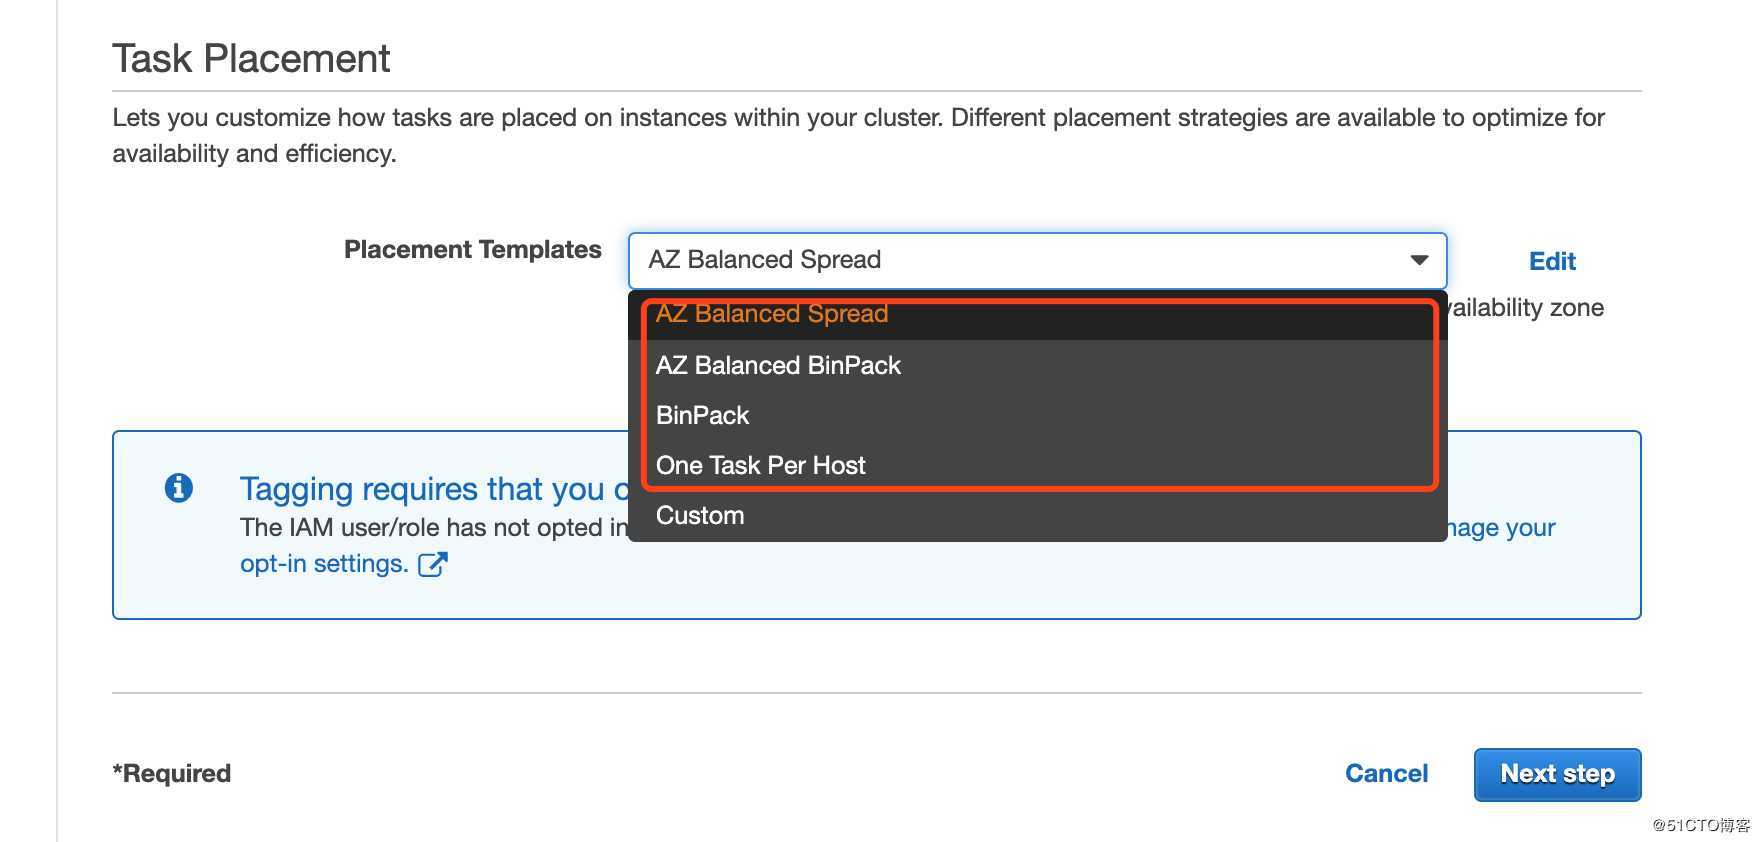
网络配置:
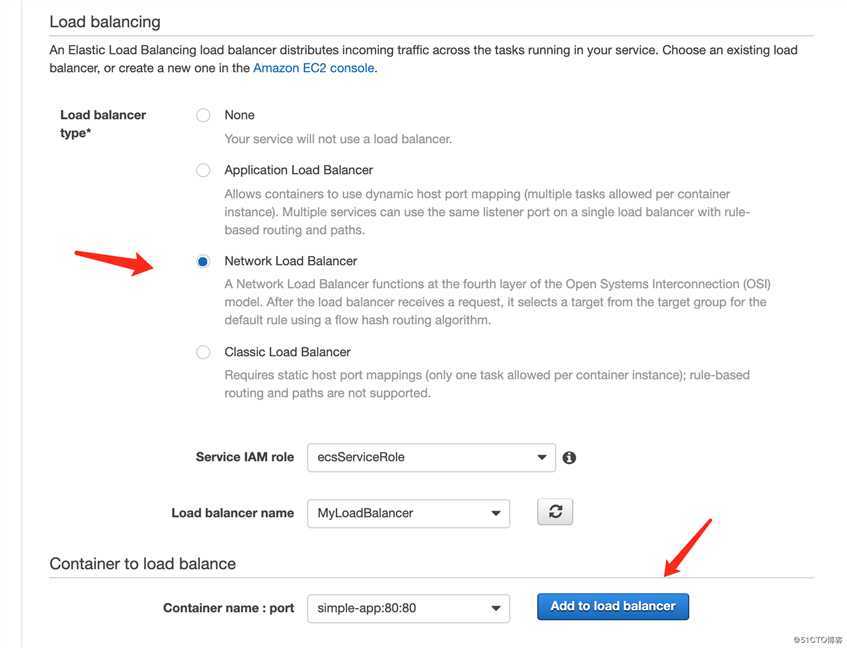
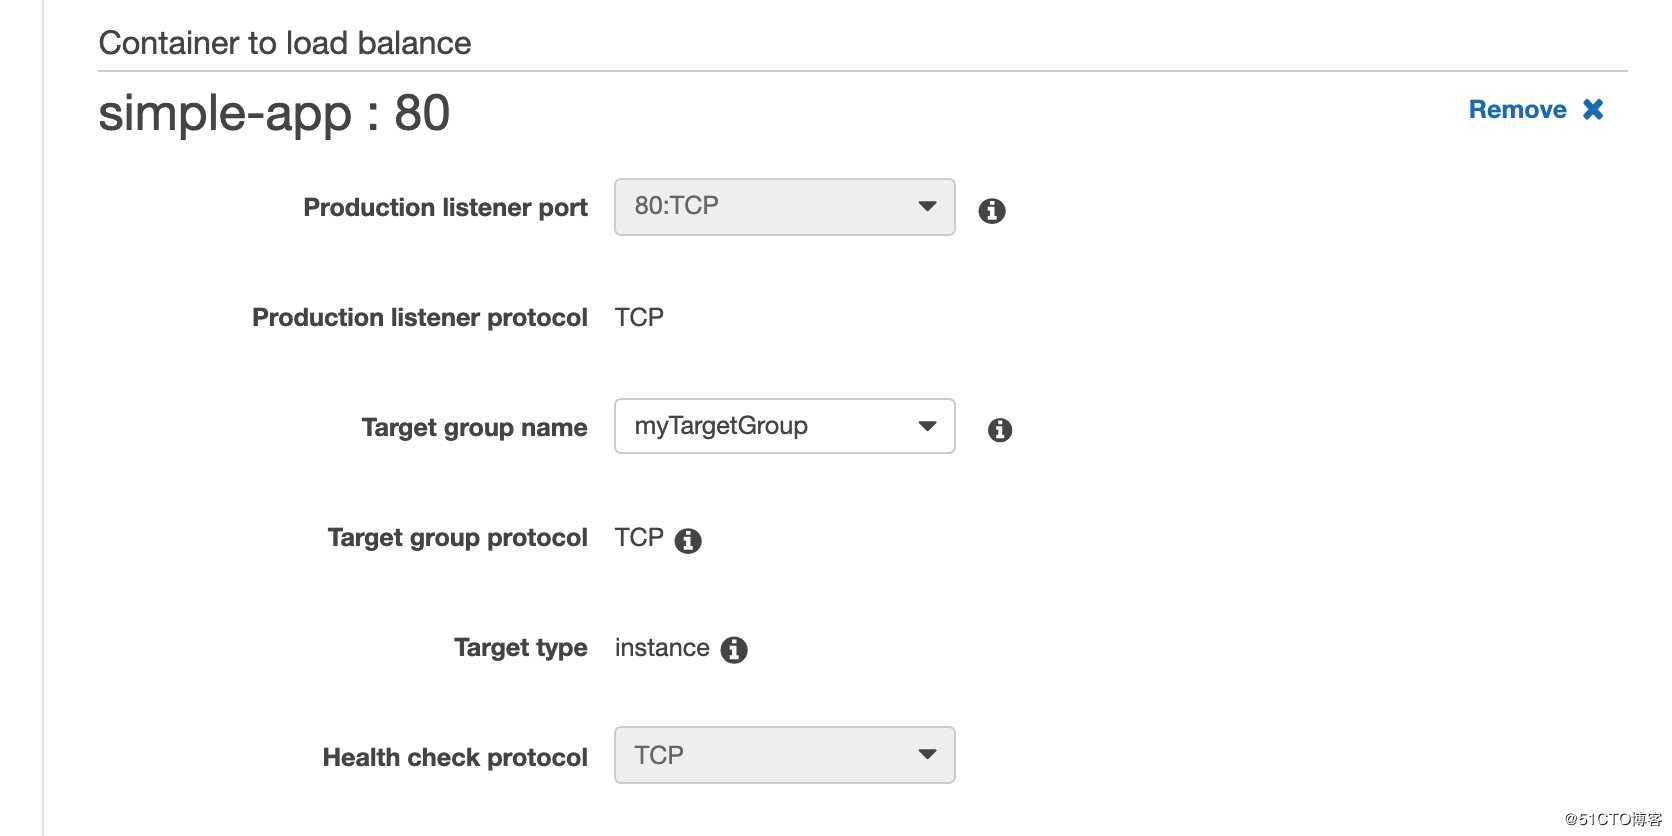
添加容器的load balance
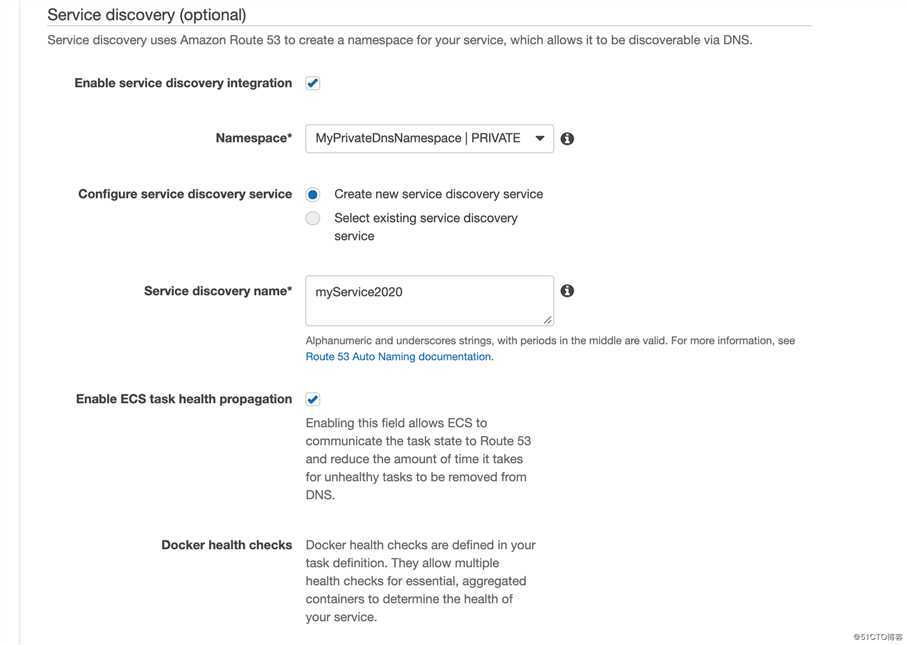
服务发现:
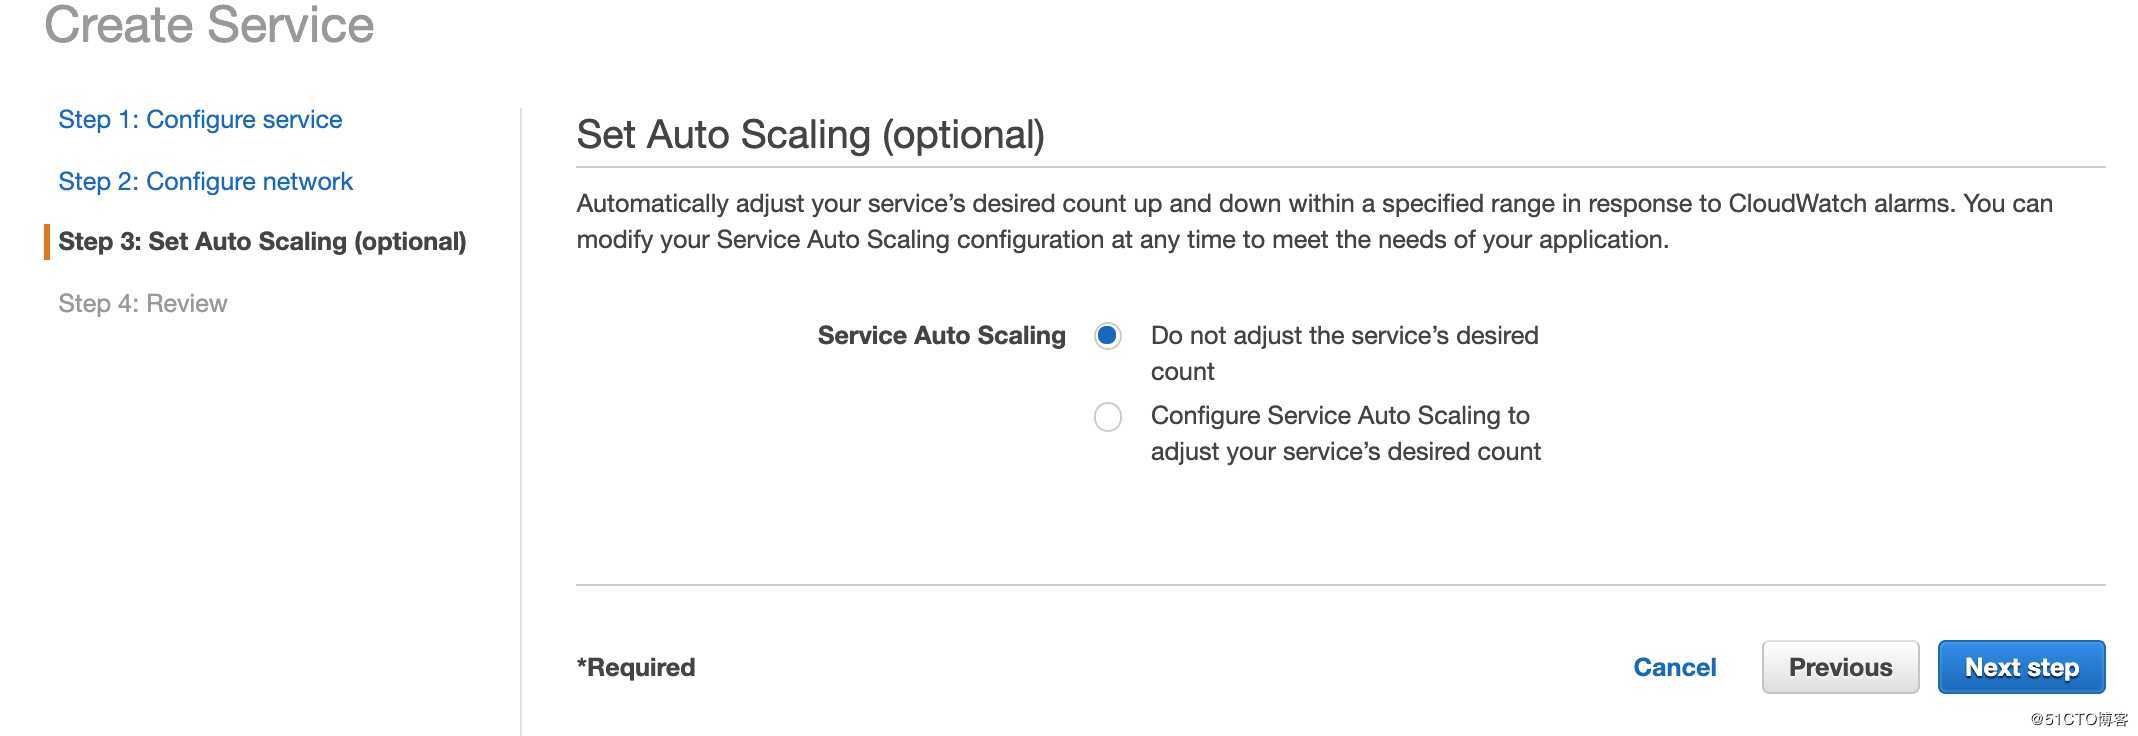
设置Auto Scaling:
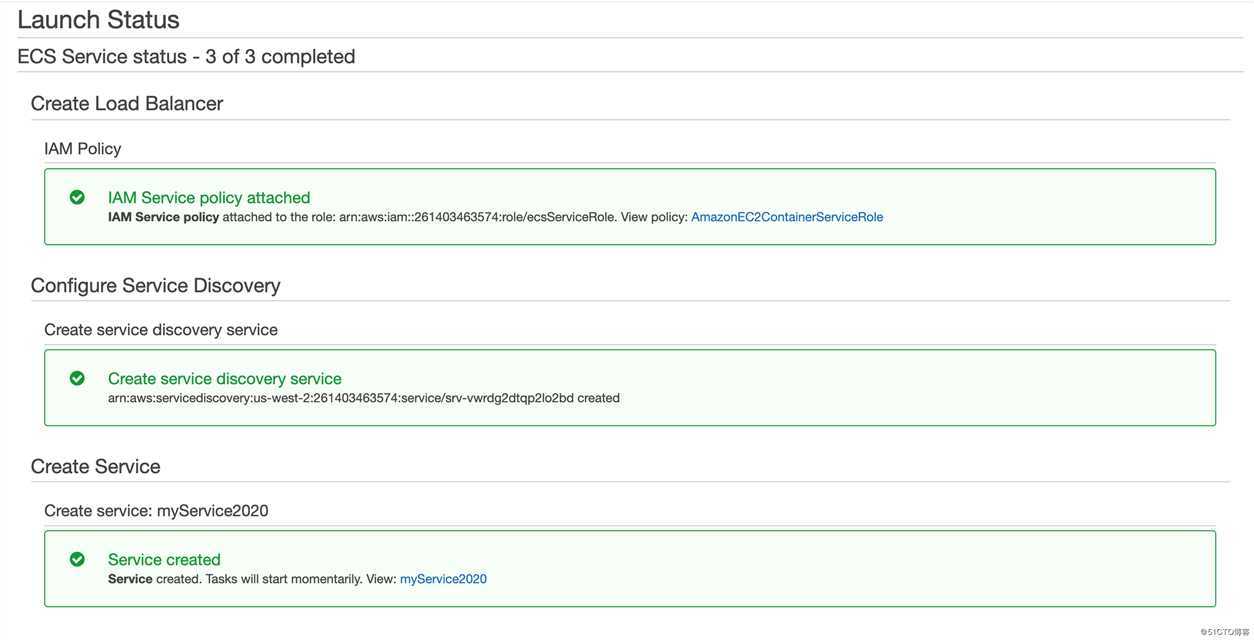
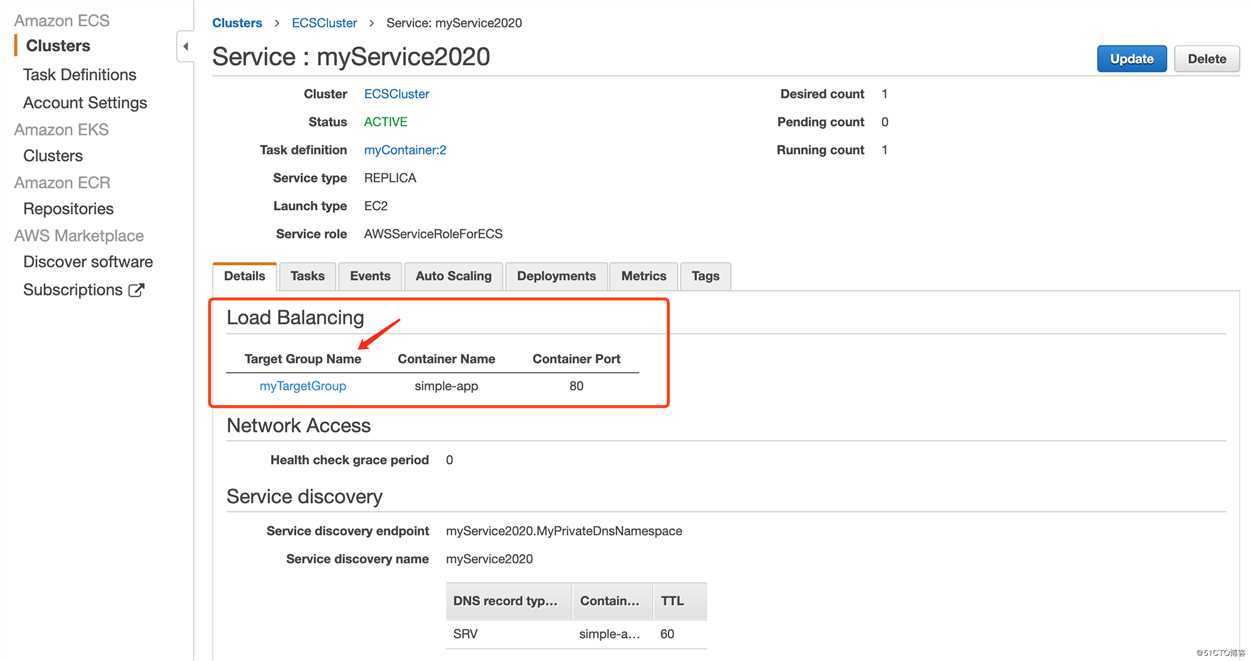
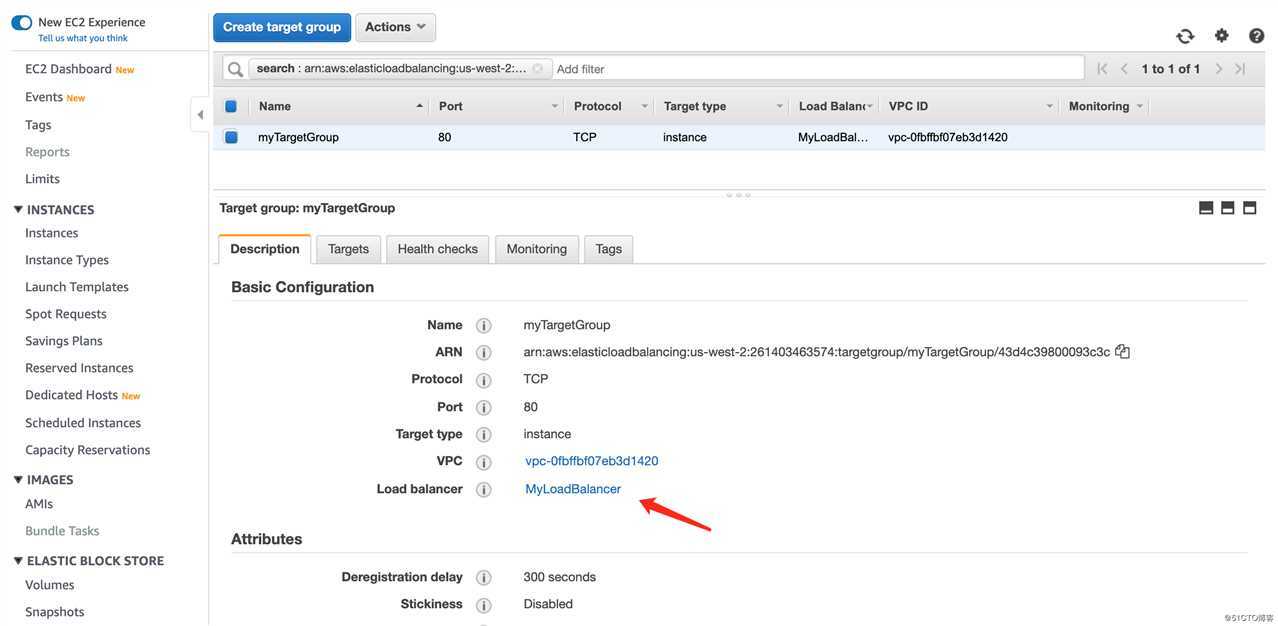
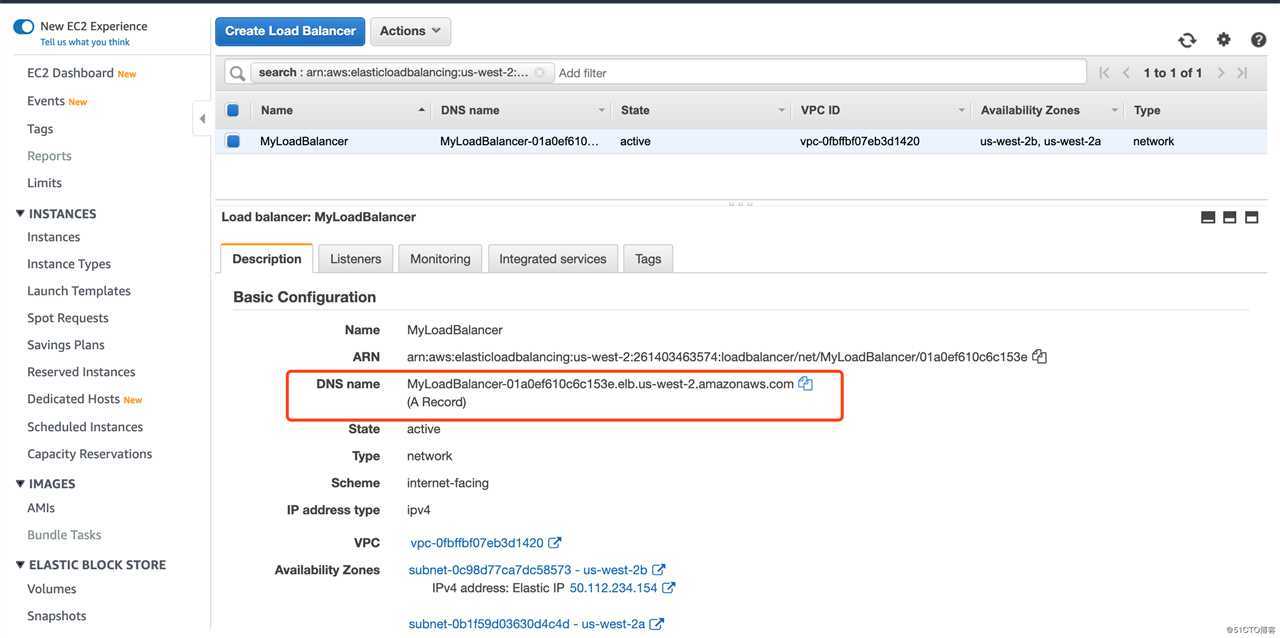
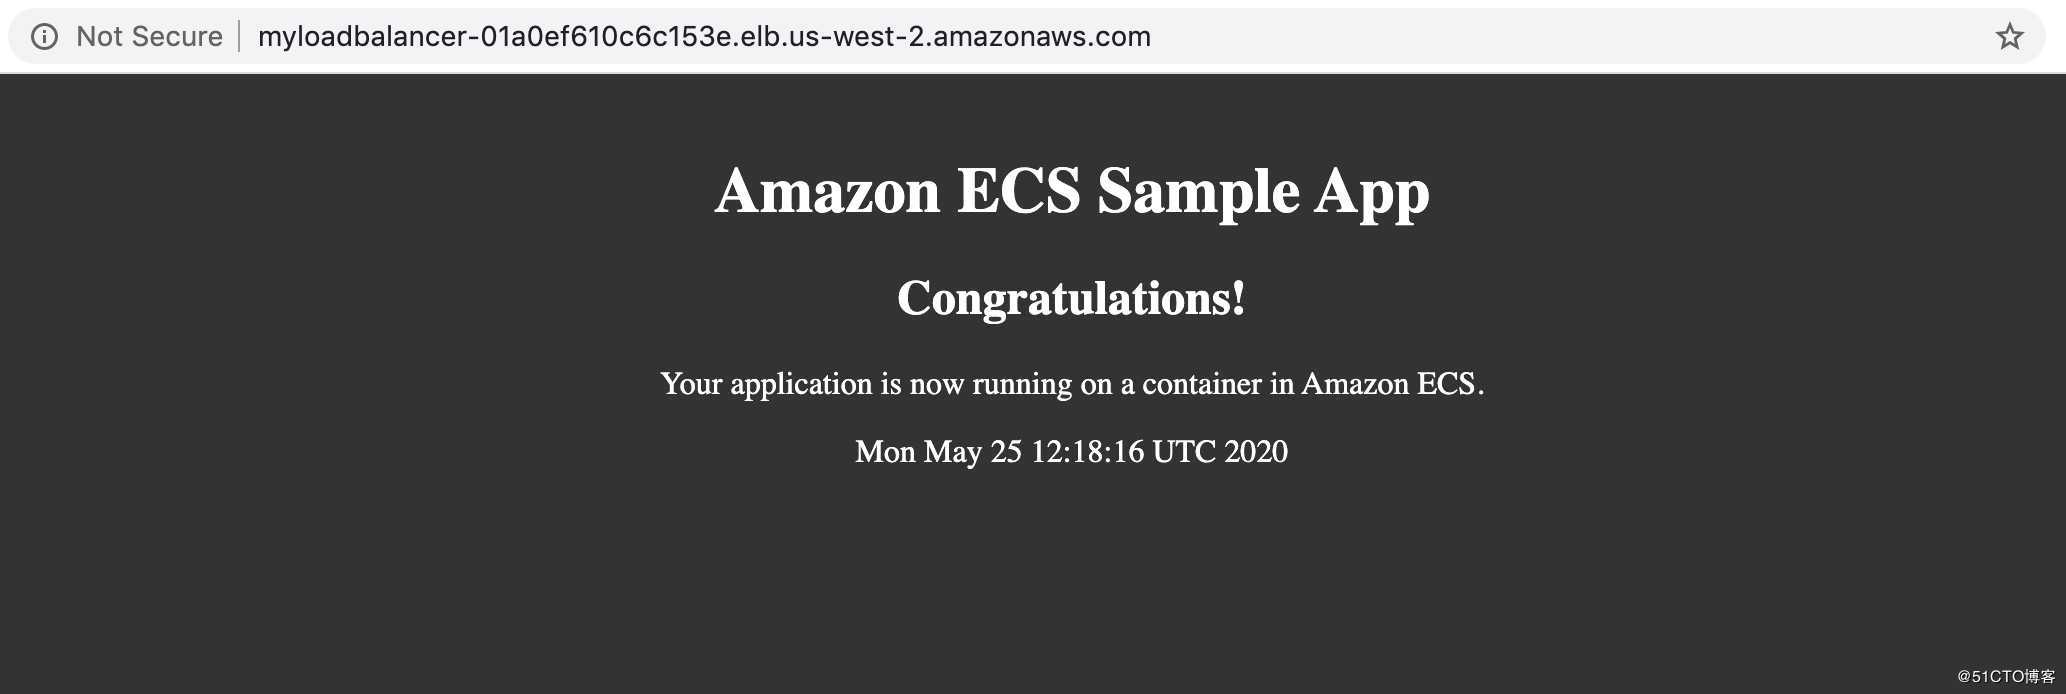

直接替换前端网站H标签,把congratulation改成 thank you.
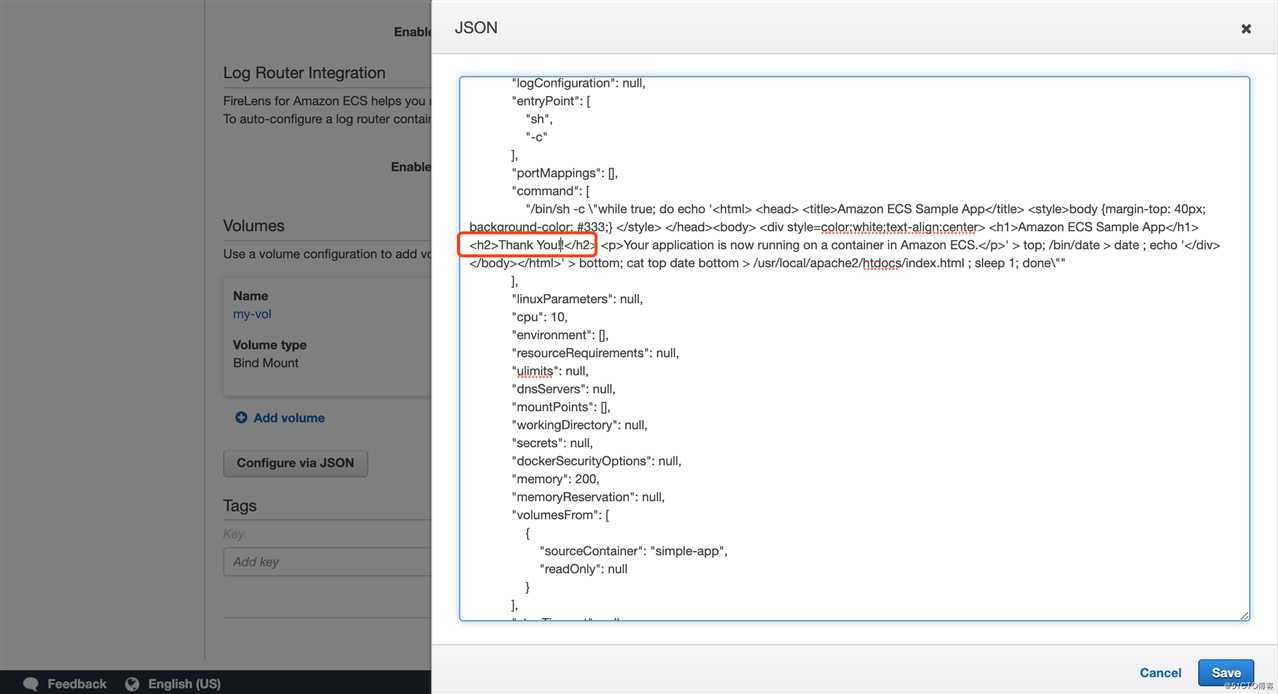
然后回到ECSCluster的Services,选择myService并update(Version:选择select the latest)重复Task2,找到Load Balancer的URL.
复制DNS,copy到网址。就会看到更新的内容了。
原文:https://blog.51cto.com/13746986/2505598