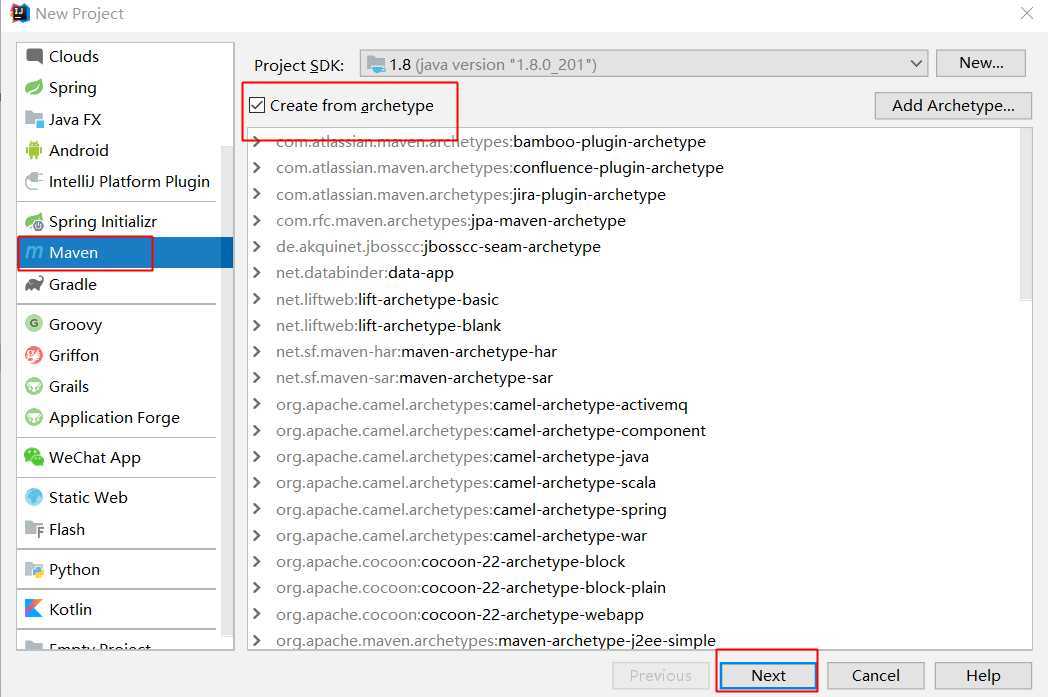
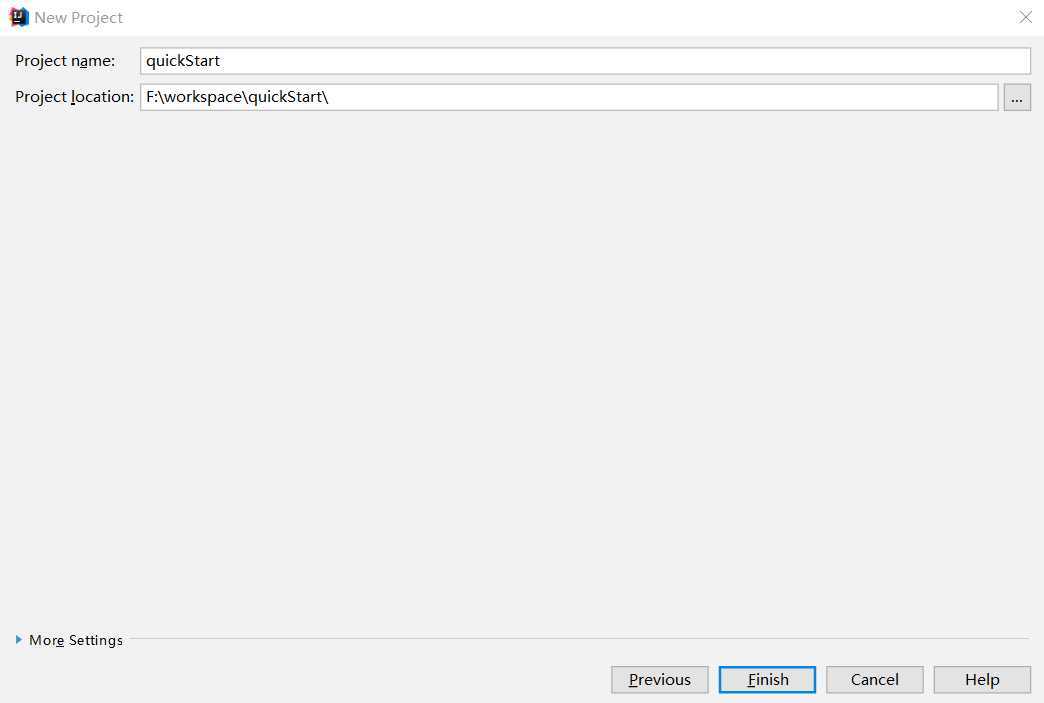
用maven创建第一个SpringBoot项目
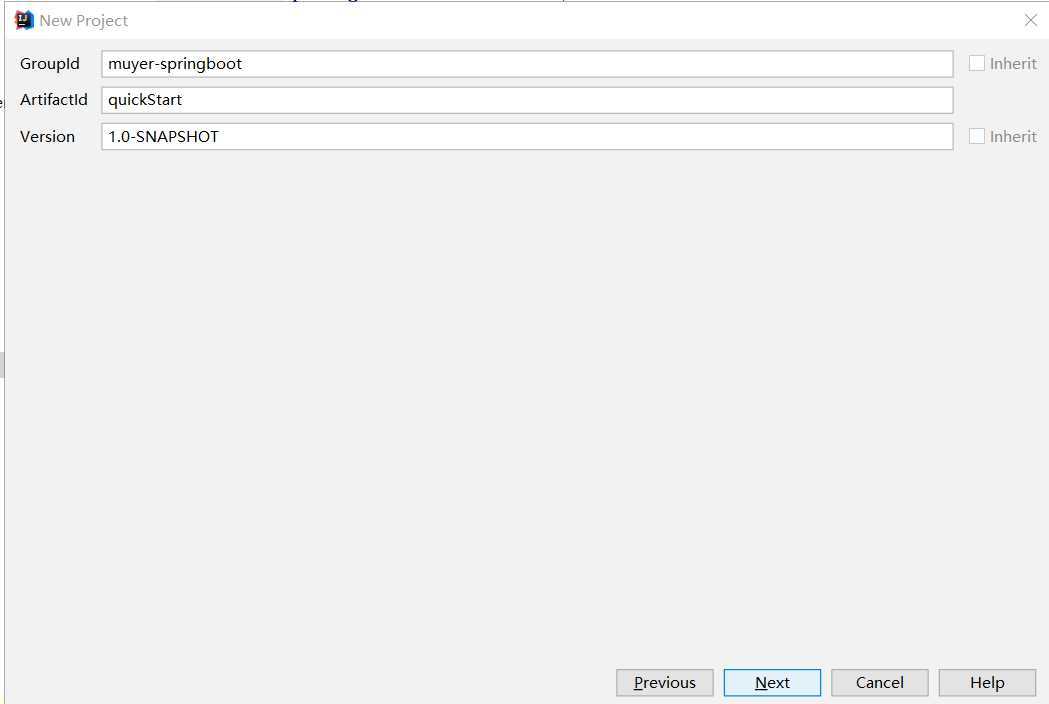
<?xml version="1.0" encoding="UTF-8"?>
<project xmlns="http://maven.apache.org/POM/4.0.0"
         xmlns:xsi="http://www.w3.org/2001/XMLSchema-instance"
         xsi:schemaLocation="http://maven.apache.org/POM/4.0.0 http://maven.apache.org/xsd/maven-4.0.0.xsd">
    <modelVersion>4.0.0</modelVersion>

    <groupId>muyer-springboot</groupId>
    <artifactId>quickStart</artifactId>
    <version>1.0-SNAPSHOT</version>

    <parent>
        <groupId>org.springframework.boot</groupId>
        <artifactId>spring-boot-starter-parent</artifactId>
        <version>1.5.9.RELEASE</version>
    </parent>

    <dependencies>
        <dependency>
            <groupId>org.springframework.boot</groupId>
            <artifactId>spring-boot-starter-web</artifactId>
        </dependency>
    </dependencies>
</project>
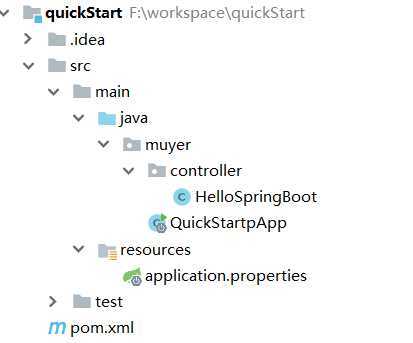
@SpringBootApplication
public class QuickStartpApp {
    public static void main(String[] args) {
        SpringApplication.run(QuickStartpApp.class,args);
    }
}
@RestController
public class HelloSpringBoot {
    @RequestMapping(value = "/hello", method = RequestMethod.GET)
    public String helloSpringBoot() {
        return "hello springboot";
    }
}
server.port=8090
1.点击启动类左边的启动按钮
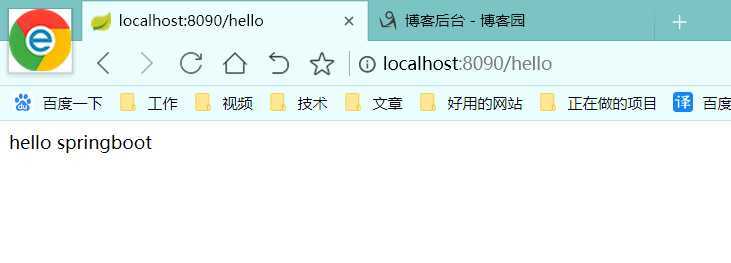
2.浏览器输入请求地址:http://localhost:8090/hello
原文:https://www.cnblogs.com/yejiang/p/13168318.html