# 搜索镜像
# 拉取下载镜像
[root@hwh1 home]# docker pull nginx:1.19.0
[root@hwh1 home]# docker images
REPOSITORY          TAG                 IMAGE ID            CREATED             SIZE
nginx               1.19.0              2622e6cca7eb        7 days ago          132MB

# 运行镜像 后台挂载运行 ,自定义名字,映射 3344 端口访问 80
[root@hwh1 home]# docker run -d --name nginx01 -p 3344:80 nginx:1.19.0
f4c21fd8e0c190ffe3a6d7a8e5b1587952cfb304c78739e91871047419a28e74
[root@hwh1 home]# docker ps
CONTAINER ID        IMAGE               COMMAND                  CREATED             STATUS              PORTS                  NAMES
f4c21fd8e0c1        nginx:1.19.0        "/docker-entrypoint.…"   14 seconds ago      Up 12 seconds       0.0.0.0:3344->80/tcp   nginx01

# 测试本地访问
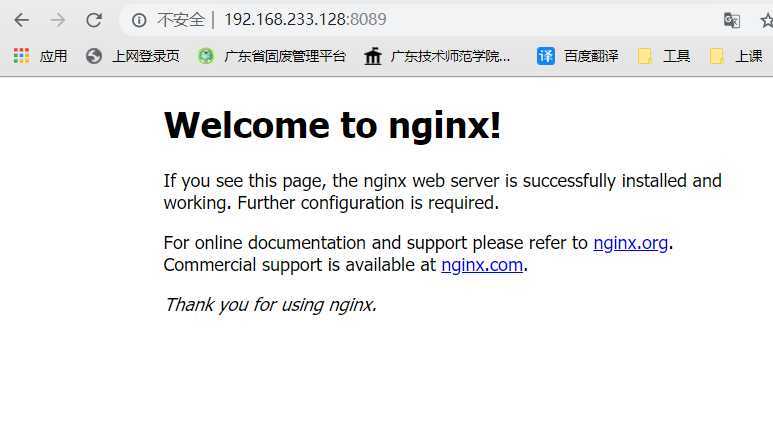
[root@hwh1 ~]# curl localhost:8080
<!DOCTYPE html>
<html>
<head>
<title>Welcome to nginx!</title>
<style>
    body {
        width: 35em;
        margin: 0 auto;
        font-family: Tahoma, Verdana, Arial, sans-serif;
    }
</style>
</head>
<body>
<h1>Welcome to nginx!</h1>
<p>If you see this page, the nginx web server is successfully installed and
working. Further configuration is required.</p>

<p>For online documentation and support please refer to
<a href="http://nginx.org/">nginx.org</a>.<br/>
Commercial support is available at
<a href="http://nginx.com/">nginx.com</a>.</p>

<p><em>Thank you for using nginx.</em></p>
</body>
</html>

# 搜索镜像
# 拉取下载镜像
[root@com ~]# docker pull tomcat:10.0.0
[root@com ~]# docker images
REPOSITORY          TAG                 IMAGE ID            CREATED             SIZE
tomcat              10.0.0              0d691b180bd5        9 days ago          647MB

# 运行镜像 后台挂载运行 ,自定义名字,映射 3345 端口访问 8080
[root@com ~]# docker run -d --name tomcat01 -p 3345:8080 tomcat:10.0.0
e81361fbf5f95084bb91555e7cbd56cdc29bb31ffe55eee9125aad7f926ab358

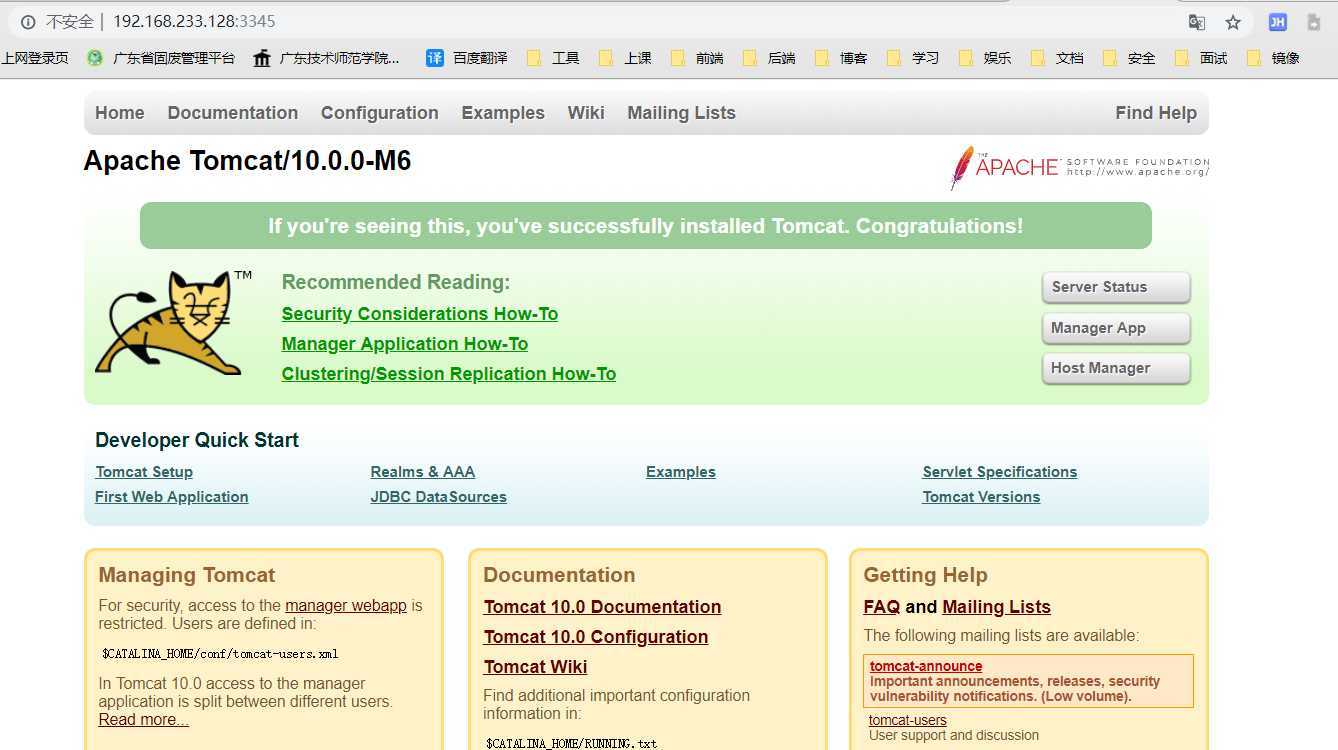
# 测试访问成功
# 进入容器测试,发现问题
# 1. linux的基本命令少了   2. webapps 为空
# 阿里云镜像的原因,默认是最小的镜像,所有不必要的都去掉了
root@e81361fbf5f9:/usr/local/tomcat# ls
BUILDING.txt	 LICENSE  README.md	 RUNNING.txt  conf  logs	    temp     webapps.dist
CONTRIBUTING.md  NOTICE   RELEASE-NOTES  bin	      lib   native-jni-lib  webapps  work

# 完善 webapps,将 webapps.dist 下的全部东西,拷贝到 webapps 下
root@e81361fbf5f9:/usr/local/tomcat# cp -r webapps.dist/* webapps
root@e81361fbf5f9:/usr/local/tomcat# ls webapps
ROOT  docs  examples  host-manager  manager

# 成功测试访问

# es 暴露的端口很多
# es 十分消耗内存
# es 的数据一般需要放置到安全目录 挂载

[root@com ~]# docker pull elasticsearch:7.8.0
[root@com ~]# docker images
REPOSITORY          TAG                 IMAGE ID            CREATED             SIZE
elasticsearch       7.8.0               121454ddad72        5 days ago          810MB

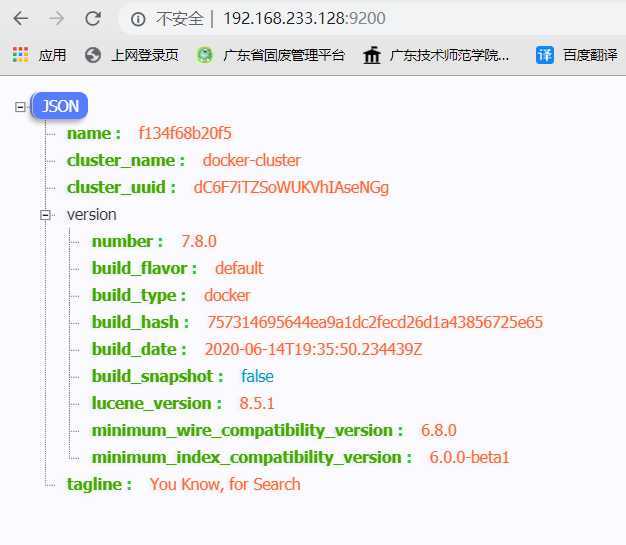
# 启动测试
# -e "discovery.type=single-node" 设置为单节点
[root@com ~]# docker run -d --name elasticsearch01 -p 9300:9300 -p 9200:9200 -e "discovery.type=single-node" elasticsearch:7.8.0
e223020d902ee2dd48efdb23ac35ff8d95db780e6e50446d1285e166f45e418f

# 查看 elasticsearch 的内存消耗 docker stats
CONTAINER ID        NAME                CPU %         MEM USAGE / LIMIT     MEM %     NET I/O             BLOCK I/O           PIDS
e223020d902e        elasticsearch01     0.21%         1.238GiB / 3.827GiB   32.36%    8.95kB / 5.9kB      36.5MB / 1.31MB     56
# 可以看到非常消耗内存 已经占用了 一个多G

# 配置添加内存限制,进行节省内存
# -e ES_JAVA_POTS="-Xms64m -Xmx512m"   配置最大最小内存
CONTAINER ID        NAME                CPU %         MEM USAGE / LIMIT     MEM %     NET I/O             BLOCK I/O           PIDS
f134f68b20f5        elasticsearch01     189.80%       334.4MiB / 3.827GiB   8.53%     2.22kB / 0B         20.8MB / 0B         27

原文:https://www.cnblogs.com/hewenhao-blogs/p/13196624.html