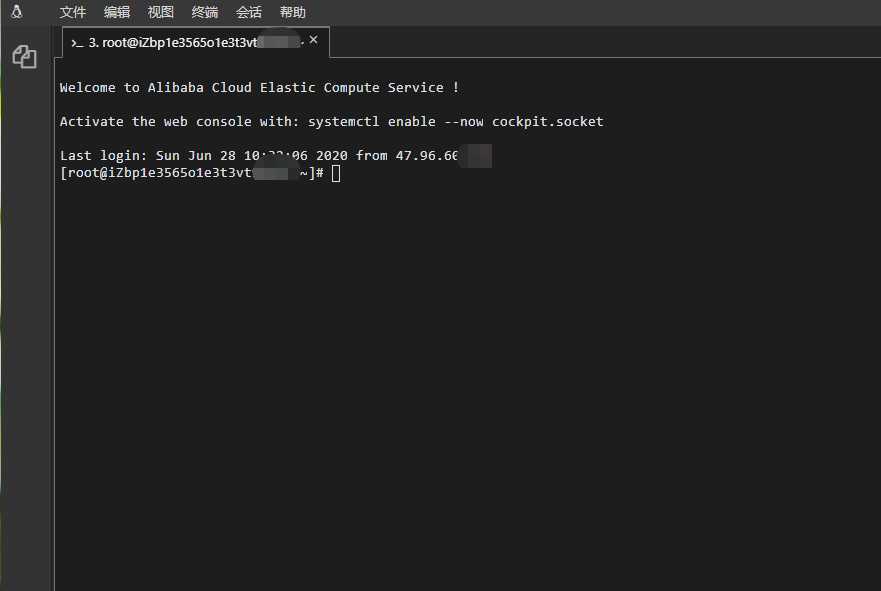
使用公共镜像 CentOS 创建 ECS 之后,在实例详情中,先重置实例密码,然后远程连接 Workbench.
首次登陆,可使用
用户名: root, 密码即刚刚创建
后续可创建子账户后登陆...
点菜单栏 - 视图 - 文件树,打开文件夹目录,这样看起来更清晰
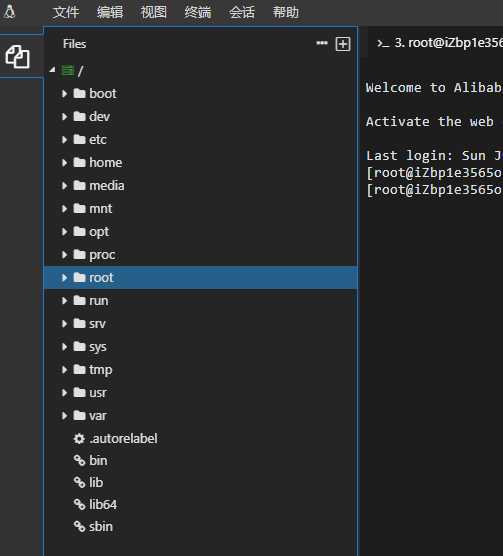
登录后处于 root 文件夹下,可进入 opt 文件夹下安装 node
阿里云教程中,安装的是 node-v6.9.5-linux-x64.tar.xz 版本,显然是很久以前的版本了,我们可以根据实际的当前稳定版本进行安装,官网上目前最新的是 12.18.1,所以这里作调整
cd /opt
wget https://nodejs.org/dist/v12.18.1/node-v12.18.1-linux-x64.tar.xz
解压安装
tar xvf node-v12.18.1-linux-x64.tar.xz
创建软链接
ln -s /opt/node-v12.18.1-linux-x64/bin/node /usr/local/bin/node
ln -s /opt/node-v12.18.1-linux-x64/bin/npm /usr/local/bin/npm
查看版本
node -v
npm -v
随后安装 cnpm,并创建软链接
npm install cnpm -g --registry=https://registry.npm.taobao.org
ln -s /opt/node-v12.18.1-linux-x64/bin/cnpm /usr/local/bin/cnpm
查看是否安装正确
cnpm -v
在 home 文件夹中写入测试文件,这里可以直接沿用 阿里云教程demo
cd /home
touch example.js
vim example.js
按 i 进入编辑,输入以下内容
const http = require(‘http‘);
const hostname = ‘0.0.0.0‘;
const port = 3000;
const server = http.createServer((req, res) => {
    res.statusCode = 200;
    res.setHeader(‘Content-Type‘, ‘text/plain‘);
    res.end(‘Hello World\n‘);
});

server.listen(port, hostname, () => {
    console.log(`Server running at http://${hostname}:${port}/`);
});
随后按 Esc 退出编辑模式,输入 :wq 并回车。
当然,也可以直接在左侧文件树中进行以上操作,右键home文件夹,新建文件 example.js,双击打开,复制以上代码,随后点击右上角保存即可,更为简单。
运行
node example.js
待续...
原文:https://www.cnblogs.com/_error/p/13201812.html