继上一篇文章,实现了登陆功能,但是缺少一个验证码校验环节,今天和大家一起把图片验证码功能完善起来。
实现功能截图:
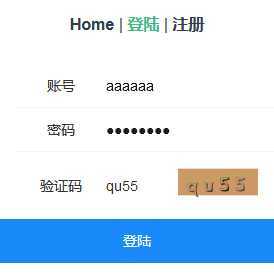
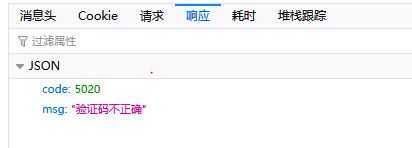
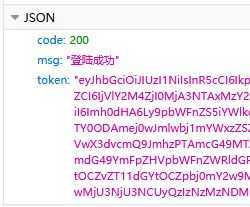
验证码校验,若验证码错误,返回错误信息,验证码正确,提示登录成功:
·验证码生成插件: svg-captcha
一、前端部分
前端采用Vue + Vant模式,验证码用<van-image />展示出来。
1、引入:
import { Image as VanImage } from ‘vant‘;
2、组件注册:
components:{
  ...
  ...
  [VanImage.name]: VanImage,
},
3、声明图片src变量,我们取名为imageSrc:
data() {
  return {
    ...
    ...
    imageSrc: ‘‘,
  }
}
4、在<template></template>中添加:
<van-field
  center
  clearable
  label="验证码"
  placeholder="请输入验证码"
>
  <template #right-icon>              <!-以插槽形式注入验证码 ->
    <van-image :src="imageSrc" width="80" height="40" @click="_updatePicCode" />
  </template>
</van-field>
5、添加created()方法以及点击更新验证码方法:
created() {
  this.$nextTick(() => this._updatePicCode())
}
methods: {
  _updatePicCode() {
    this.imageSrc = ‘http://localhost:3000/users/sendPicCode?d=‘ + Math.random();
  },
}
created()中,this.$nextTick()的用法,请参考:https://www.cnblogs.com/tugenhua0707/p/11756584.html#top
6、设置axios(重点),注意因为获取验证码涉及跨域请求,并且后台生成的验证码需要存储于cookies中,而cookies是随着请求在前端与后端之前来回发送的,因此需要:
axios.defaults.withCredentials = true; // 表示跨域请求时是否需要使用凭证,跨域访问需要发送cookie时一定要加
否则,点击登录按钮后,后端进行验证码比对时,是获取不到cookies中的验证码,也就无法比对验证码的正确性。
二、后端部分:
1、在routes/users.js中添加响应路由:
/**
 * 发送SVG图片验证码
 */
router.get(‘/sendPicCode‘, async function(ctx) {
  const picCode = tools.getCaptcha();
  // 将验证码保存入 session 中,与点击登录按钮之后,同用户输入的验证码进行比对
  ctx.session.picCode = picCode.text;
  // 指定返回的类型
  ctx.response.type = ‘image/svg+xml‘;
  ctx.body = picCode.data;
})
2、验证码生成方法封装在./utils/tools.js:
const SvgCaptcha = require(‘svg-captcha‘);

/**
 * 工具封装
 */
class Tools {

  //返回SVG图片验证码
  getCaptcha() {
    const captcha = SvgCaptcha.create({
      size: 4,
      ignoreCharsL: ‘o01i‘,
      noise: 1,
      color: true,
      background:  ‘#cc9966‘
    });

    return captcha;
  }
}
好了,图片验证码就介绍到这里,如果文章中有不正确的地方,欢迎大家留意指正。
Vue + Vant + Koa2 + svg-captcha 实现图片验证码
原文:https://www.cnblogs.com/Fcode-/p/13201002.html