接上篇: ASP.NET Core 3.1 实际操作摸索学习 (Identity部分) - 2
分别测试了几种情况:
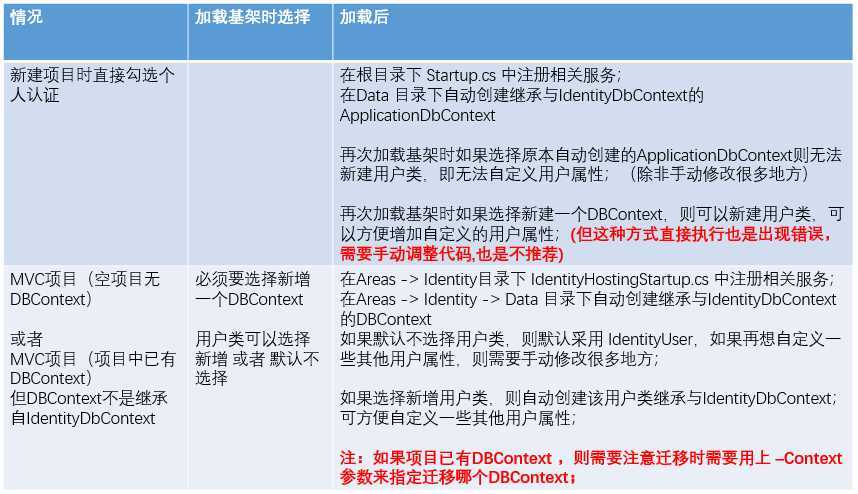
最后总结:如果要考虑以后扩展用户属性等灵活性要求,建议还是在新建项目时不要直接选择个人认证,而是在建好项目后再手动加认证基架;
同时,在选择新增DBContext的同时,选择新增用户类,不然以后要想增加用户属性字段,需要手动调整很多地方;
后面按照先有一个带DBContext的MVC应用需要增加Identity 认证来做一些记录:
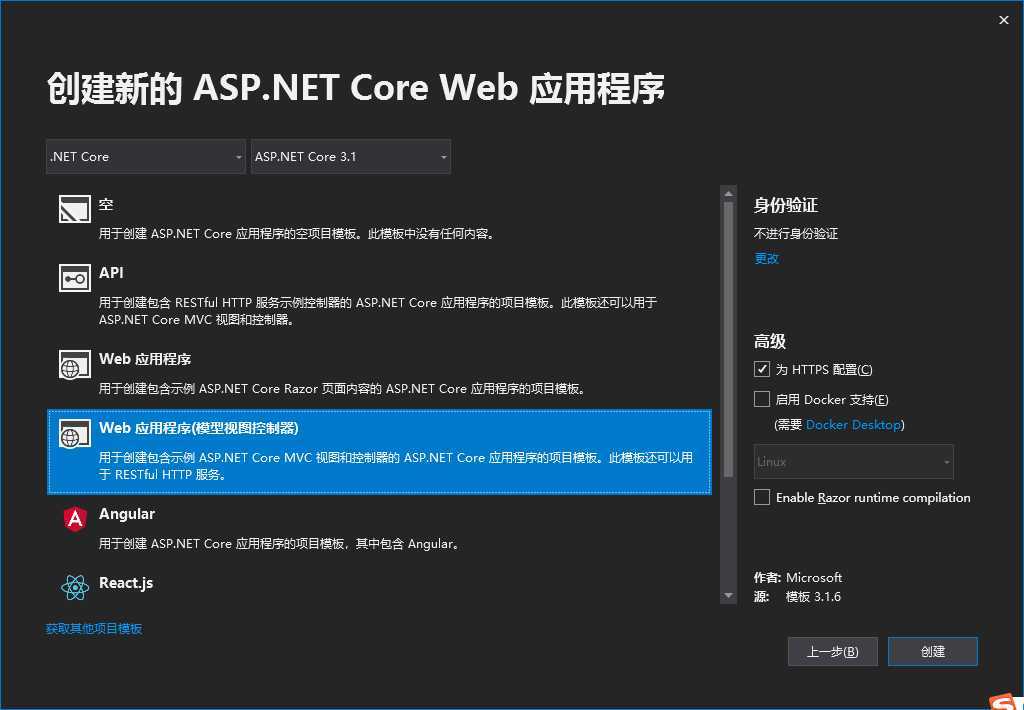
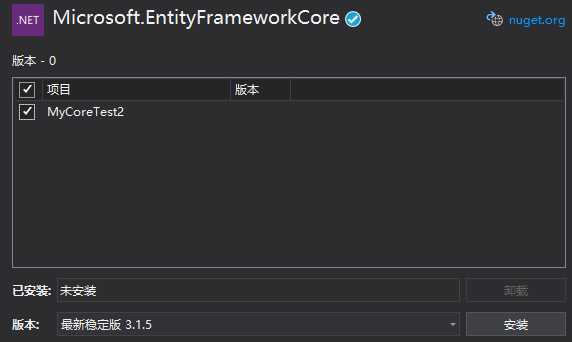
第1步:先创建一个MVC 项目,用Nuget安装 entityframework
主要是安装: Microsoft.EntityFamewordkCore
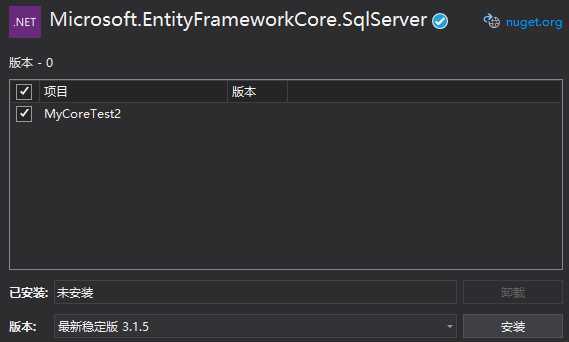
和 Microsoft.EntityFamewordkCore.SqlServer (如果用其他数据库根据需要替换)
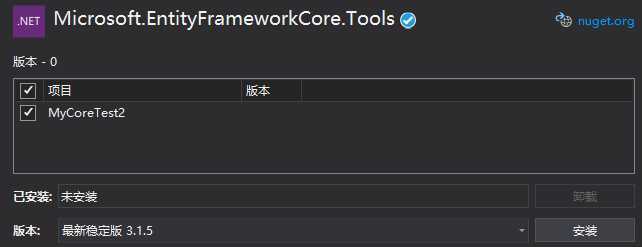
还要再装个 Microsoft.EntityFramwordCore.Tools:
第2步:搞个Model ,搞1个DBContext ,然后初始化数据库;
    public class Book
    {
        [Key]
        public string Id { get; set; }
        [Required]
        public string Name { get; set; }
        public string Desc { get; set; }
        public string Author { get; set; }
        public decimal Price { get; set; }
    }
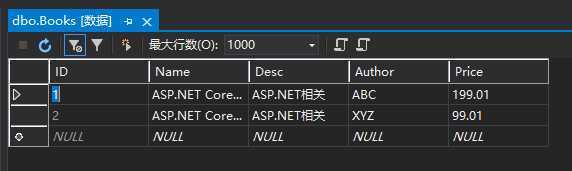
using Microsoft.EntityFrameworkCore;
using MyCoreTest2.Models;

namespace MyCoreTest2.Data
{
    public class BookAppContext : DbContext
    {
        public BookAppContext(DbContextOptions<BookAppContext> options)
            : base(options)
        { }

        public DbSet<Book> Books { get; set; }

        protected override void OnModelCreating(ModelBuilder modelBuilder)
        {

            modelBuilder.Entity<Book>().HasData(
                new Book { ID = 1, Name = "ASP.NET Core MVC", Desc = "ASP.NET相关", Author = "ABC", Price = decimal.Parse("199.01") },
                new Book { ID = 2, Name = "ASP.NET Core WEBAPI", Desc = "ASP.NET相关", Author = "XYZ", Price = decimal.Parse("99.01") });

            base.OnModelCreating(modelBuilder);
        }
    }
}
appsettings.json加上数据库连接字符串:
"ConnectionStrings": {
    "SqlServerConnection": "Server=(localdb)\\mssqllocaldb;Database=MyCoreTest2;Trusted_Connection=True;MultipleActiveResultSets=true;"
  },
为了控制器里可以使用Context,需要在StartUp中ConfigureServices 中注入,StartUp中增加:
        public void ConfigureServices(IServiceCollection services)
        {
            services.AddDbContext<BookAppContext>(option => option.UseSqlServer(Configuration.GetConnectionString("SqlServerConnection")));
            services.AddControllersWithViews();
        }
齐活,用数据库迁移来创建数据库表:
Add-Migration IniCreate
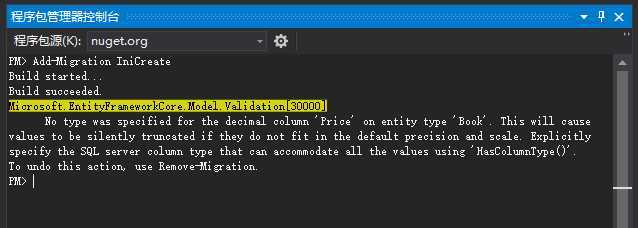
再执行 Update-Database


第4步:直接在Home页面列表显示Model;
这步简单... 略过...
第5步:加入Identity基架,选择新增Context和用户类
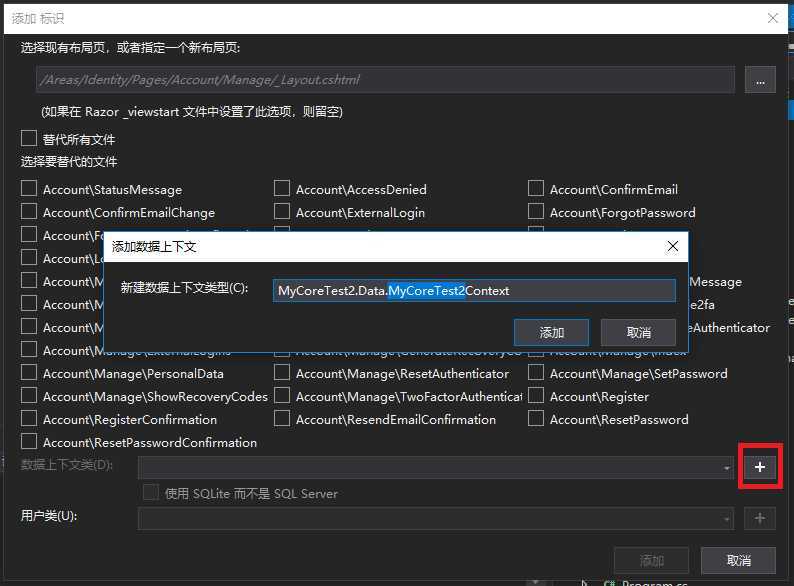

自动添加了 Context和用户类, (用户类是空的,可以根据需求增加字段)
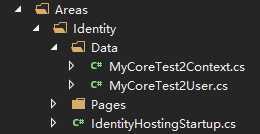
虽然两个Context (一个是Identity Context 一个是原应用Context) ,但是希望用一个数据库;
那么就把 IdentityHostingStartup里 数据库字符串改成和原应用Context对应一个字符串:
builder.ConfigureServices((context, services) => {
                services.AddDbContext<MyCoreTest2Context>(options =>
                    options.UseSqlServer(
                        context.Configuration.GetConnectionString("SqlServerConnection")));
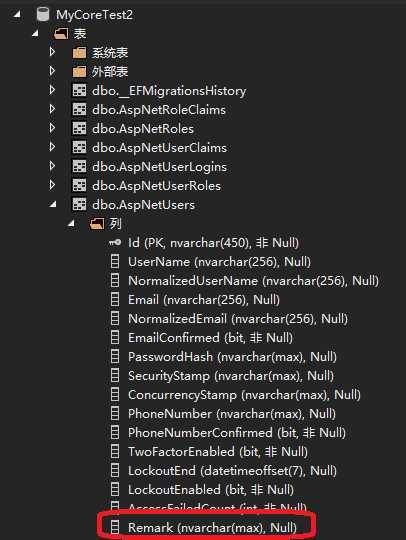
给用户类增加一个 备注 字段:
using Microsoft.AspNetCore.Identity;

namespace MyCoreTest2.Areas.Identity.Data
{
    // Add profile data for application users by adding properties to the MyCoreTest2User class
    public class MyCoreTest2User : IdentityUser
    {
        public string Remark { get; set; }
    }
}
如果直接迁移:

加上 -Context 参数来指定Context:
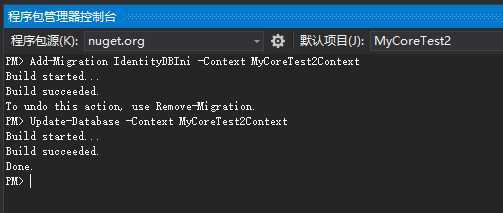
可以看到表已增加在原数据库上,并且用户表增加了 备注字段:
如果要想为Role增加一个自定义字段,怎么办? (目前还没试验出来。。。后补)
ASP.NET Core 3.1 实际操作摸索学习 (Identity部分) - 3
原文:https://www.cnblogs.com/jacky-zhang/p/13198145.html