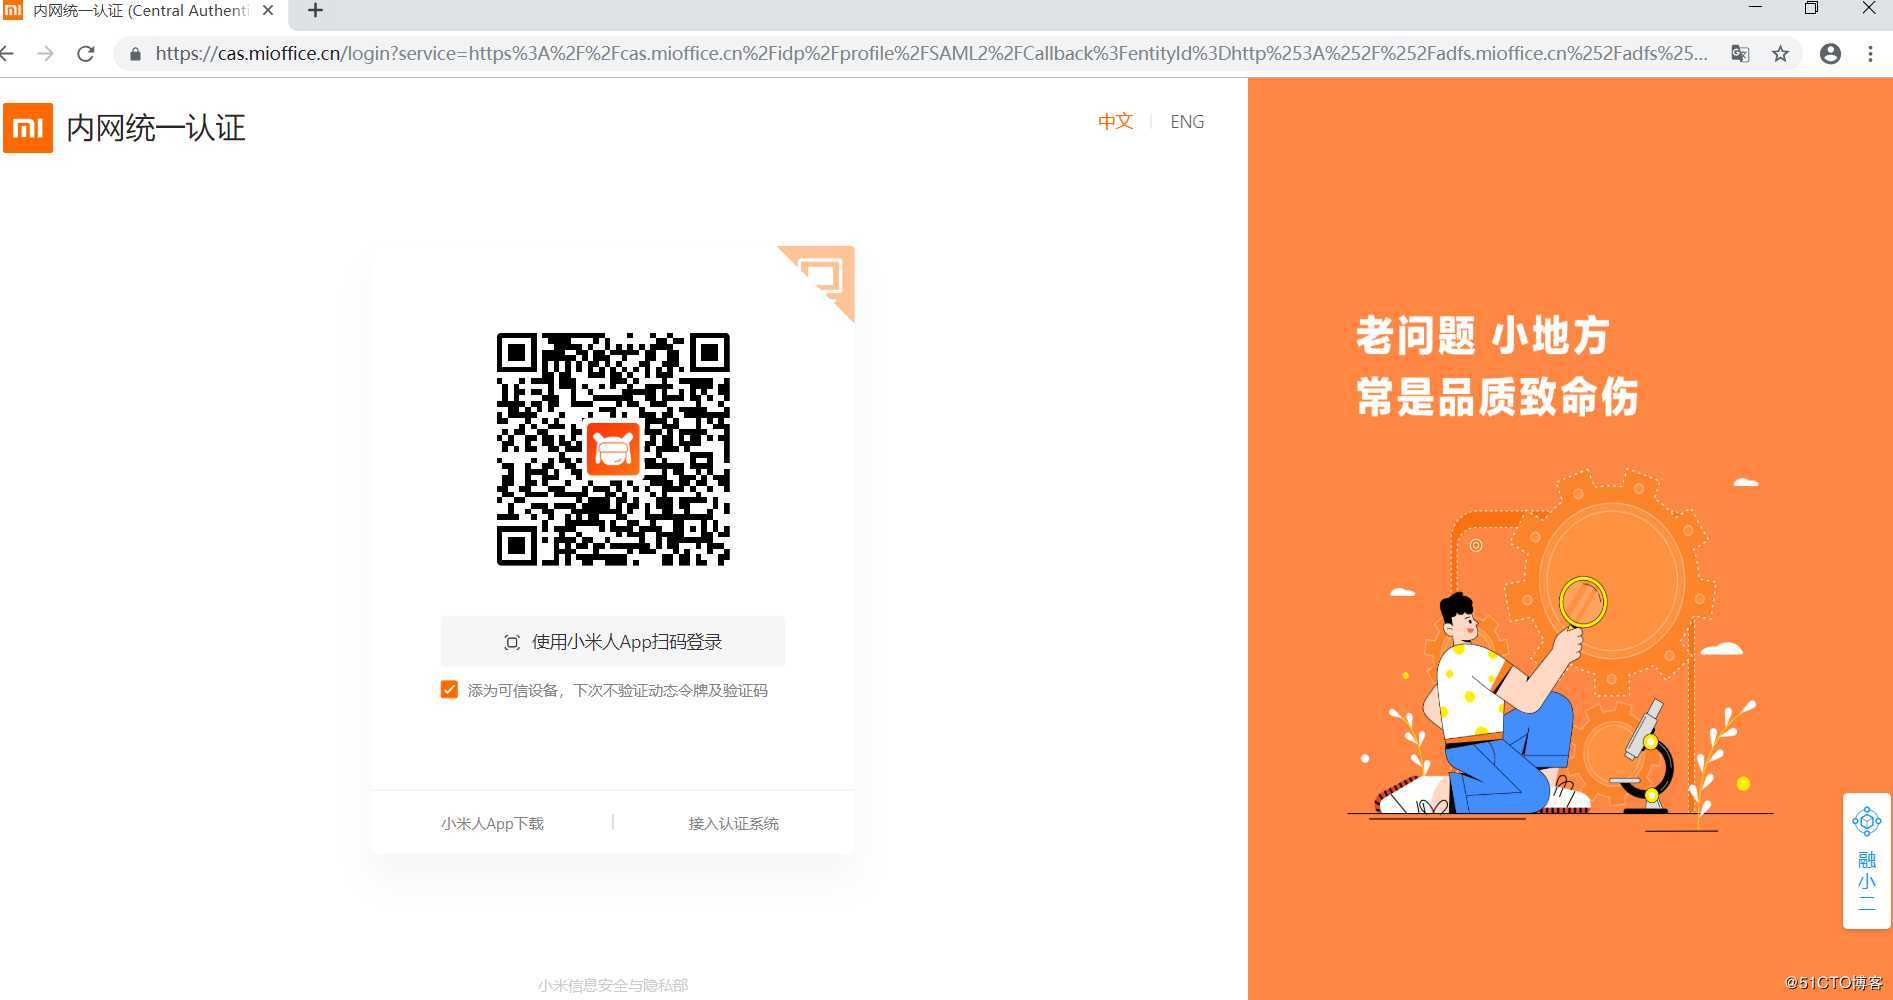
公司统一单点登录页面认证,一次登录畅游内网所有系统
访问路径: owa请求----反向代理nginx----邮件cas----ADFS----ssocas---》ADFS----》用户邮箱
1.安装server 2016
2.安装adfs组件
3.配置ADFS
创建服务类账号
配置ADFS
加入第二台ADFS服务
开启默认signonpage
CAS 需要支持 SAML2.0 协议
在 CAS 中注册 ADFS 需要以下步骤:
c:[Properties["http://schemas.xmlsoap.org/ws/2005/05/identity/claimproperties/format"] == "urn:oasis:names:tc:SAML:1.1:nameid-format:unspecified"]
?=> issue(Type = "http://schemas.microsoft.com/ws/2008/06/identity/claims/windowsaccountname", Value = c.Value);
信赖方信任
添加 OWA 和 ECP 待补充,对 OWA 和 ECP 分别添加如下规则
c:[Type == "http://schemas.microsoft.com/ws/2008/06/identity/claims/windowsaccountname"] => issue(store = "Active Directory", types = ("http://schemas.microsoft.com/ws/2008/06/identity/claims/primarysid"), query = ";objectSID;xiaomi{0}", param = c.Value);
c:[Type == "http://schemas.microsoft.com/ws/2008/06/identity/claims/windowsaccountname"] => issue(store = "Active Directory", types = ("http://schemas.xmlsoap.org/ws/2005/05/identity/claims/upn"), query = ";userPrincipalName;xiaomi{0}", param = c.Value);
然后我们在ADFS服务器上,打开管理员Powershell,输入以下命令:
Get-AdfsCertificate -certificateType token-signing
Exchange服务器打开EMS,执行以下两个cmdlet:
$uris = @("?https://mail.xiaomi.com/owa","https://mail.xiaomi.com/ecp")
Set-OrganizationConfig -AdfsIssuer "https://adfs.xiaomi.com/adfs/ls/" -AdfsAudienceUris $uris -AdfsSignCertificateThumbprints "fdfd2-------a9"
完成之后,再执行以下两个命令,来启用Exchange OWA/ECP的ADFS身份验证:
Get-EcpVirtualDirectory | Set-EcpVirtualDirectory -AdfsAuthentication $true -BasicAuthentication $false -DigestAuthentication $false -FormsAuthentication $false -WindowsAuthentication $false
Get-OwaVirtualDirectory | Set-OwaVirtualDirectory -AdfsAuthentication $true -BasicAuthentication $false -DigestAuthentication $false -FormsAuthentication $false -WindowsAuthentication $false OAuthAuthentication $false
完成之后使用iisreset 重新启动IIS,或通过以下cmdlet:
Restart-Service W3SVC,WAS -noforce
重启之后即可完成Exchange OWA/ECP启用ADFS身份验证的配置。到此我们的Exchange就已经通过ADFS验证的方式发布完成了。
原文:https://blog.51cto.com/12197525/2511271